Creating a virtualized AI generation environment (Stable Diffusion)
This article will cover the process on how to make a virtual environment for generative AI by attaching a GPU to a virtual machine and running the latest version available of SDNext.
I already covered parts of this in my guide to make a Windows 11 VM for gaming (They use the same GPU), but regardless I'll document this process due to the difference regarding the installation of drivers and intent.
Step 0: Checking motherboard compatibility and enabling IOMMU
Before making any virtual machines or anything you may want to check if the motherboard you're working with is even compatible with detaching PCI devices from the host.
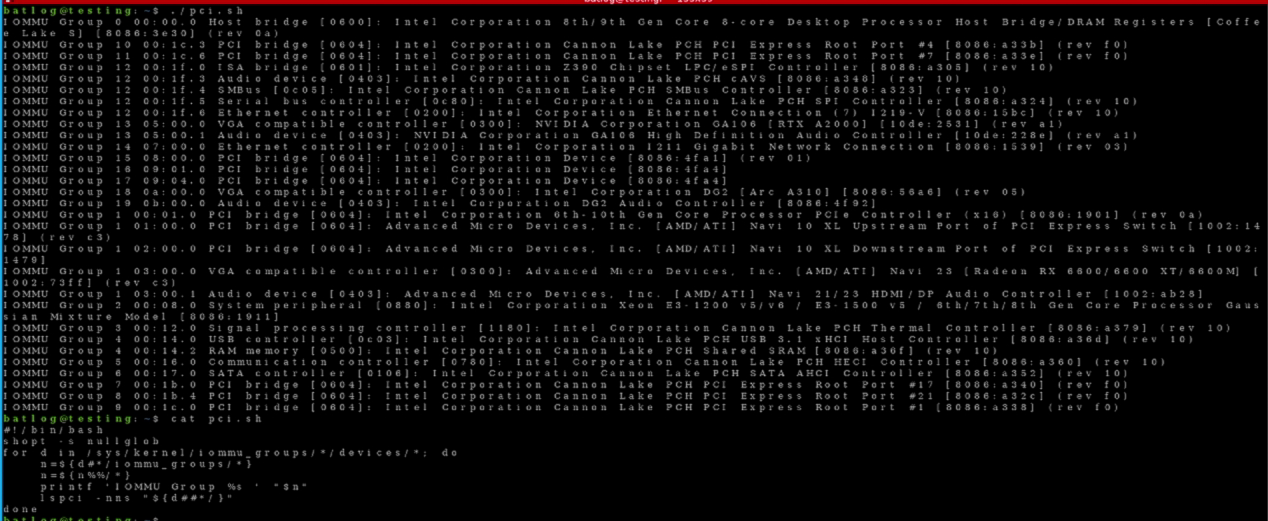
Assuming you already have a computer or can test it before buying it, you'll want to run the following bash script :
#!/bin/bash for d in $(find /sys/kernel/iommu_groups/ -type l | sort -n -k5 -t/); do n=${d#*/iommu_groups/*}; n=${n%%/*} printf 'IOMMU Group %s ' "$n" lspci -nns "${d##*/}" done;
(Script taken from flungo at github)
What this does is list the IOMMU groups of your PC, which allows you to check if there are any conflicts.
If the video card you're trying to pass through is not part of some other group (Eg your usb ports or your sound card or something else) Then you're in the green. Otherwise I don't recommend you follow up with this, there is a method around it by using a modified kernel called linux-vfio which can be found in the Arch AUR repository but honestly It's outside the scope of this article.
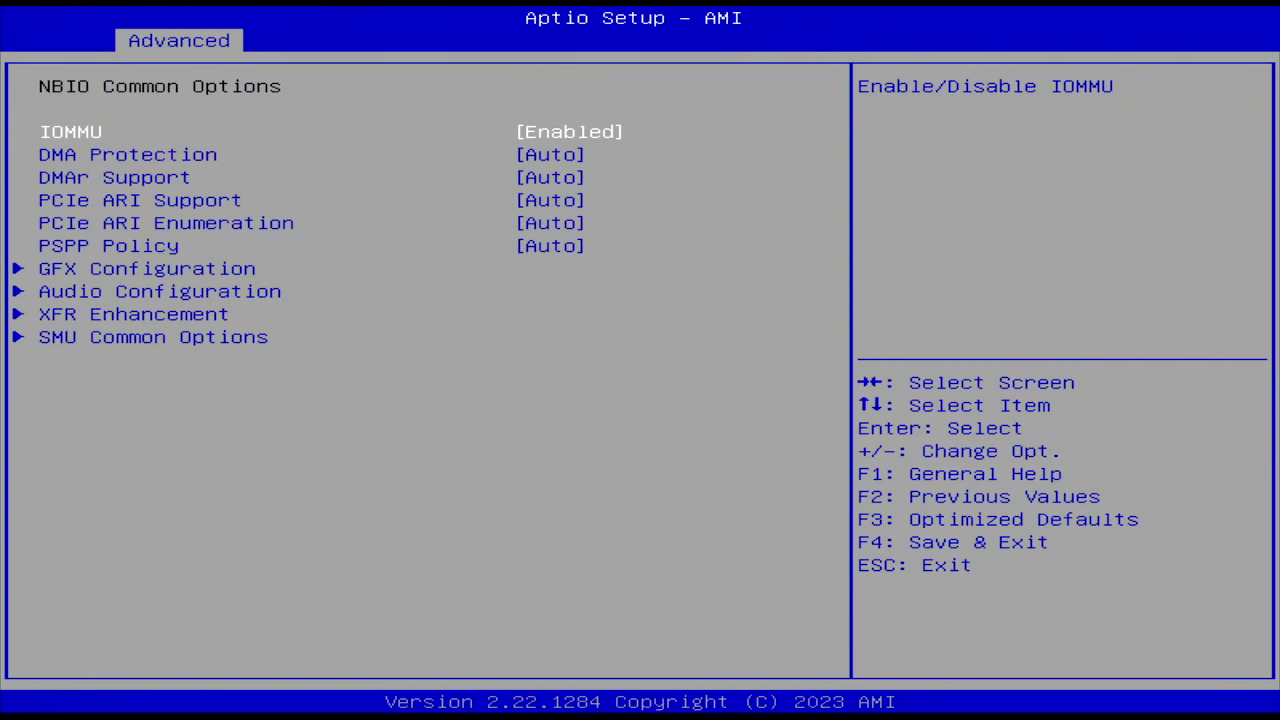
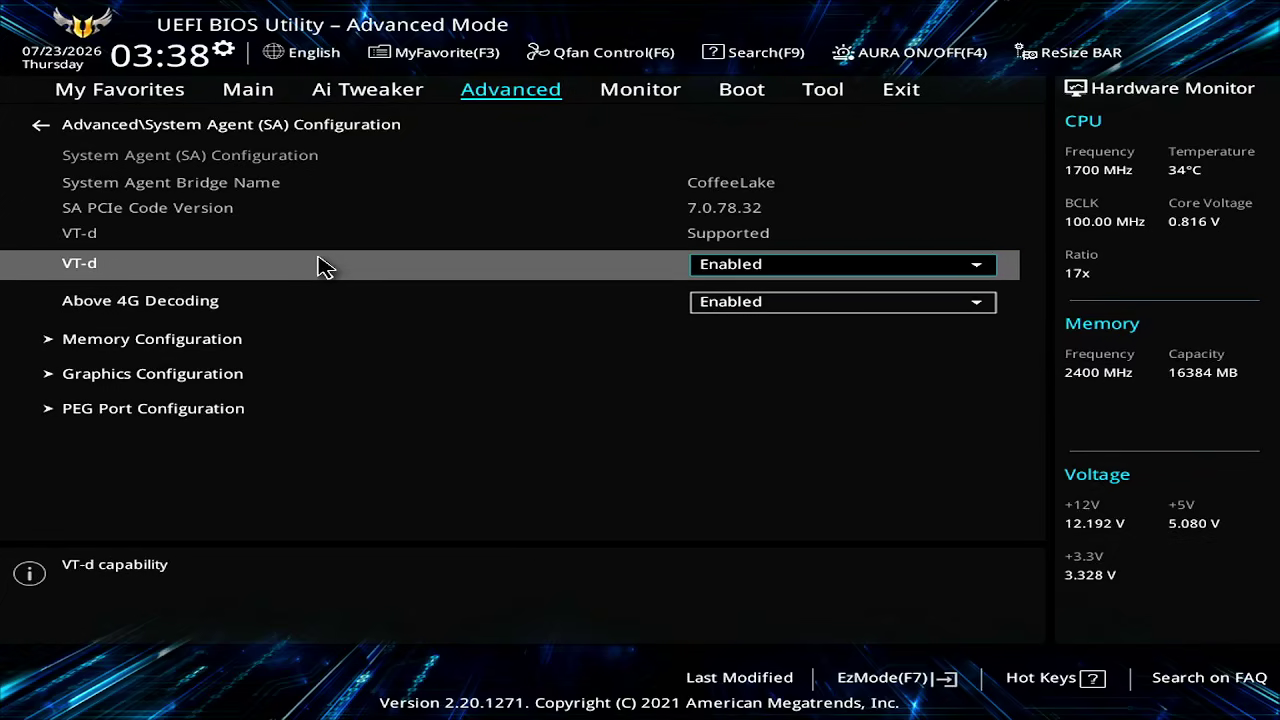
Lastly you need to ensure your motherboard supports IOMMU and enable IOMMU in the bios, most modern motherboards support this but depending on your model you may have to look for it under advanced PCI or advanced CPU settings. (Sorry about the green tint, my capture card doesn't like VESA graphics). It's usually labeled as 'intel VT-D' for intel motherboards and as AMD IOMMU for AMD motherboards, however the names aren't completely standardised and may vary, check your motherboard manual or support forum.
Example of IOMMU on AMD BIOSExample of IOMMU on intel BIOS
Step 1: Configuring a VM for GPU Pass-through
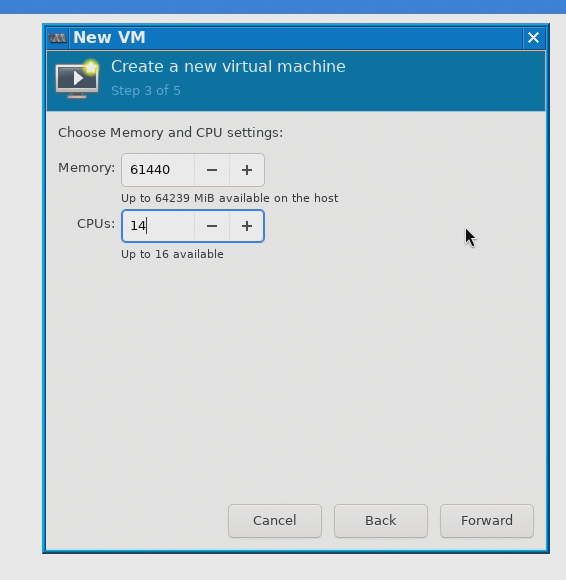
First, you have to create a VM. Honestly the process is rather straight-forward and you're free to make the install of any packagages you want as the only real dependency is python3 venv (I picked Debian 13 and installed Xorg and JWM). On this note the only distro I wouldn't recommend is Ubuntu because they use Pythion for networking and as such can cause dependency issues. The only notable thing you should take inti consideration is allocating the most amount of memory and processing power available without stunting your host system, for me it was 60GB of RAM out of 64 and 14 threads out of 16:
Once you ahve your VM configured to your liking, you need to pass-through a GPU into the VM.
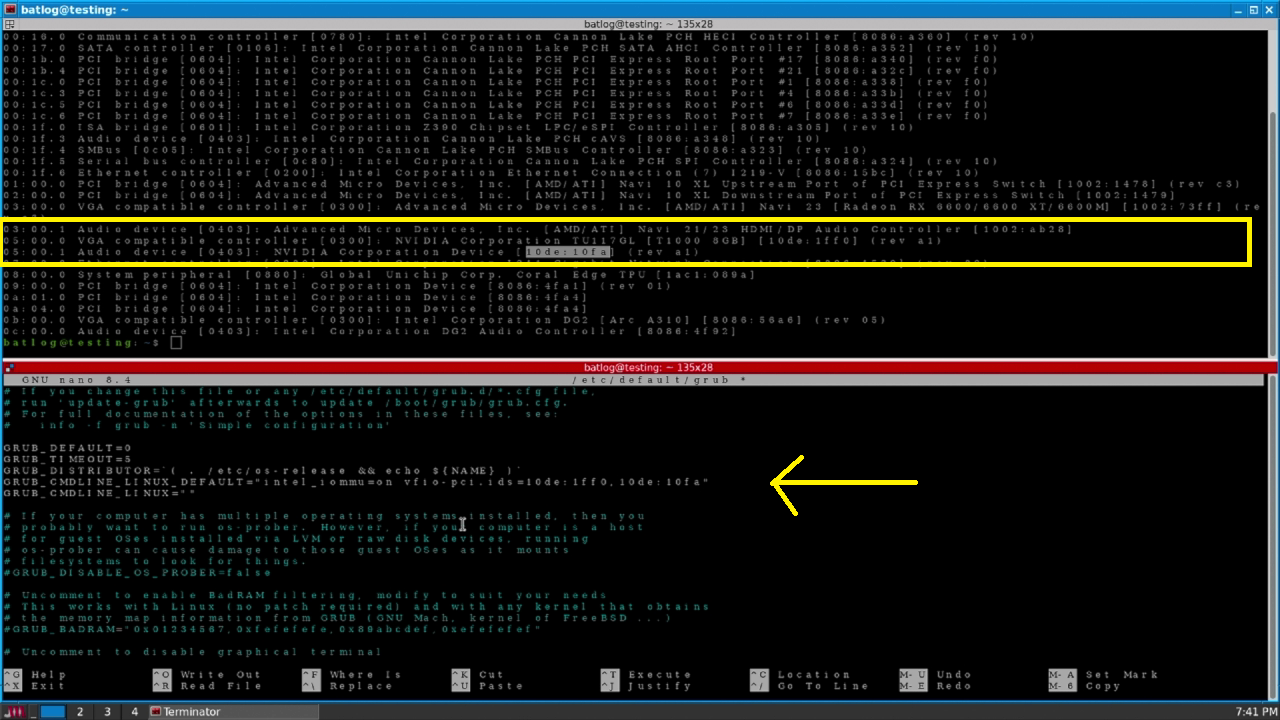
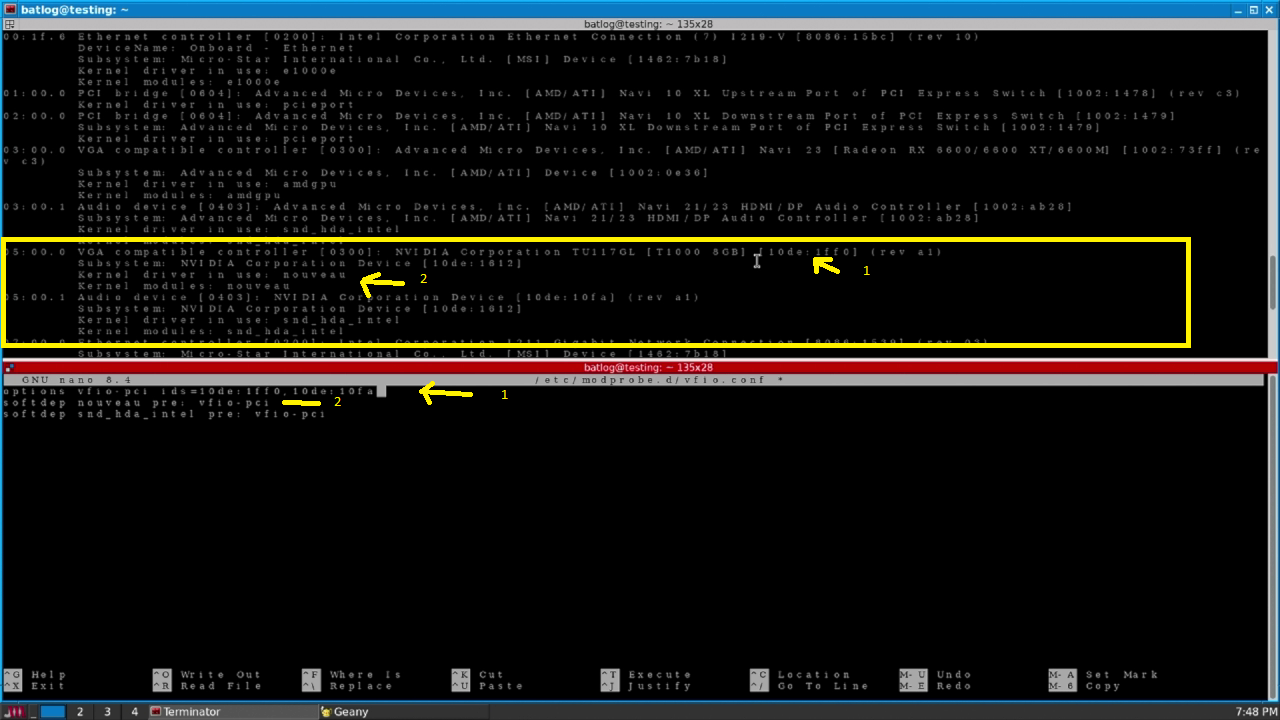
The process is rather simple, first identify your GPU with lspci -nn and write down ALL the devices IDs that share the same group as the GPU, In my case I only had to write two devices down, the graphics card itself and the sound card that comes with the GPU.
Then open edit /etc/default/grub with your favorite text editor (In my case nano) and under 'CMDLINE-LINUX-DEFAULT' add:
intel_iommu=on (Or amd_iommu=on if you're on an amd motherboard) and;
vfio-pci.ids=<the values you wrote down separated by commas>
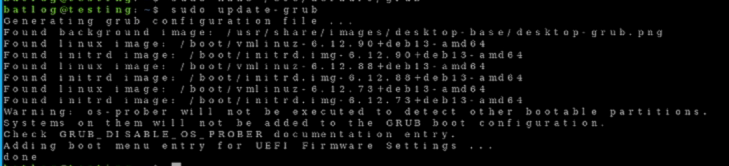
Afterwards update grub, if you get no errors you're in the clear
Afterwards, execute lspci -knn to check the driver currently loaded in the kernel for your graphics card and other devices. Then, create a new file on /etc/modprobe.d/virtio.conf and add to it:
options vfio-pci ids=<same device values you added on grub>
softdep <kernel module currently loaded> pre: vfio-pci (You must do this for all the devices individually)
Afterwards, upgrade your initramfs (Please note this command varies greatly from distro to distro). If you get no errors, you may be in the green.
Afterwards reboot your system and run lspci -knn if the command shows that your devices are using vfio-pci drivers then you're golden, if not go back and check that you configured the file in modprobe.d correctly (It's very sensitive to spaces).
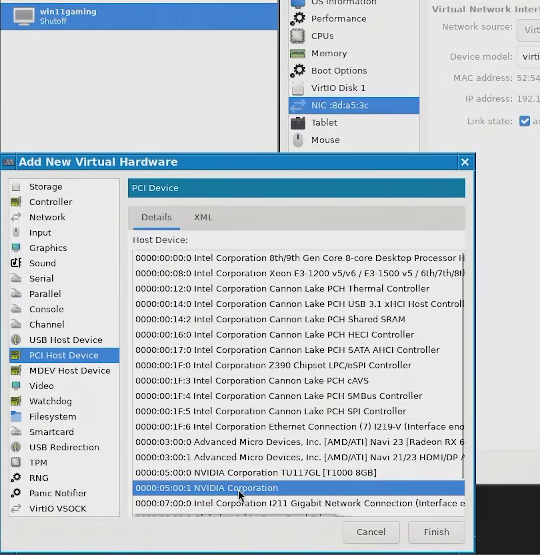
Attach the GPU and attached devices (In my case just the unlabelled sound card) to the virtual machine and fire it up.
Step 2: installing the drivers
WARNING: AVOID INSTALLING THE NVIDIA DRIVERS CONTAINED IN PACKAGE MANAGERS UNLESS YOU'RE USING A ROLLING RELEASE DISTRO, THEY'RE USUALLY SEVERAL VERSIONS BEHIND THE LATEST VERSION AND AS SUCH PYTORCH WILL FAIL TO RUN.
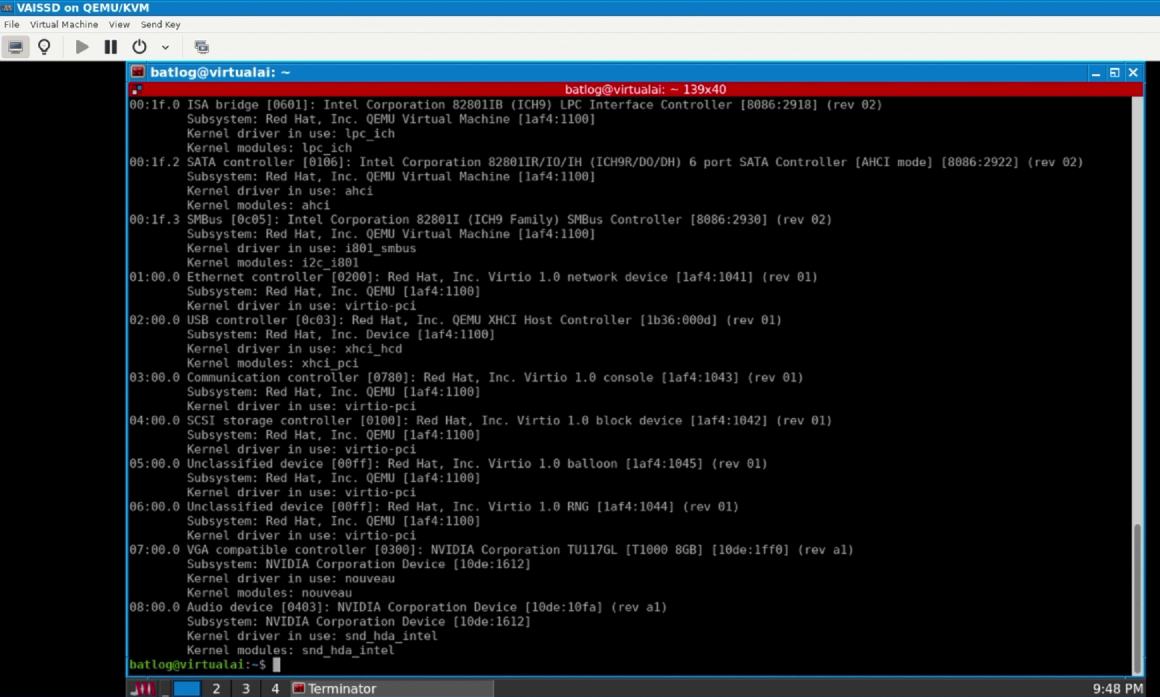
Verify the GPU is detected in the VM.
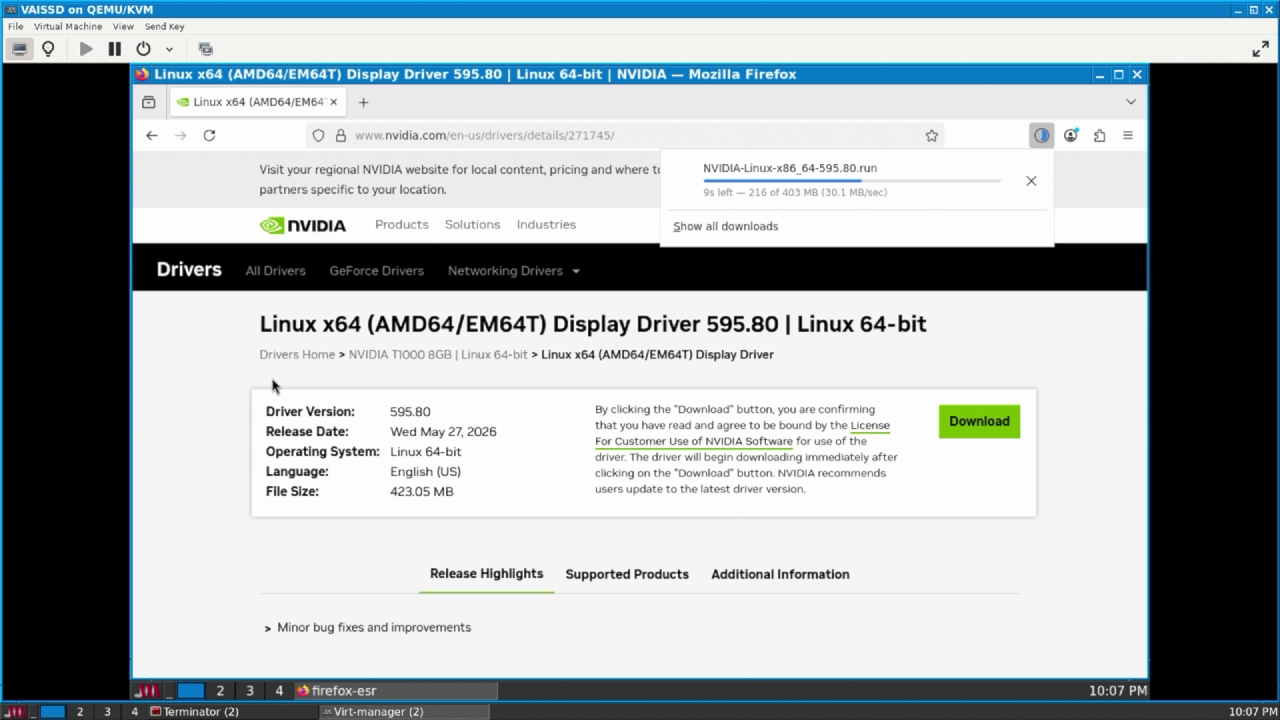
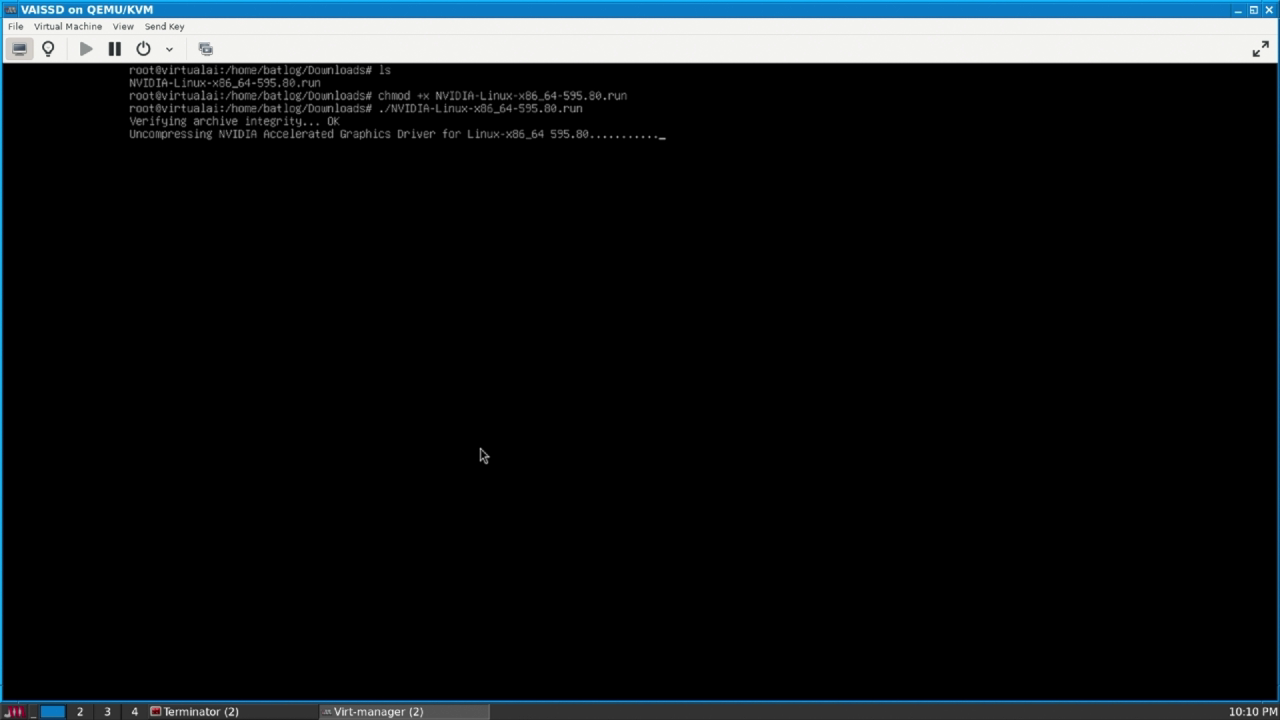
The next step is installing drivers, since I'm using a card that's still supported by Nvidia and as such is supported by the latest drivers (And by extension, the latest Cuda version) I can just install the drivers by downloading the latest version available from Nvidia's website.
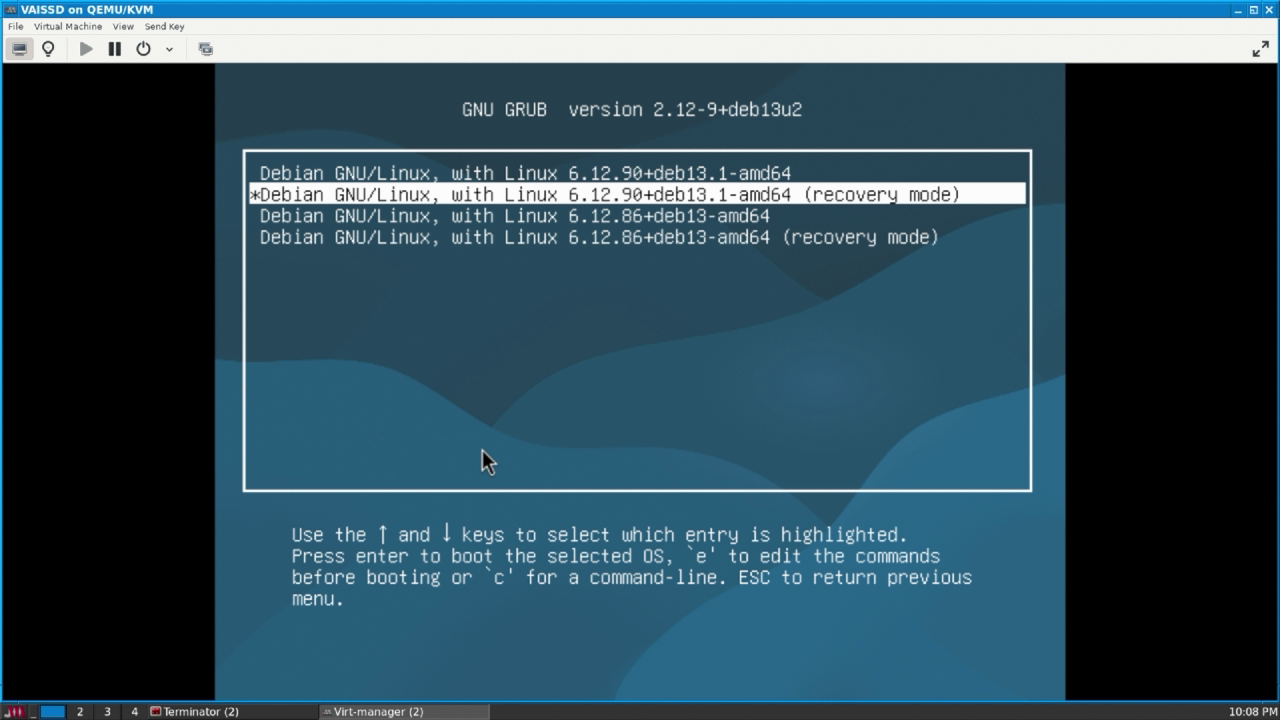
Nvidia's drivers for Linux require you to enter CLI-only mode and run the installer as root, in Debian this is easily accomplished by going into recovery mode.
Downloading nvidia driversEntering recovery modeExecuting the nvidia drivers
There are a three dependencies that the drivers need, the linux headers, gcc and make. I recommend installing the latest headers and build essentials (I also recommend running these commands apart instead of in a single apt)
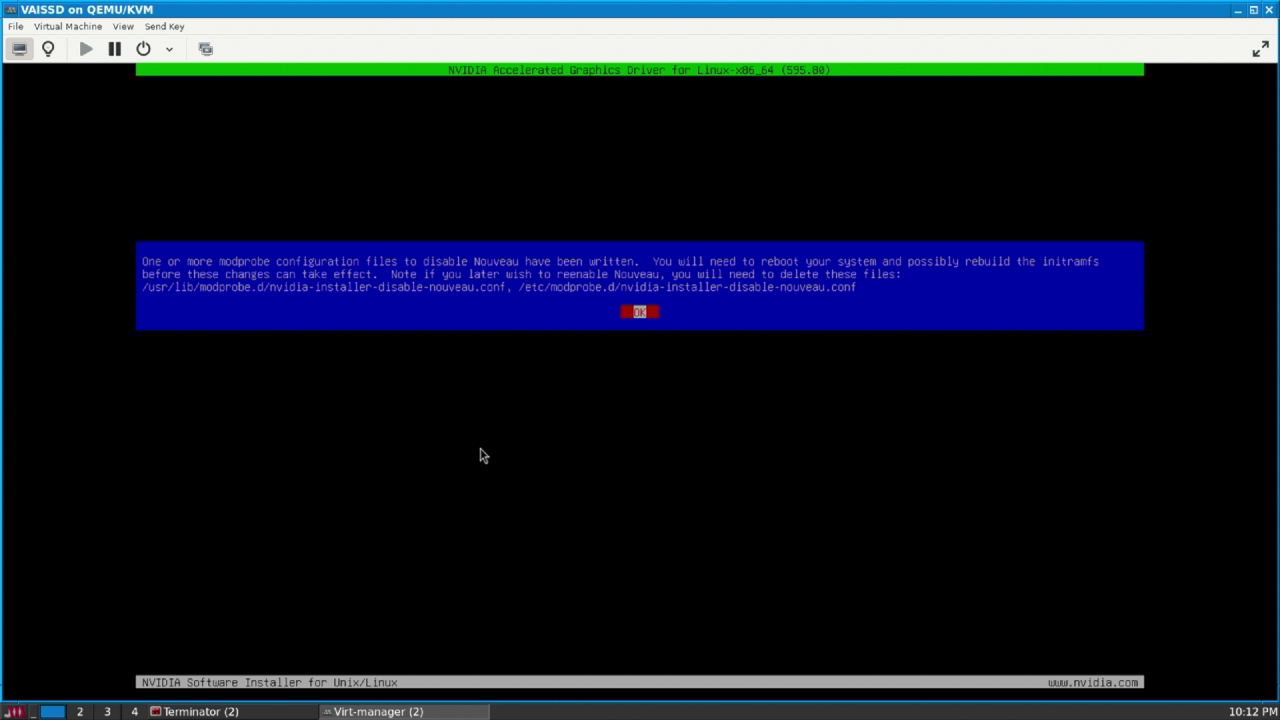
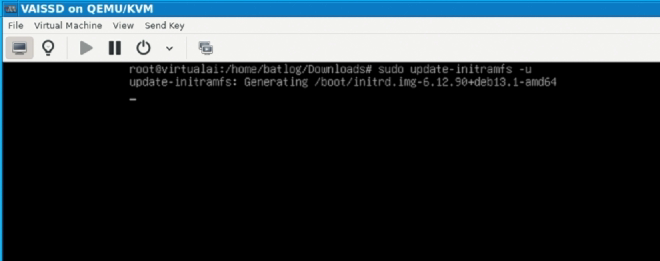
After you run the drivers the first time, if nouveau drivers are loaded (Which they most likely are) Nvidia will generate a file to blacklist them completely in modprobe.d and will prompt you to update initramfs. Honestly? The installer has always failed at updating initramfs for me, so just pick you don't want for the installer to do anything anything else and update initramfs by yourself.
Nvidia blacklisting nouveauUpdating Initramfs
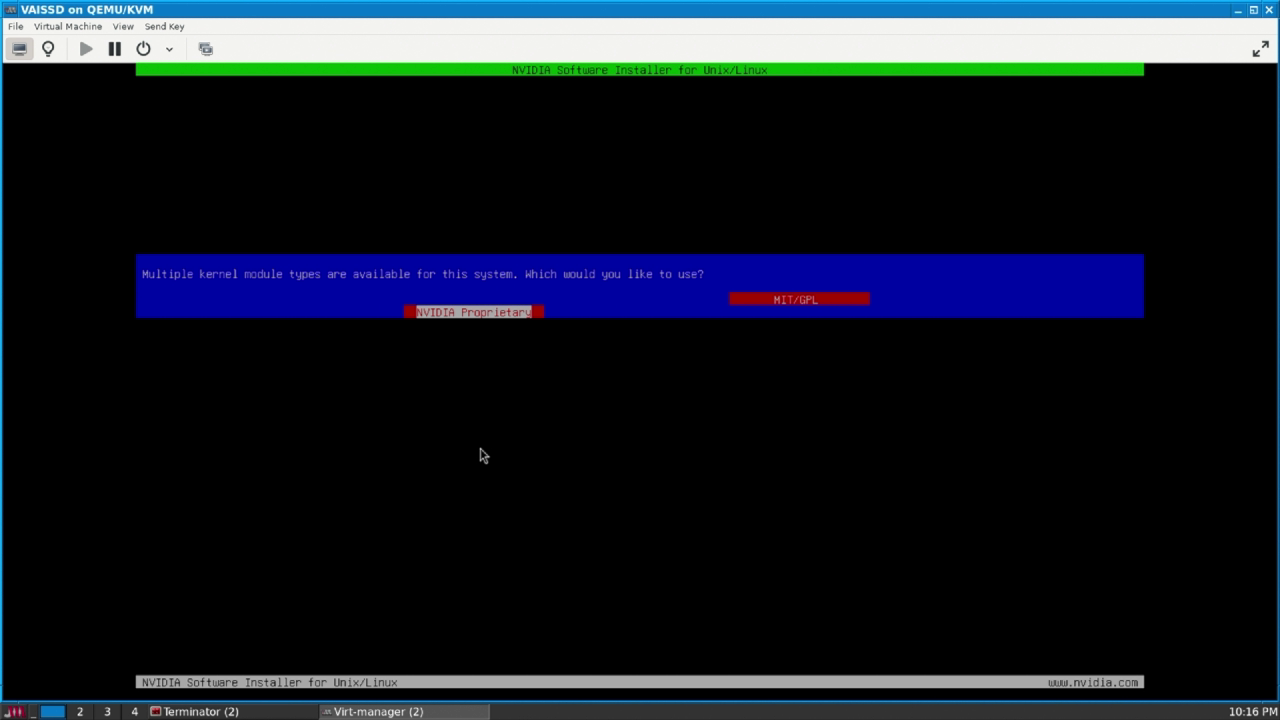
Reboot the virtual machine and run the installer again, select whatever version of the driver you want (I always do proprietary) and just proceed with the installation as normal (You may get a couple of errors regarding 32 bit libraries and EGL, ignore those they're not needed for this particular project).
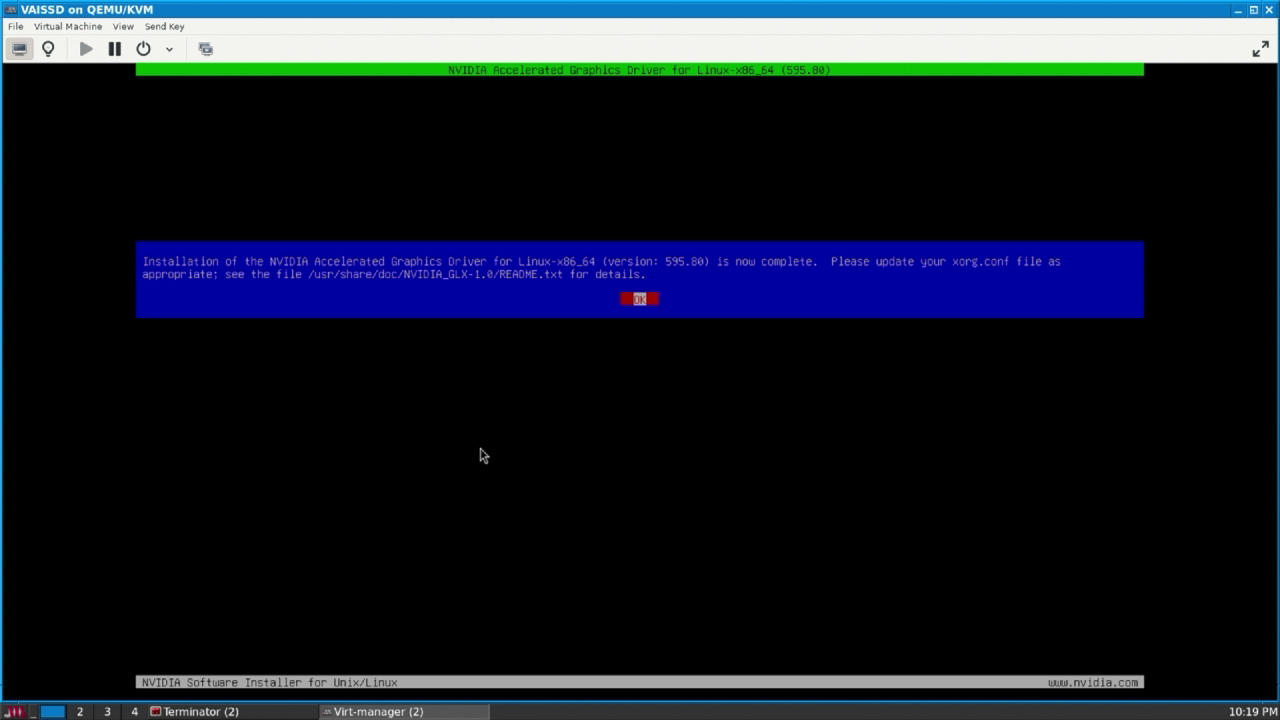
Installing Nvidia driversInstallation complete
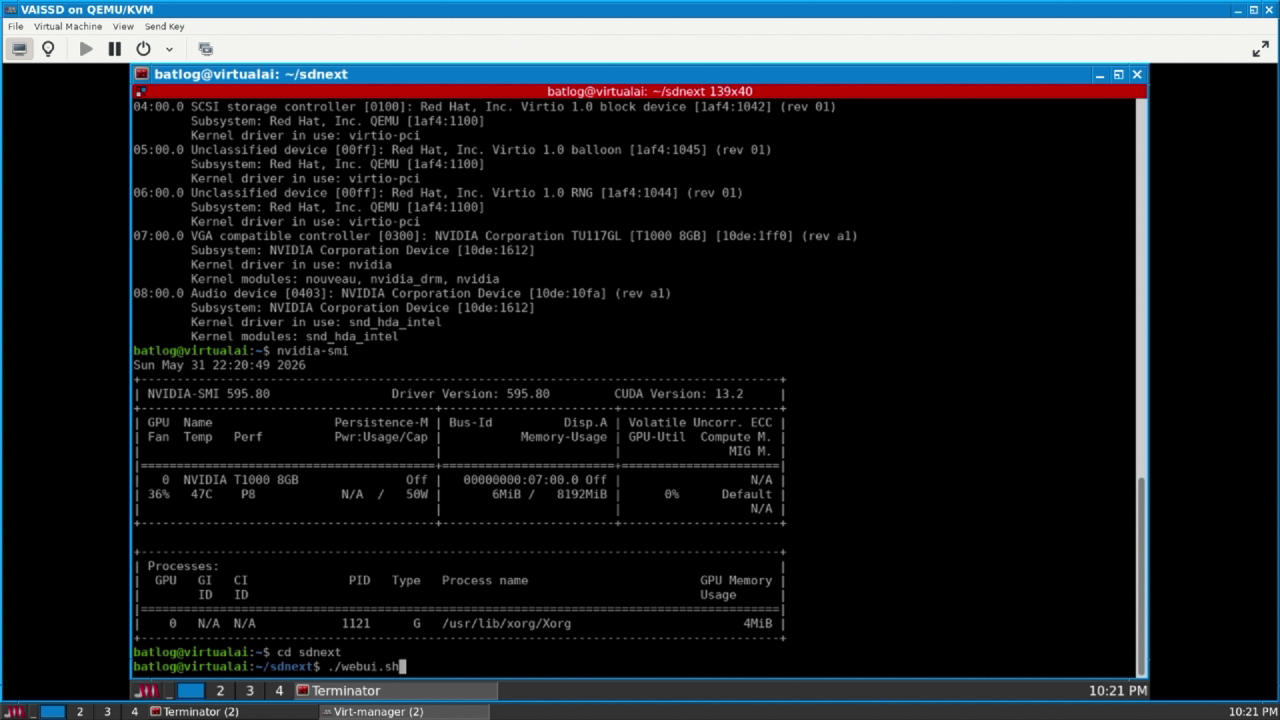
After a reboot enter your graphical environment and if nvidia-smi shows the latest driver CUDA versions they've been installed correctly.
Step 3: Cloning the WebUI and launching it
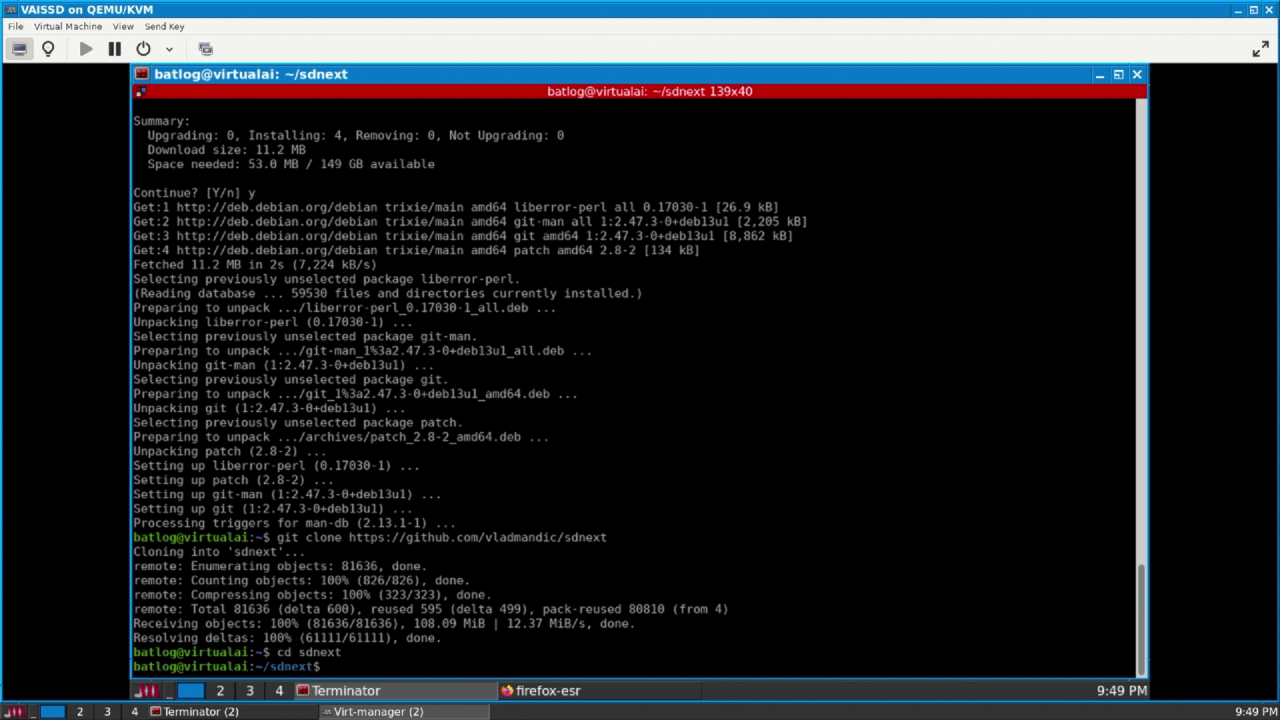
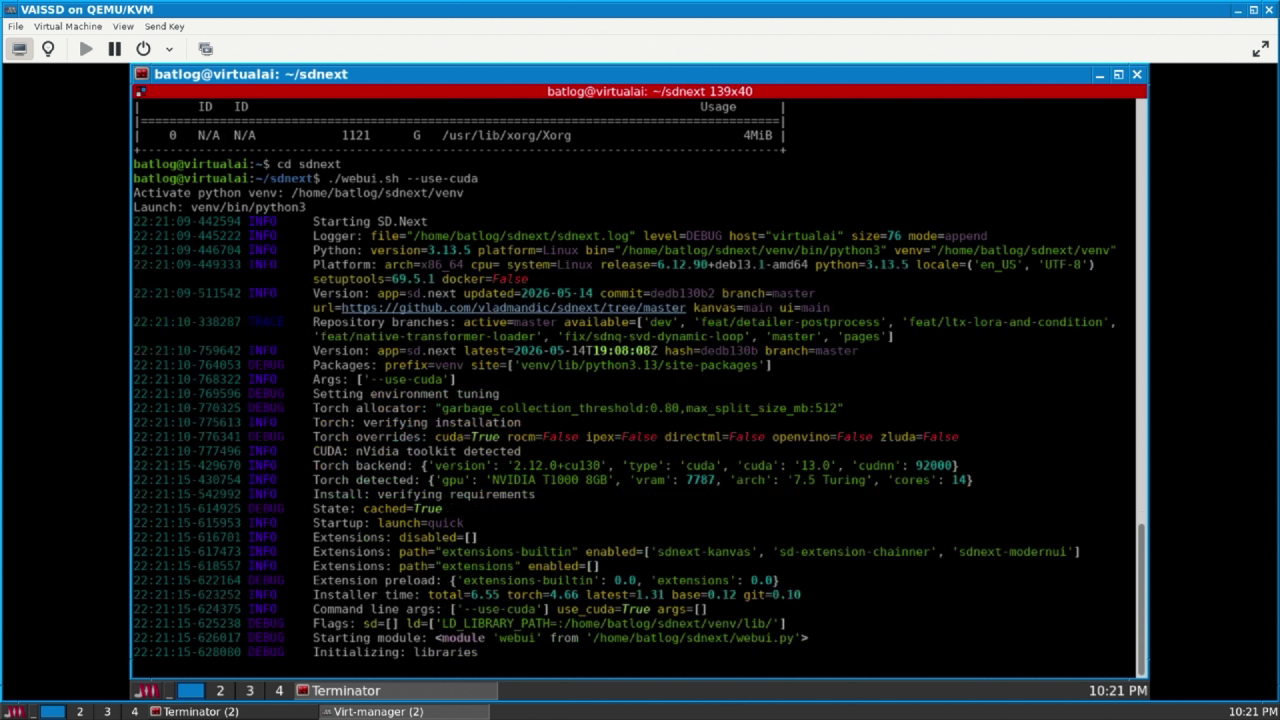
Clone the repository and execute the webui by using --use-cuda as an argument, if you get no Torch errors that causes the webui to default to CPU mode, you're pretty much done.
Cloning SDNEXTRunning SDNEXT with cuda arguments
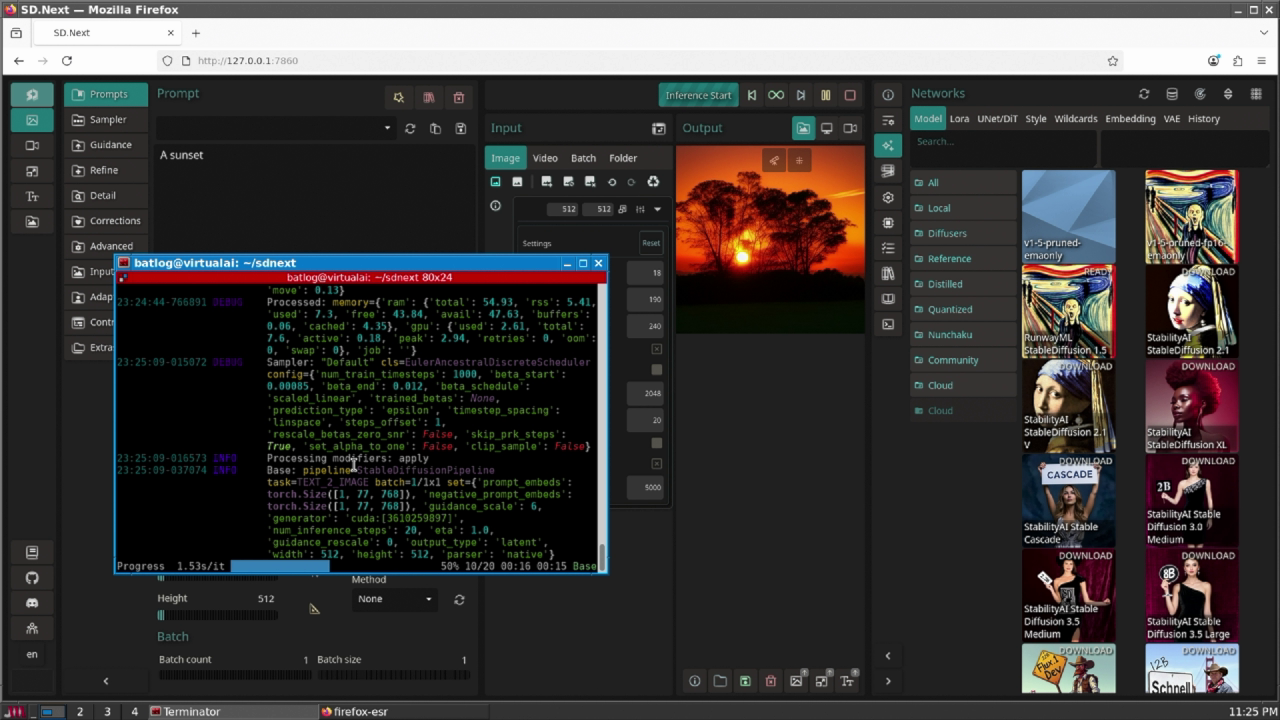
Now all you have to do is open a browser with Javascript enabled, open the localhost in the port 7860, download a model and run a prompt.
Addendum 1: Why do this?
Aside from the obvious advantage of replicability and being able to host multiple environments from a single server, one problem I often come across when running LLMs is VRAM usage and the lack of tools to manage it, the more you use a virtualized environment the more the VRAM fills up with data 'learning' of previous iterations in order to speed up generation and get more accurate results but eventually you cannot generate more images or text anymore, your environment becomes useless and you must start over again (I even had an AIO GUI solution store this data outside the venv and I had reinstall the whole system).
For small users like me this posses an issue that is easily solved by just taking a snapshot and nuking everything out of existence, the system is once again reset from zero and I can generate dozens of images at once again. This is also great for development or testing environments, honestly I don't know why people don't do this instead of using docker for everything.