Getting an old Pascal Card (Tesla P40) to use generative AI in 2026 (Stable Diffusion)
WARNING: If You're reading this, you're not me and you're thinking of getting a TESLA P40 now that they're in the bargain bin again, don't just plug the damn thing into the first PCI slot you see, you WILL fry it. See addendum 1 for ideas and notes on this.
This was relatively easy to pull off on Ubuntu Noble (Version 24.04), however I still feel like documenting it because I feel torch may stop providing the required files in order to get the venv working any day now.
The long story of why this article exists is because Pytorch decided to end support for Volta, Pascal and Maxwell Nvidia cards before Nvidia announced their EOL, which caused for my entire environment to break down after updating my python virtual environment and I get the feeling it may happen again but permanently some time in the future as I cannot find versions of Pytorch compatible with old CUDA versions anywhere. As of right now I managed to get this working on a small SSD for storage but in the future I want to preserve a small virtual machine or a FreeBSD jail, failing that I'll do an LVM (ANYTHING that allows me to do snapshots really I document the reason why this is important to me on my virtual AI article).
Step 1: Installing Cuda
Here's a very specific restriction: you need CUDA version 12.6, no other version will work as that's the exact point in time when Pytorch stopped providing support for Volta, Pascal and Maxwell cards. I recommend doing this in Ubuntu 24 as it's the last OS officially supported by this particular CUDA version and will continue to have support until April 2029 (Also, Debian 13 gave me issues, so there's also that).
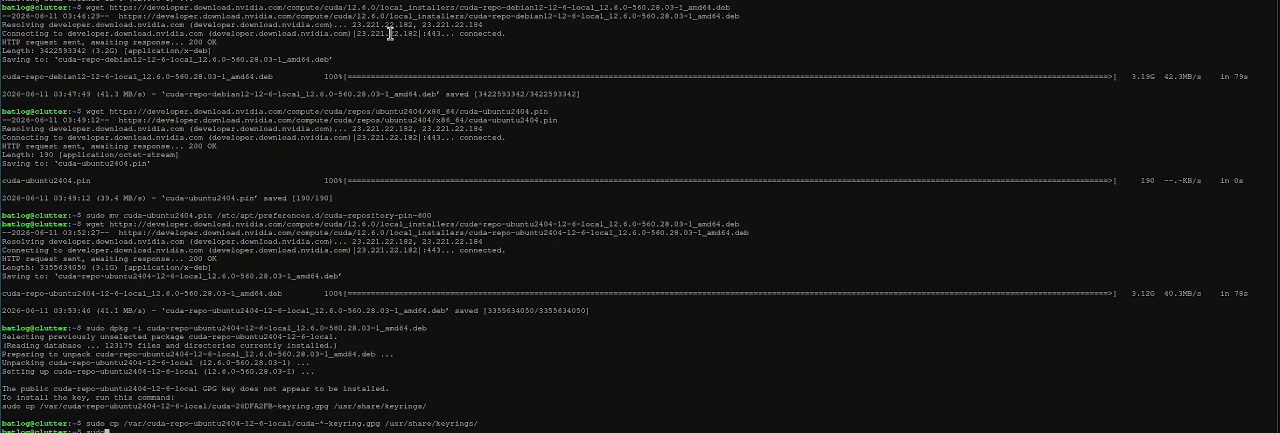
Here are the commands to get the cuda toolkit installed, if the apt update half-way through shows the Cuda 12.6 repositories you're in the green:
Installing the required repositories for CUDA 12.6Installing the CUDA Toolkit 12.6
Afterwards you need to install the CUDA kernel modules (Because Nvidia doesn't bundle them for some reason) NVidia pushes you to try out the open source version but honestly in my experience the proprietary version is still better and in the case of Pascal they don't even work as they only work with Turing and onwards.
sudo apt-get install -y cuda-drivers
Installing CUDA kernel modules
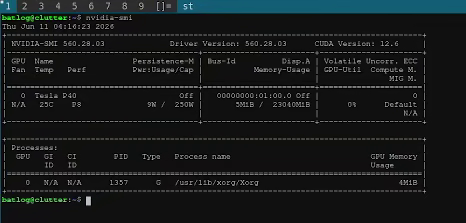
Afterwards reboot your system and run nvidia-smi, if the version shows version 12.6 you can move to the next step.
CUDA version 12.6 in use
Step 2: Installing SDNEXT
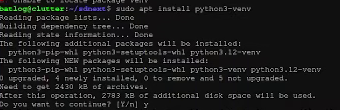
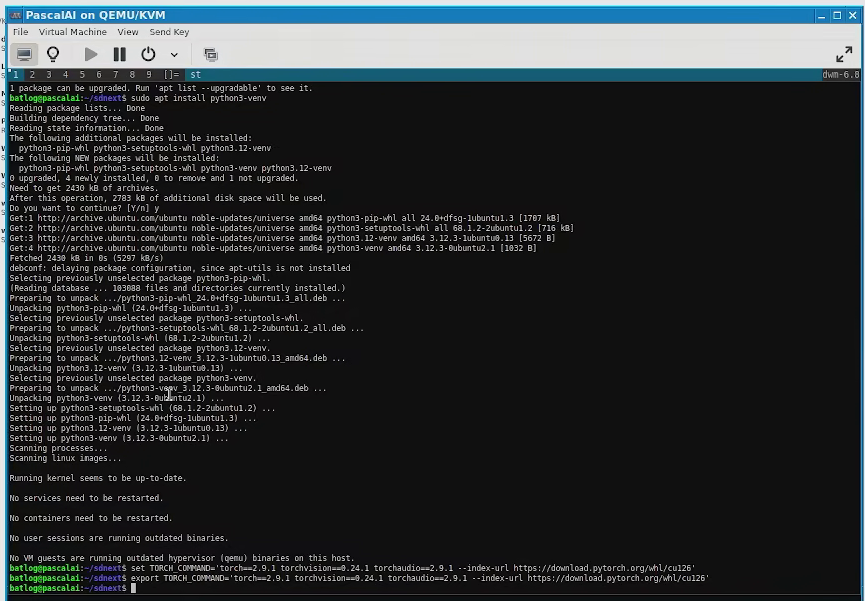
Afterwards you need to install SDNext, to be honest there aren't a lot of dependencies to work here, you just need to install python3-venv
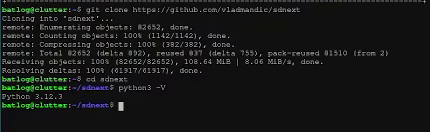
Next, clone the latest version of SDNext and enter the directory
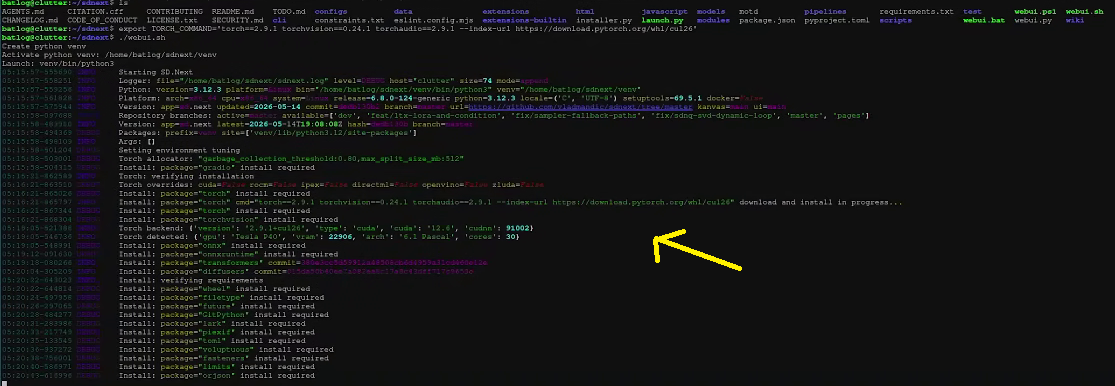
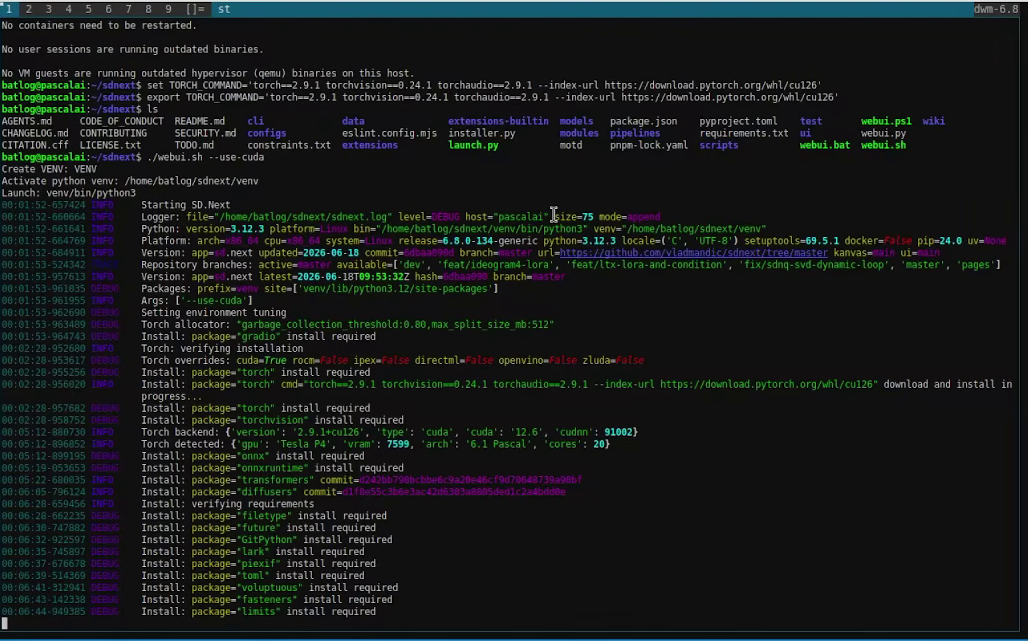
And now you just have to run it for the first time but before you do you must set some environment variables, the guide on SDNext says to use 'set TORCH_COMMAND='torch==2.9.1 torchvision==0.24.1 torchaudio==2.9.1 --index-url https://download.pytorch.org/whl/cu126' but to be honest that didn't do it for me, but what did do it was 'export':
If the system tells you the versions matching the environment variables you set are being installed and doesn't give you a 'This version of Cuda is too old' error then you're pretty much done, otherwise you must go back, delete the directory, clone again and try again.
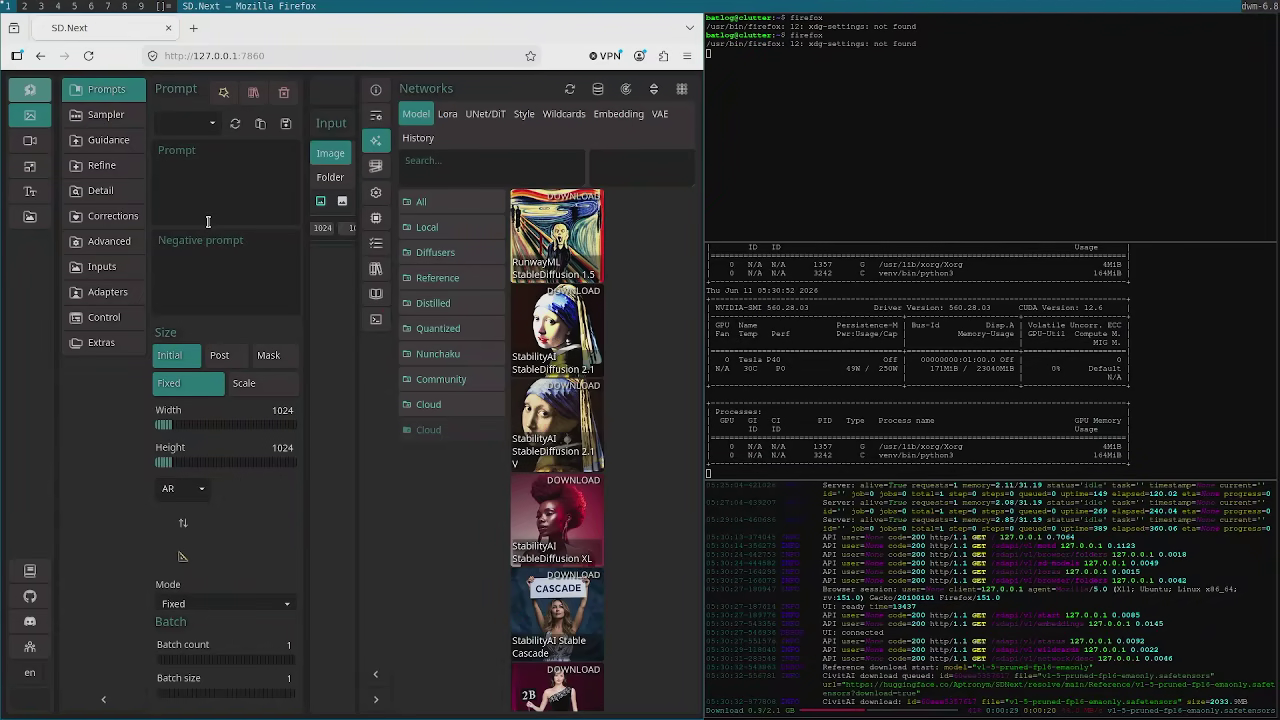
If it did resolve without errors, let it run for a while until fully loaded, then I recommend running nvidia-smi -l 1 to monitor your GPU while working and finally, open Firefox and go to the localhost address where SDNext is running. Just download the version 1.4 for testing.
The First time I ran it, it didn't work. This is normal as the model wasn't pre-loaded before opening the website and SDNext didn't load it.
Just close Firefox, stop SDNext with Ctrl C and start it again (You don't need to set the environment variables again). This time, it ran without issues.
Update 01/Jul/2026: Making a virtual machine to make a replicable environment.
Previously I had tried to get this work on a VM (And as a matter of fact it was always my intention to run this in a VM) due to the fact that torch loves 'cleaning' (Read: making completely inaccessible by pulling them from their servers) older versions and that was the whole reason why I went on this crusade in the first place as after an update the version that I used to use with the original AUTOMATIC1111 webui stopped working completely on my M40 and P40, both of which I believe have still a lot to give as Nvidia has yet to make consumer-grade GPU's with more than 24 gigs of VRAM.
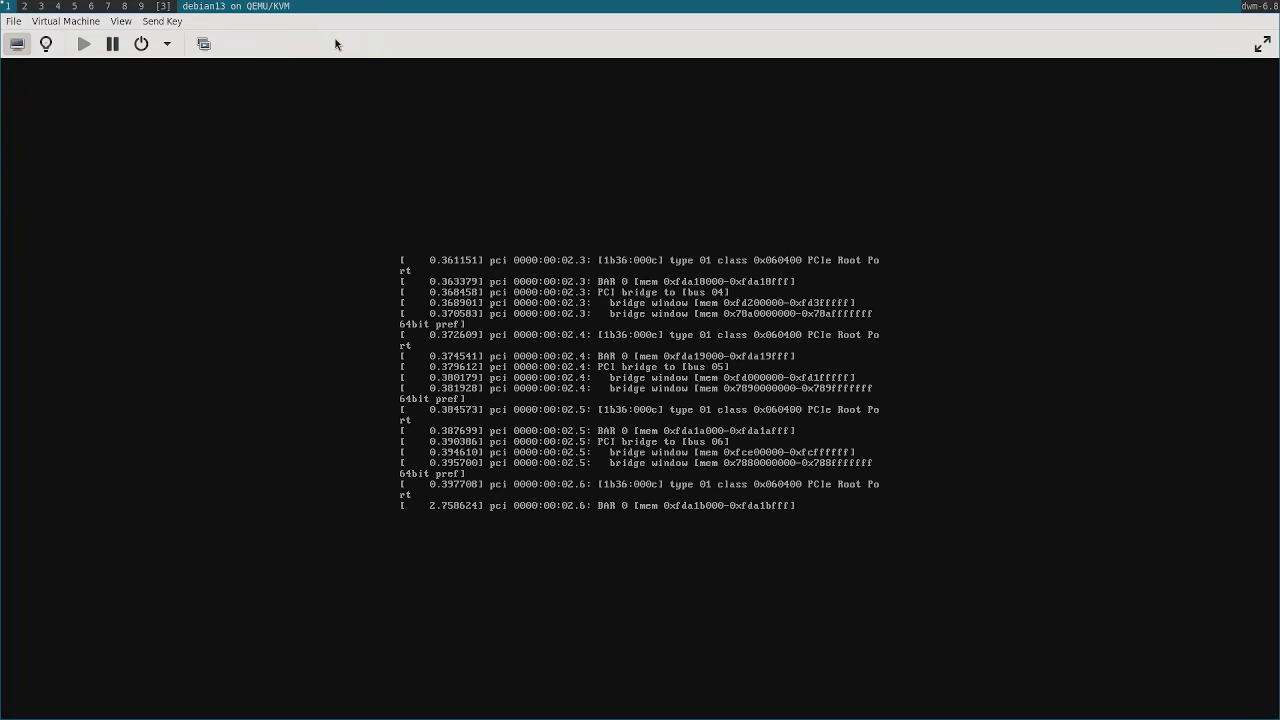
However every time I tried it I got a lot of errors when firing up the VM and couldn't install CUDA 12.6 (Bizarrely the packaged drivers worked fine, it was just the official Nvidia CUDA drivers that didn't work).
Errors encountered when firing up a VM with the Nvidia P40
I had the feeling it was a BAR problem due to the large amount of VRAM the P40 had but didn't know if it was an error with the virtual machine BIOS or the host computer BIOS. So, I decided to get rid of the three problems to see if it works and troubleshoot later, I made a virtual machine in a better-quality motherboard and used a P4 due to the reduced RAM. Long story short I did the same as I did in my Virtualized AI environment article.
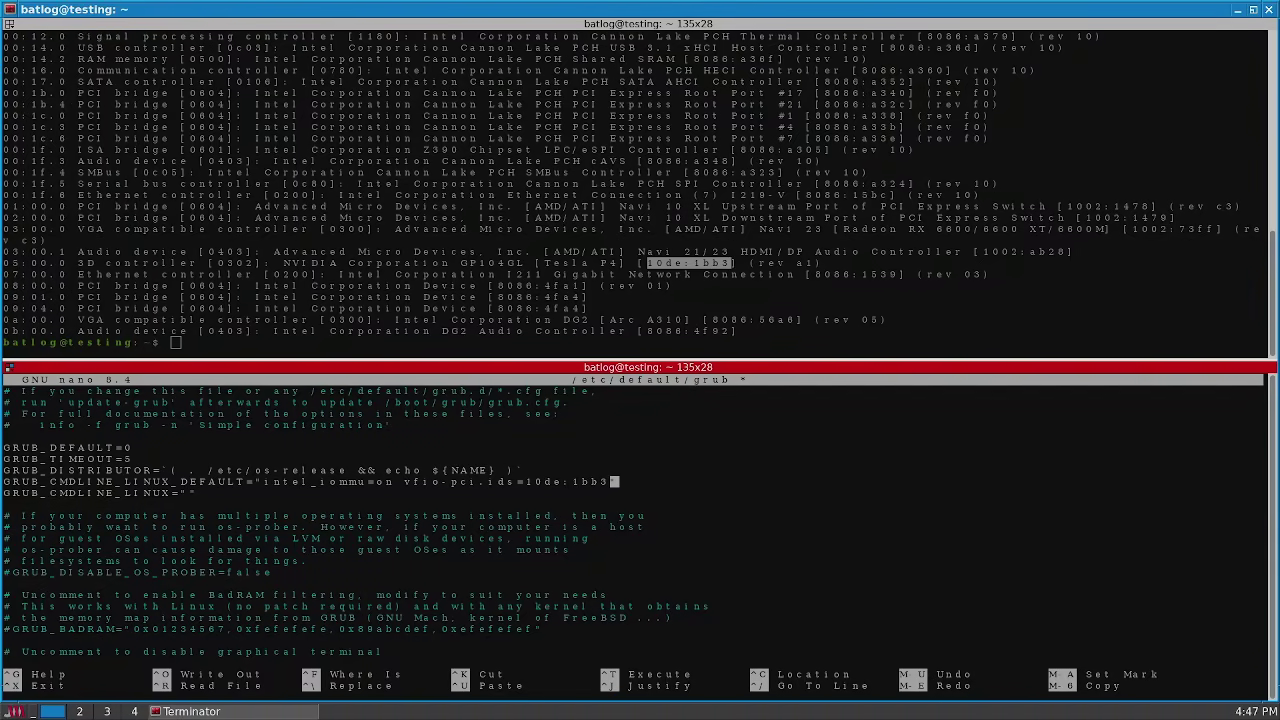
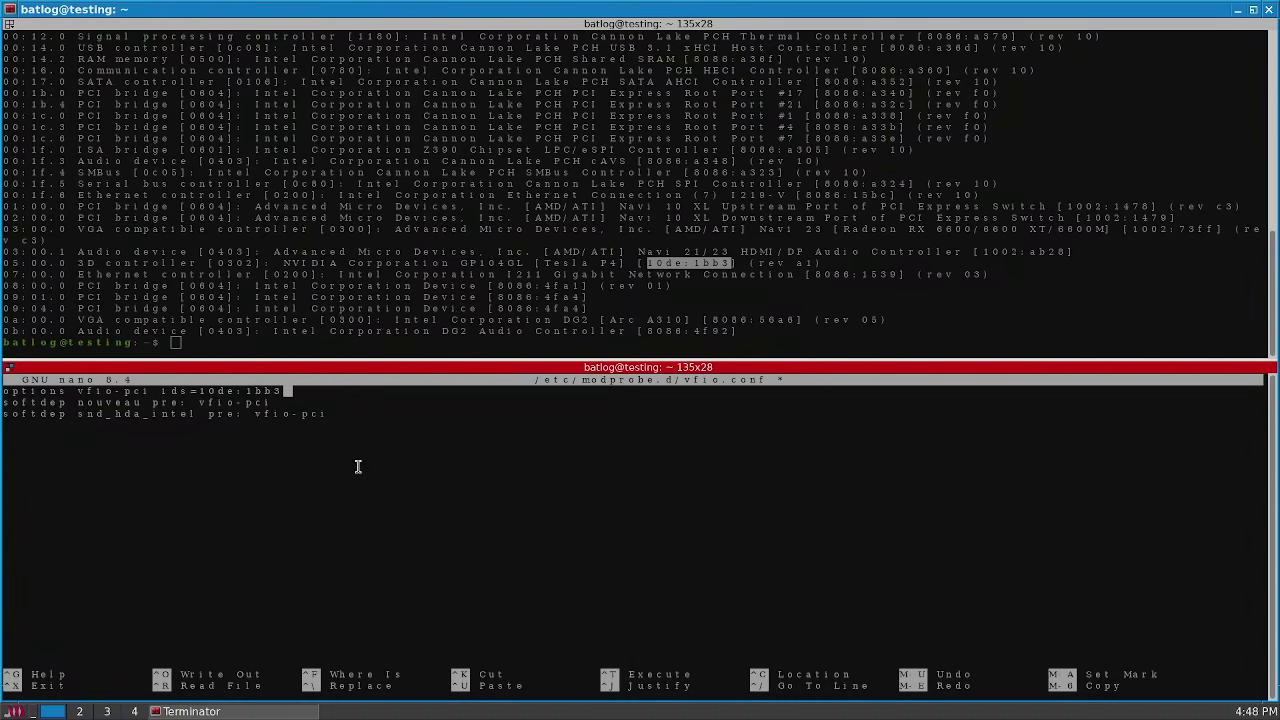
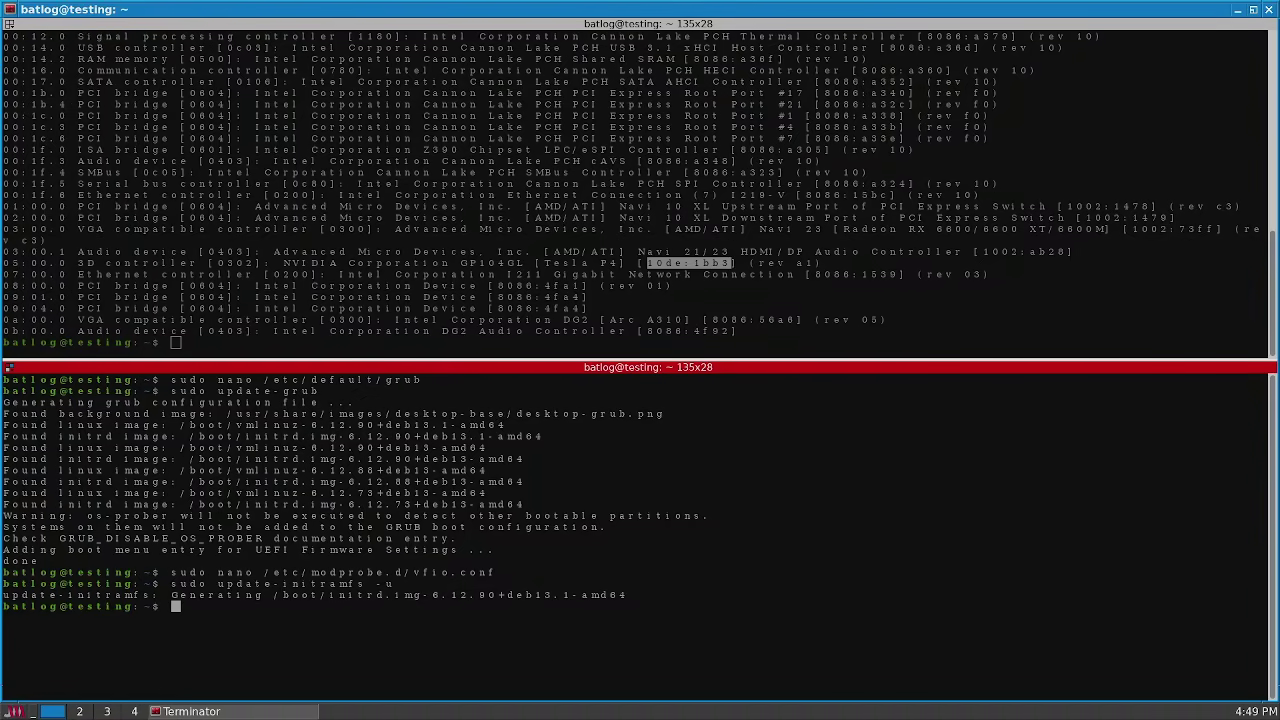
First I did the usual song and dance of loading the vfio drivers
Adding device to load vfio drivers in grubAdding the device to load vfio drivers in modprobeupdating GRUB and initramfs
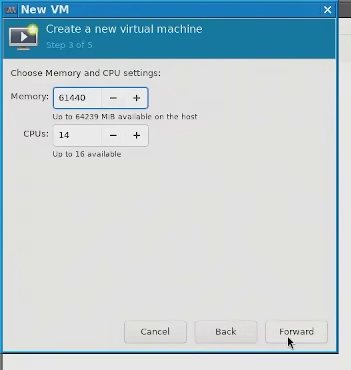
Afterwards I rebooted and upon checking the correct kernel modules were loaded I made an Ubuntu 24 VM. It has nothing special other than using most of my resources and leaving me only with 2 cores and 4GB of RAM for my base system. I also tried to keep the install as lightweight as possible installing DWM.
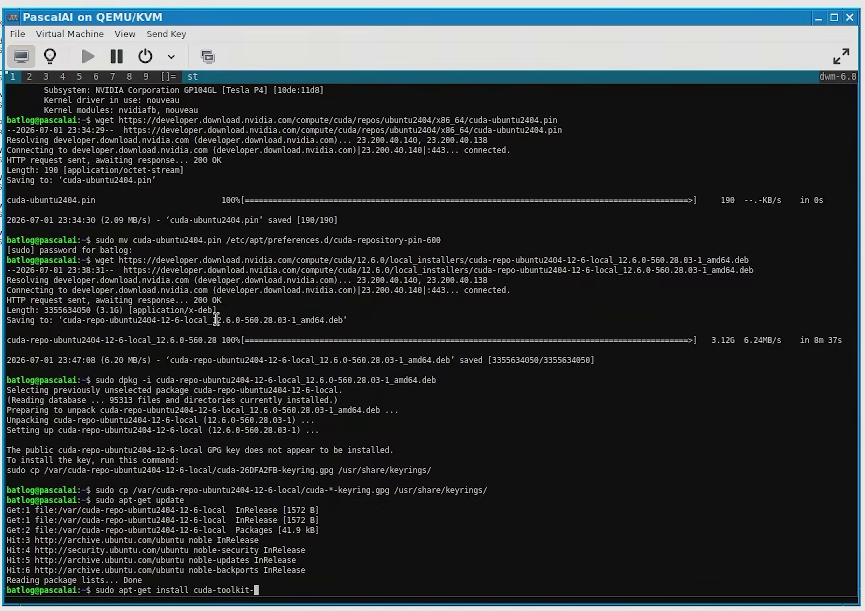
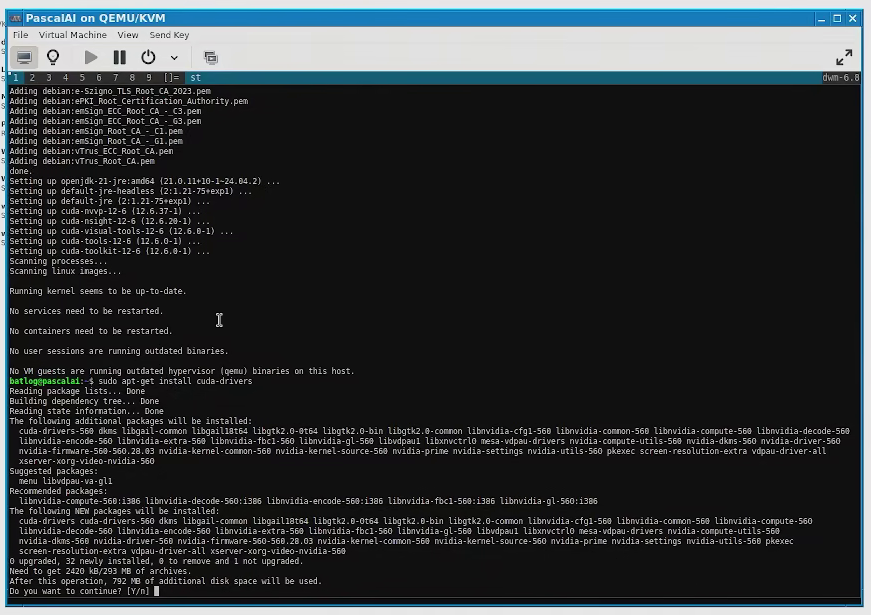
Then I attached the P4, followed Nvidia's instructions for installing CUDA 12.6 and to my shock it went without a hitch.
Installing CUDA toolkitInstalling CUDA drivers
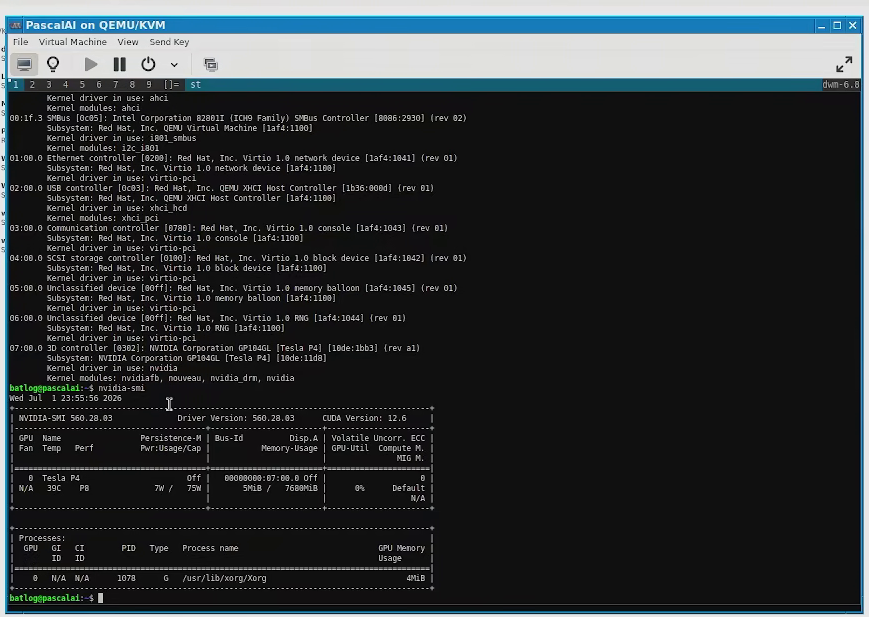
I rebooted and ran lspci -knn nvidia-smi to verify the card was loaded properly
Words cannot express my shock at how easy this was compared to the P40
Once that was done I cloned sdnext and set the variables as I did previously. Once it passed past Pytorch without errors I was basically done. I just opened the webui and downloaded a model.
Setting environment variablesPytorch installed without issues
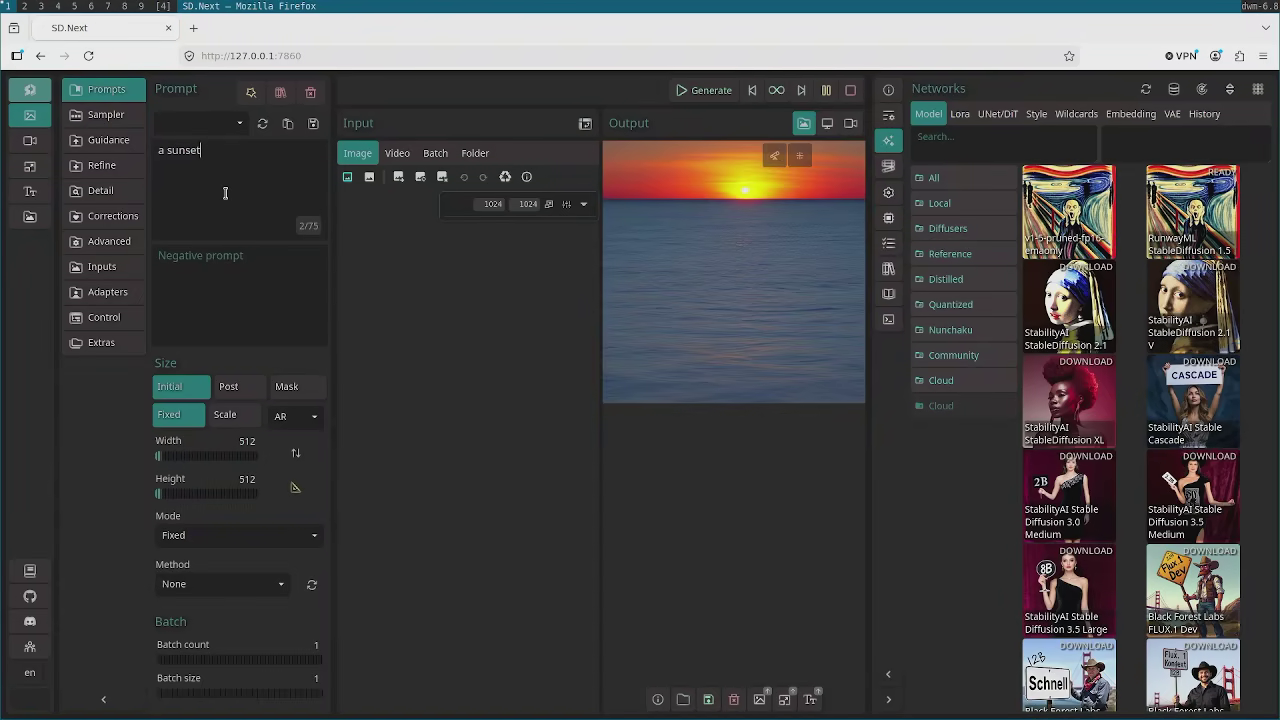
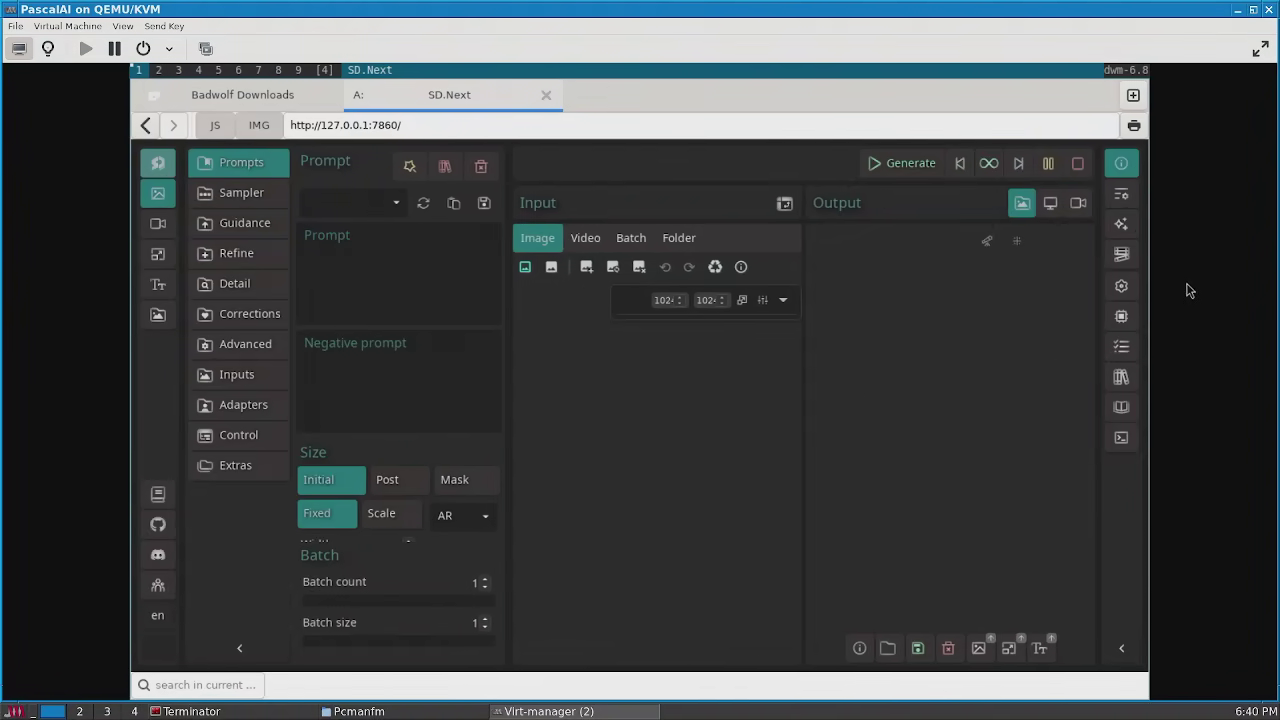
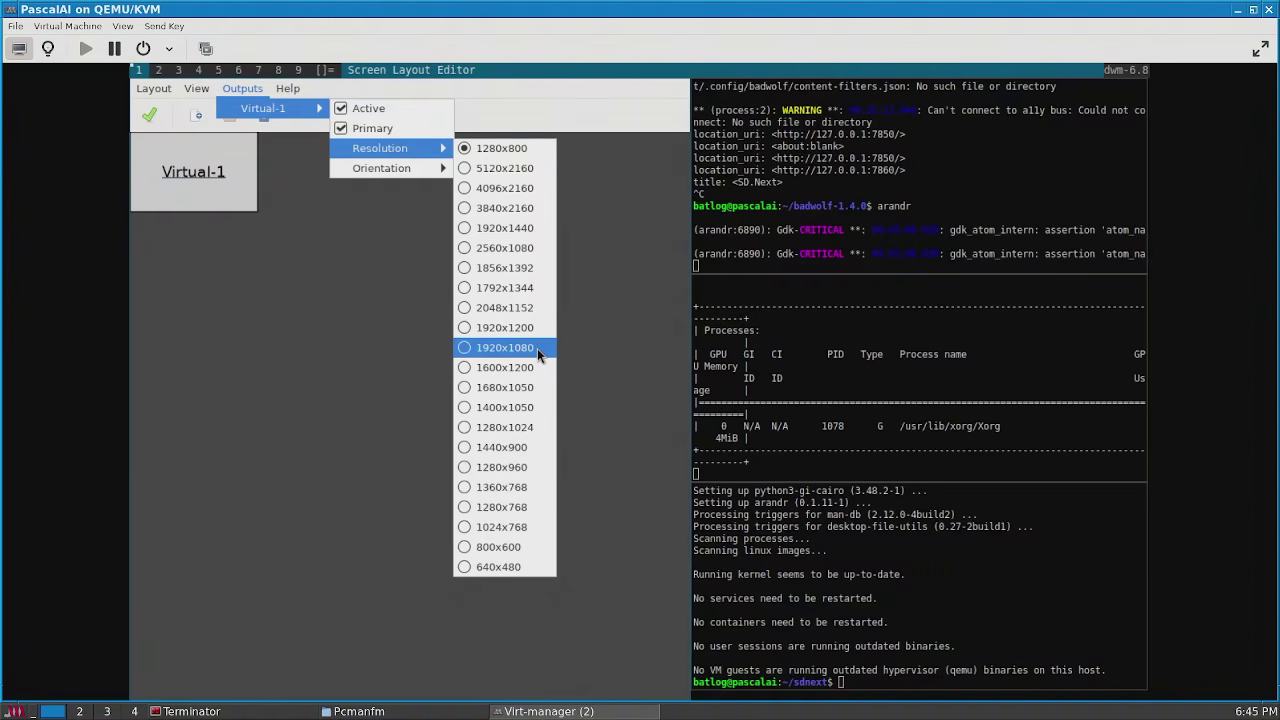
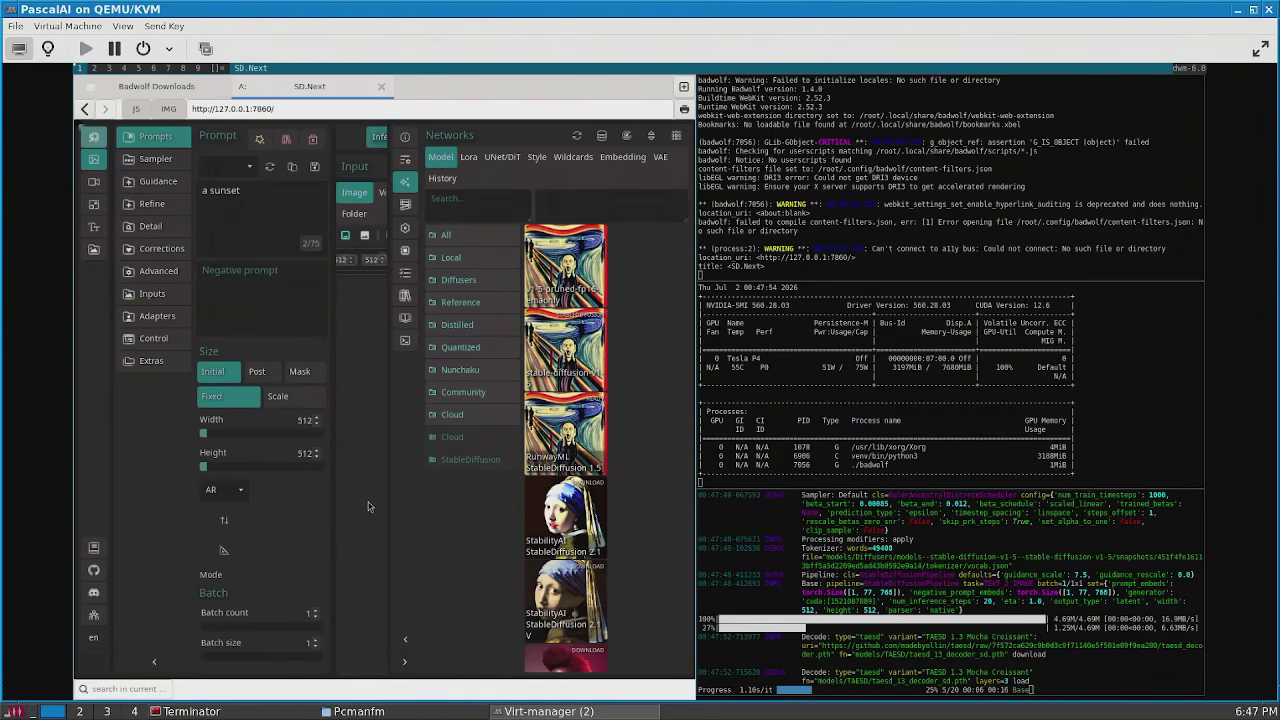
At this point I decided on installing Badwolf for my browser because it's very lightweight, loads SDNext without issues and most importantly, doesn't come in a snap like everything in ubuntu these days and wastes resources running snapd in the background. However I ran into an issue where I kept running out of VRAM because it was trying to generate a 1024 x 1024 image and I couldn't change that because the window was too small and Badwolf doesn't handle zoom very well. So, I installed arandr and changed the resolution.
Badwolf loading the website without options to modify the image sizeChanging the resolution with arandr
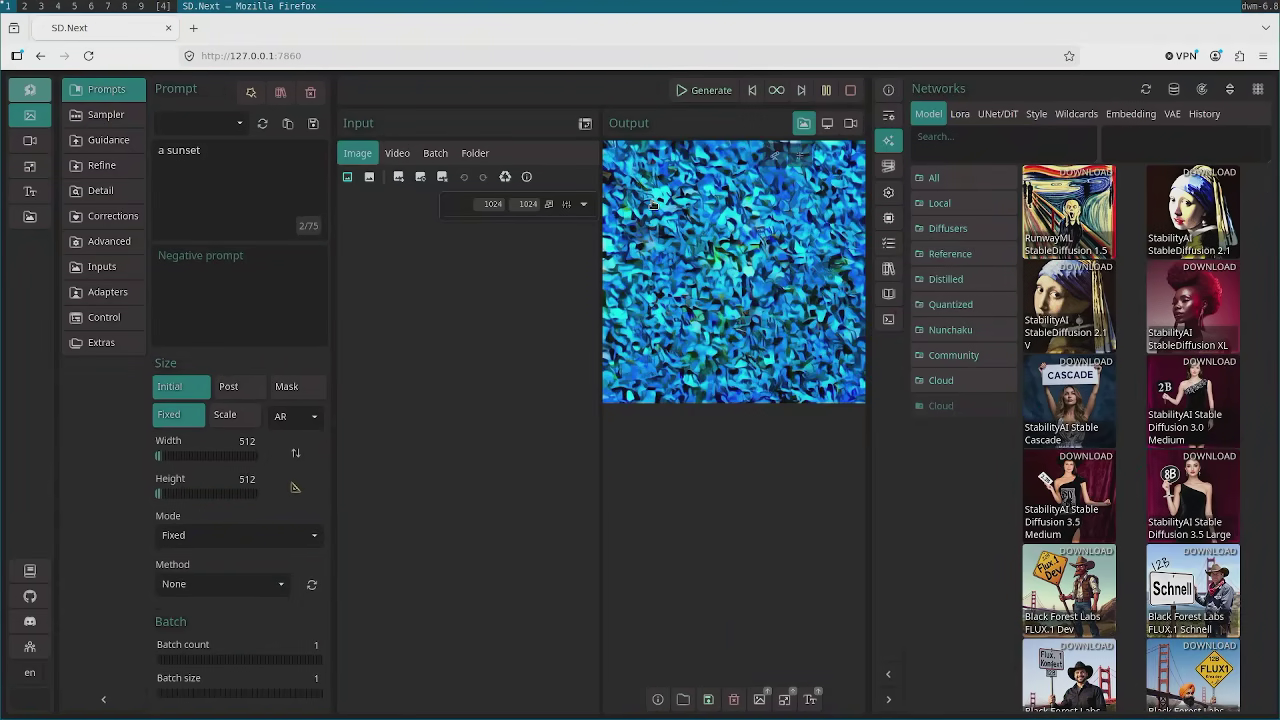
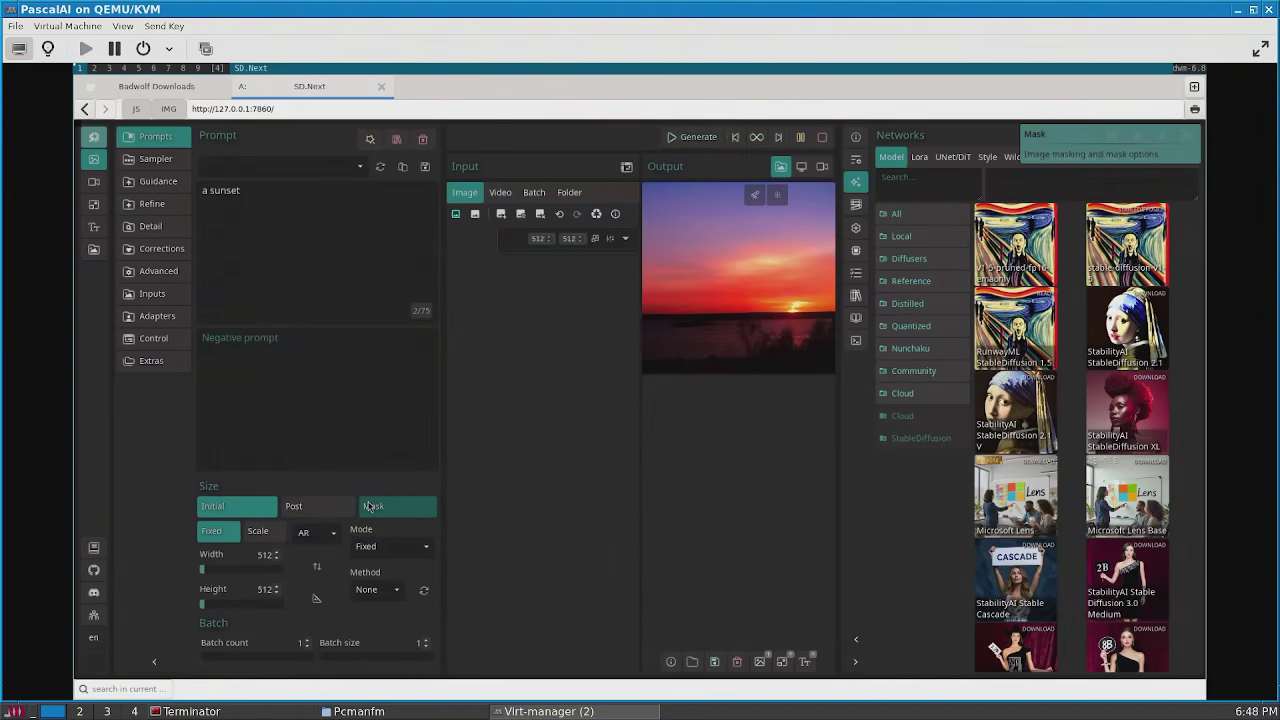
Then everything worked as intended after I adjusted the image size to 512 x 512
Making a 512x512 imageFinal result, system working as intended
I still have to get this running on my P40 but given I have a functional VM it will be easier to troubleshoot. For the moment I'm happy I preserved this before pytorch pulls the plug.
Addendum 1: Cooling a Tesla card
Used Tesla cards normally sell for cheap in the second hand market and usually come with nice features for Cuda tasks but the problem is that they are meant to run on special server chasis that incorporate high-pressure fans to cool them and that I assume most people don't have, this means if you want to stick one in a home PC you need to mod.
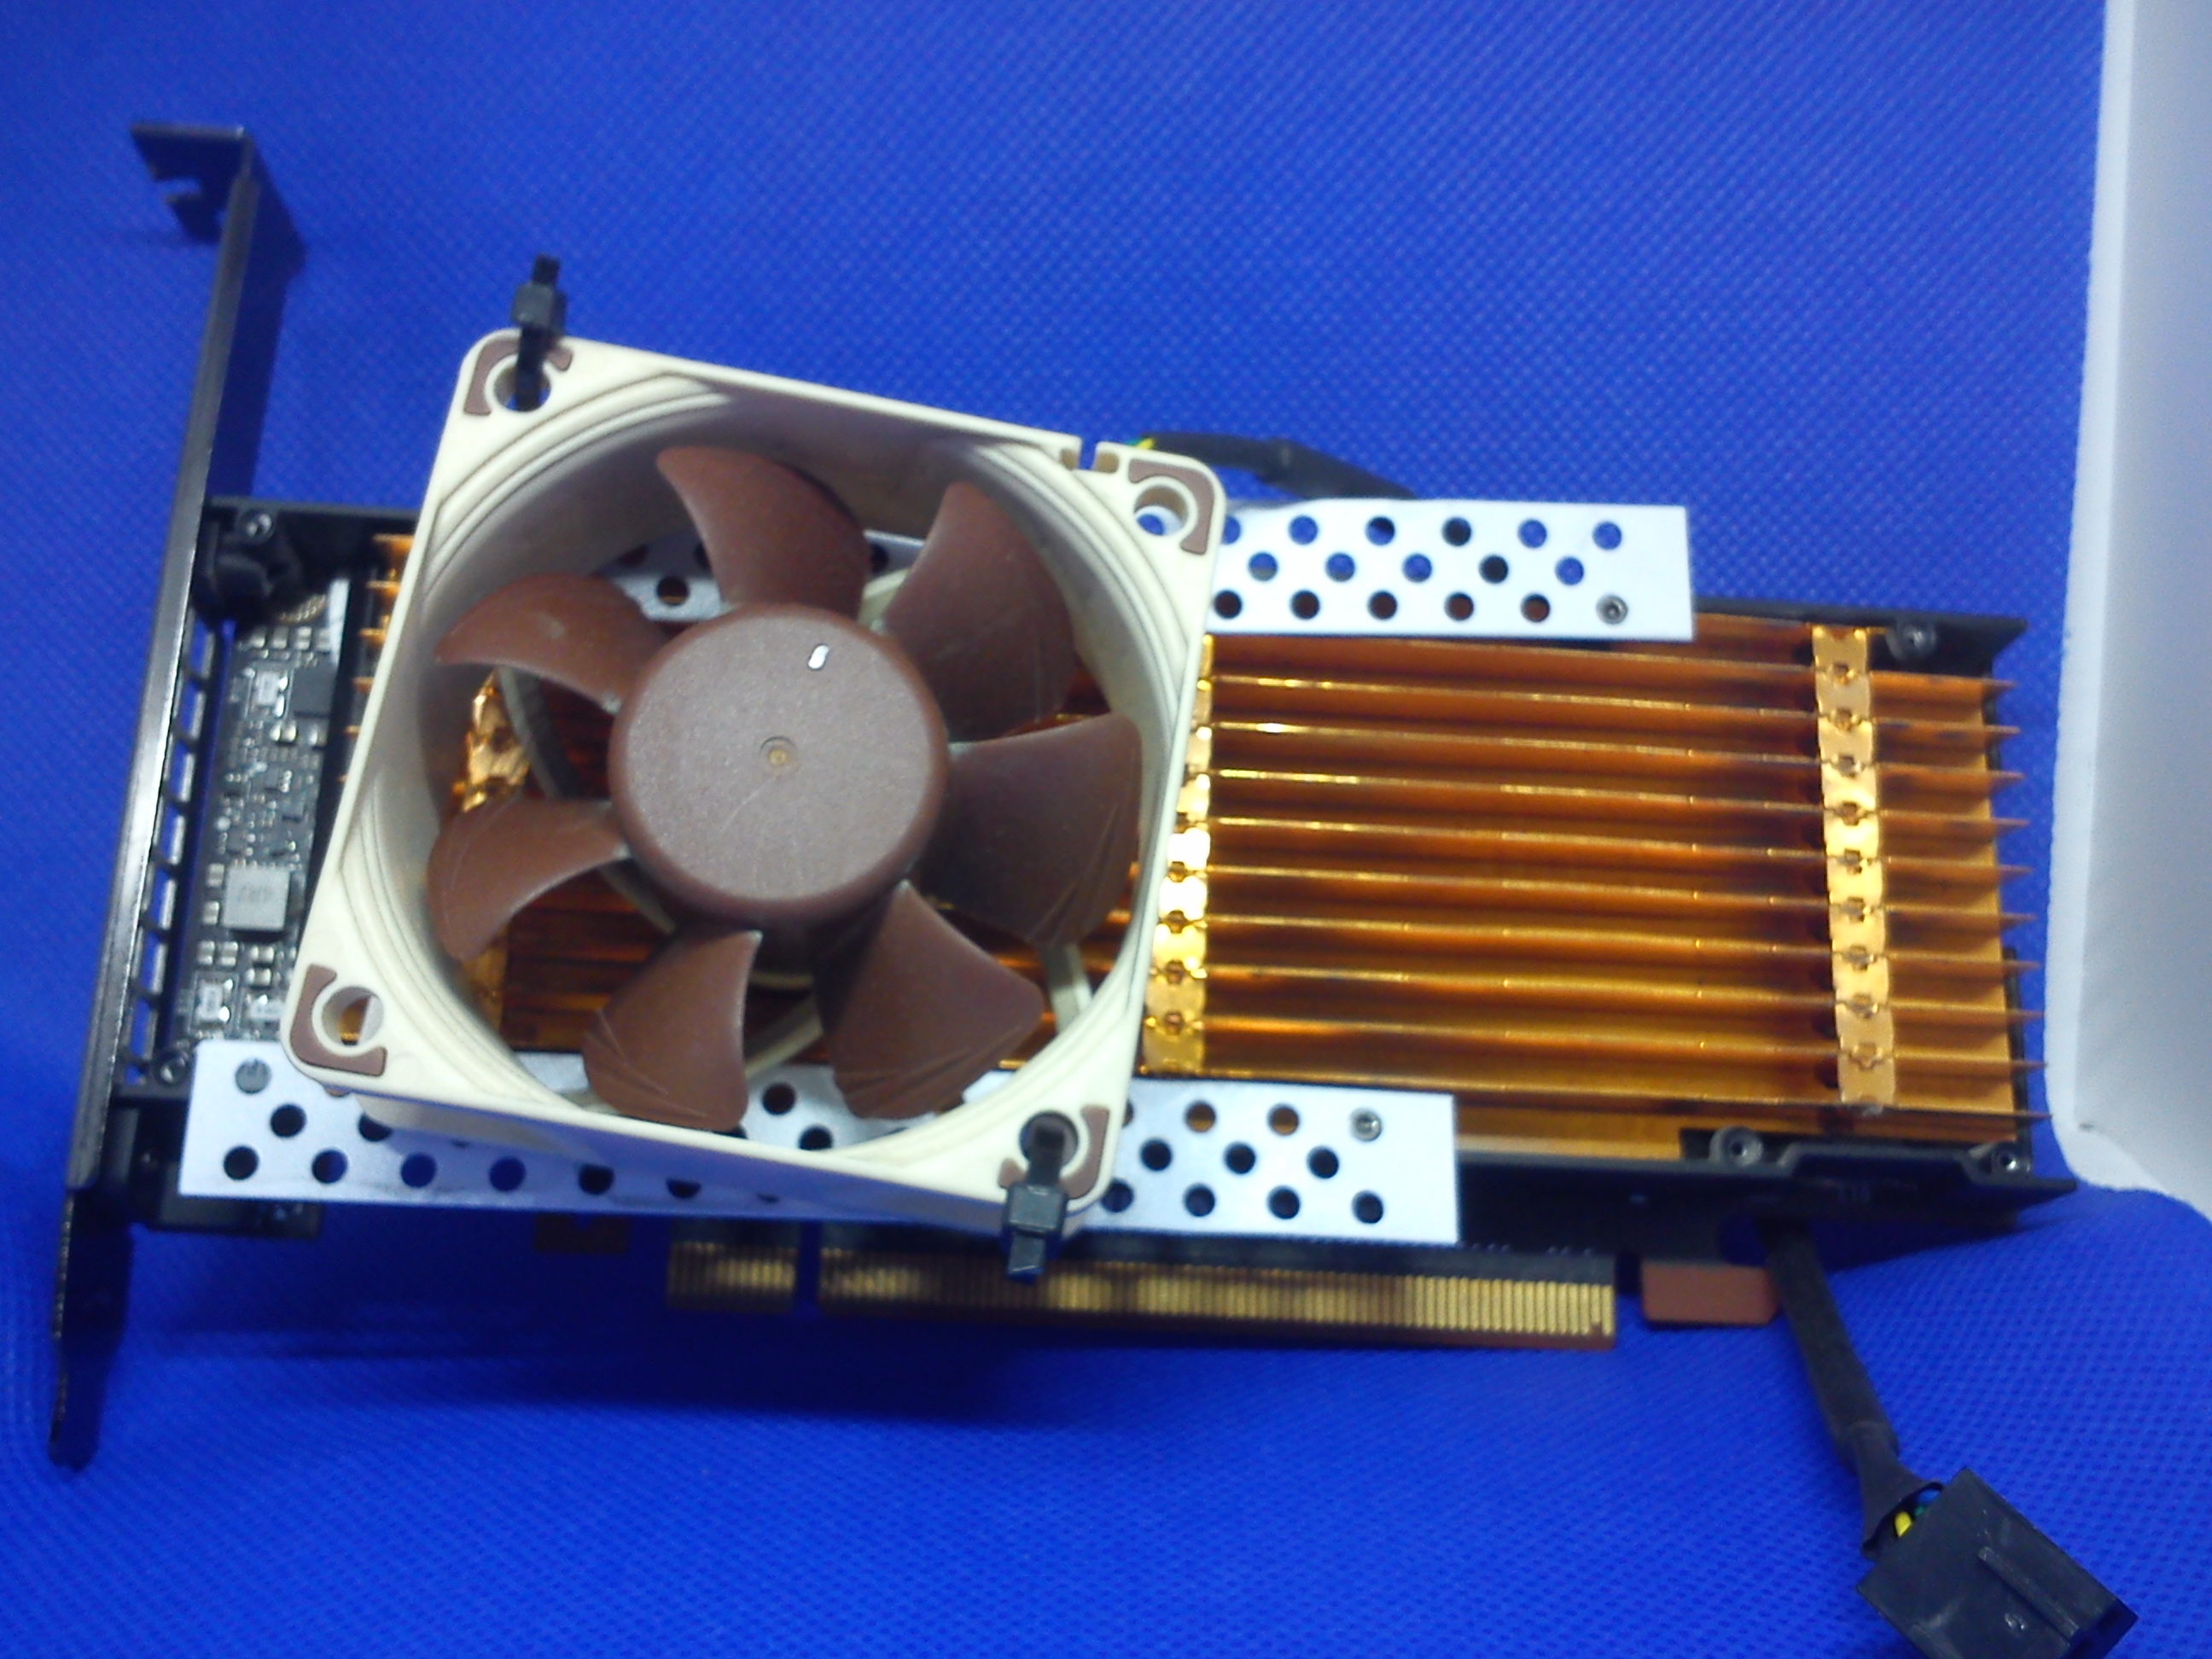
If you buy a passive-power low profile (A P4 or a T4 for instance). You really don't have a whole lot of problems cooling it, here is my ghetto cooling solution for a P4 for instance:
Absolutely ghetto-tastic!
It's not the prettiest mod I've ever done but honestly it just gets the job done, the card never over-heats, there really isn't much to cooling a small Tesla.
The big ones though? Those a re a problem. The small passive-energy Teslas pull between 50 and 75w. The big ones? They pull 250w and while performing any task they usually run at 100% speed and power consumption, cooling them can be a legitimate headache.
Most people use a blower style fan and a 3D printed funnel, I tried a solution like this first but to be honest I found the cooling to be lacking if I left the card running for hours (Which I imagine is what most people want), I was letting my PC cool down every 4 hours like a vintage car or something and honestly that didn't sit well with me.
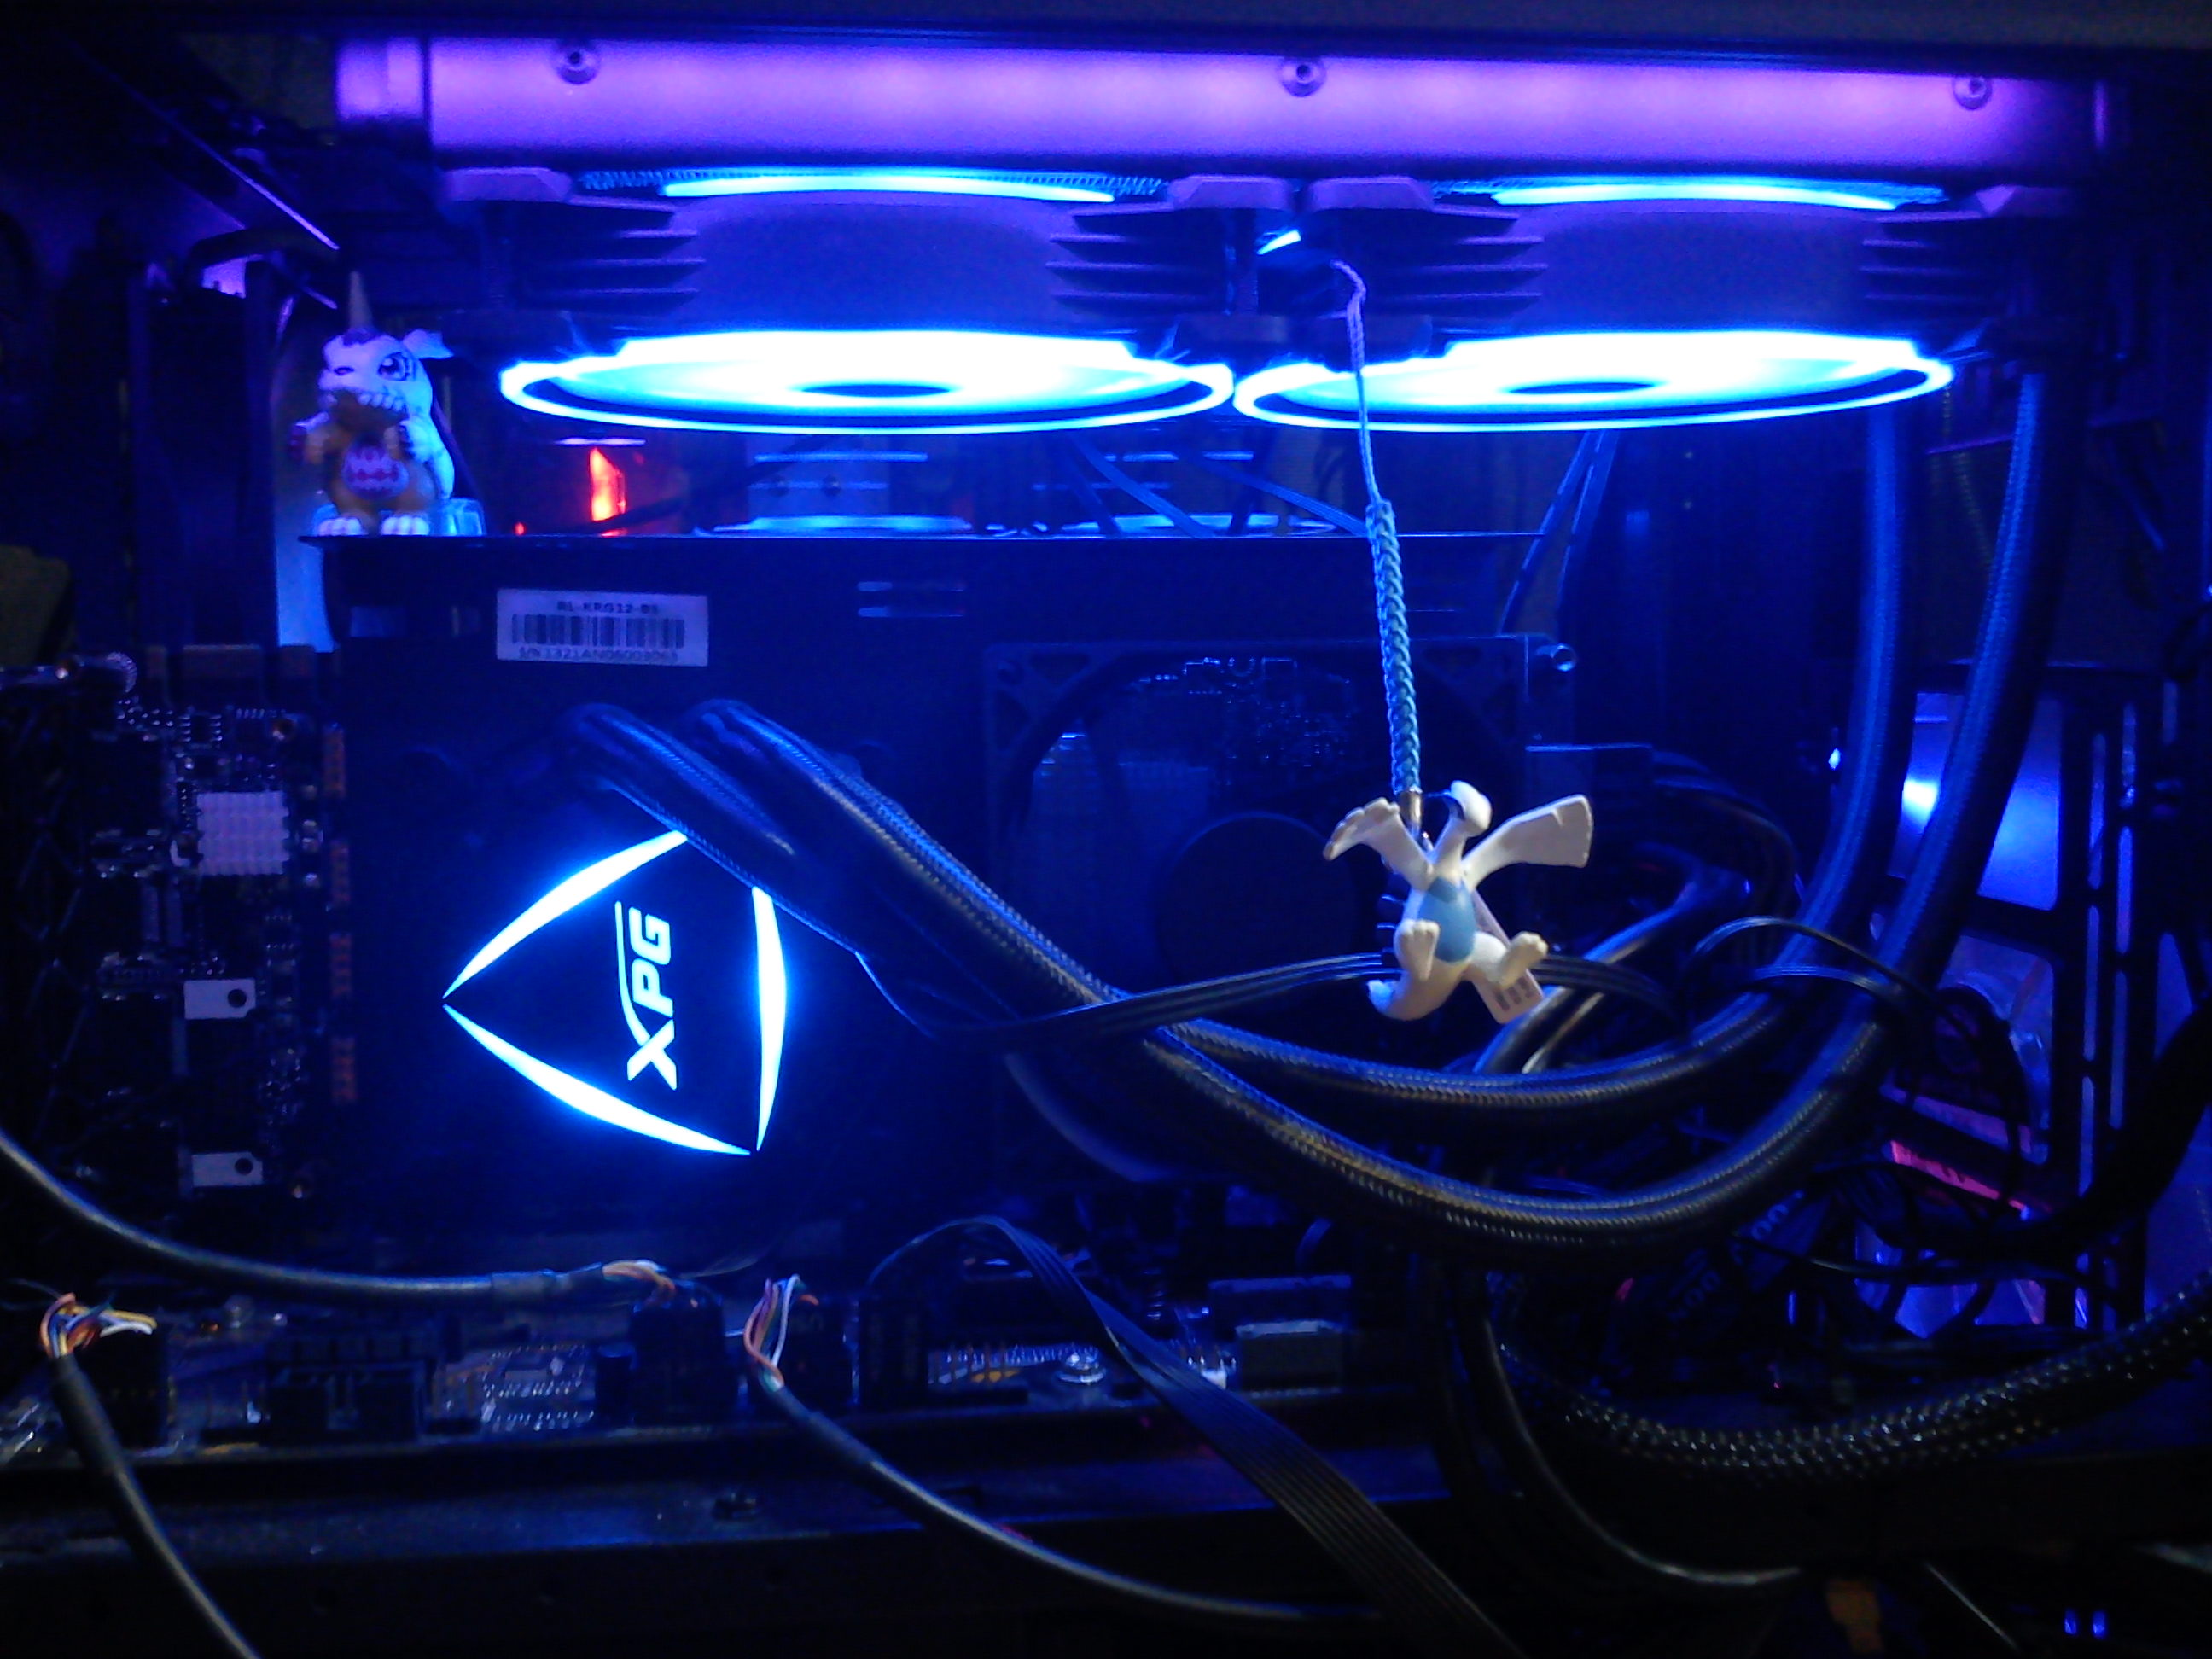
So, I decided to go the full Water cooling route, here is my card as of June 2026:
Isn't it cute? :3
Tacky choices of aesthetics aside, I don't think anyone that looks at the thermals of it can argue with the results, I don't think I've ever seen it go over ~60°C after running it for hours.
What I did and what I used:
I think I was rather lucky when I got mine as I got an NZXT Kraken G12 for very cheap that fits perfectly with the card (The Kraken was designed for high-end gaming pascal cards, Specifically the GTX 1080 and the Titan, and really what is the P40 but a 1080/Titan without HDMI output?), from there it was just a matter of finding a cheap water cooling solution that had the same manufacturing process as the kraken intended to use in 2017 and while NZXT keeps using it their coolers were a bit too expensive for this project. On the other hand XPG and Asus also used the same manufacturing process and were on my price range.
I used thermal glue with copper heatsinks (Not aluminium) for the vram modules and along with the fan of the Kraken and a few aluminum heatsinks I managed to cool down the rest of the components. The thermal glue (Not paste) was necessary as the copper heatsinks would fall off with nothing but gravity regardless of anything else I used (E.g. thermal pads or the glue they came pre-applied with); Due to the use of thermal glue I had to let the card curate overnight and it added about 10 hours to the project.
Overall this whole thing added about 80 dollars to my budget so if you're thinking of doing this have a cooling solution already in your possession or already on your way before-hand. Also, bear in mind this basically kills all after-market value of the card, nobody buys modified Teslas so bear in mind if you modify one you're keeping it forever or trashing it afterwards.