FreeBSD and the Bhyve logo are registered trademarks owned by their respective copyright holders and is only used in this article for informative purposes
Bhyve VM PCI Passthrough via Bhyvemgr on FreeBSD (2026)
Let me preface this article by saying that this was a... learning experience to say the least. I had never used Bhyve before but I decided to give it a crack because it sounded really to use.
While it is indeed easy to use and configure once you actually know what you're doing (I'd argue it's even easier than Linux), I had to learn how to do this hands on via trial-and-error because of two problems:
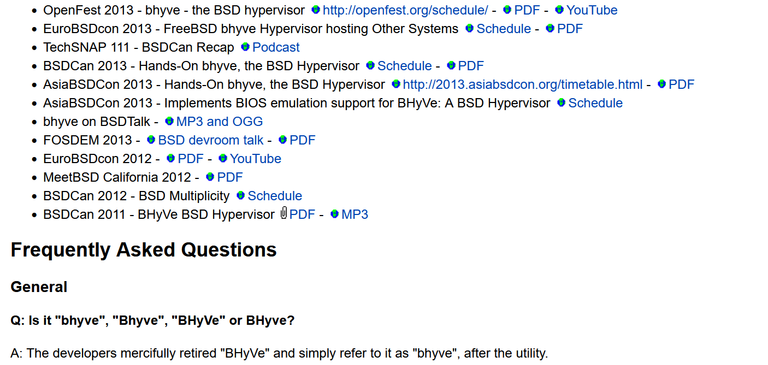
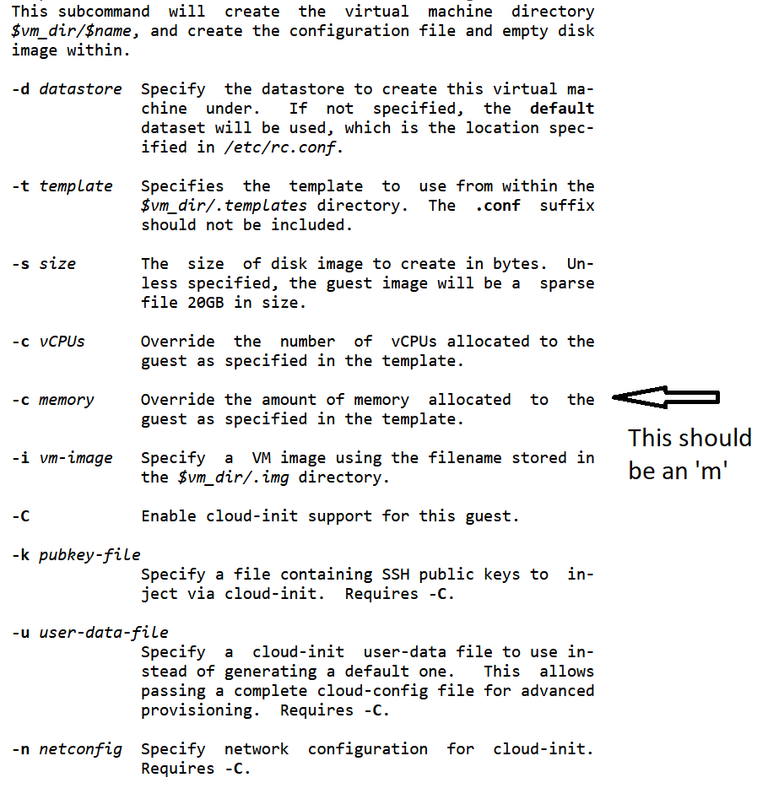
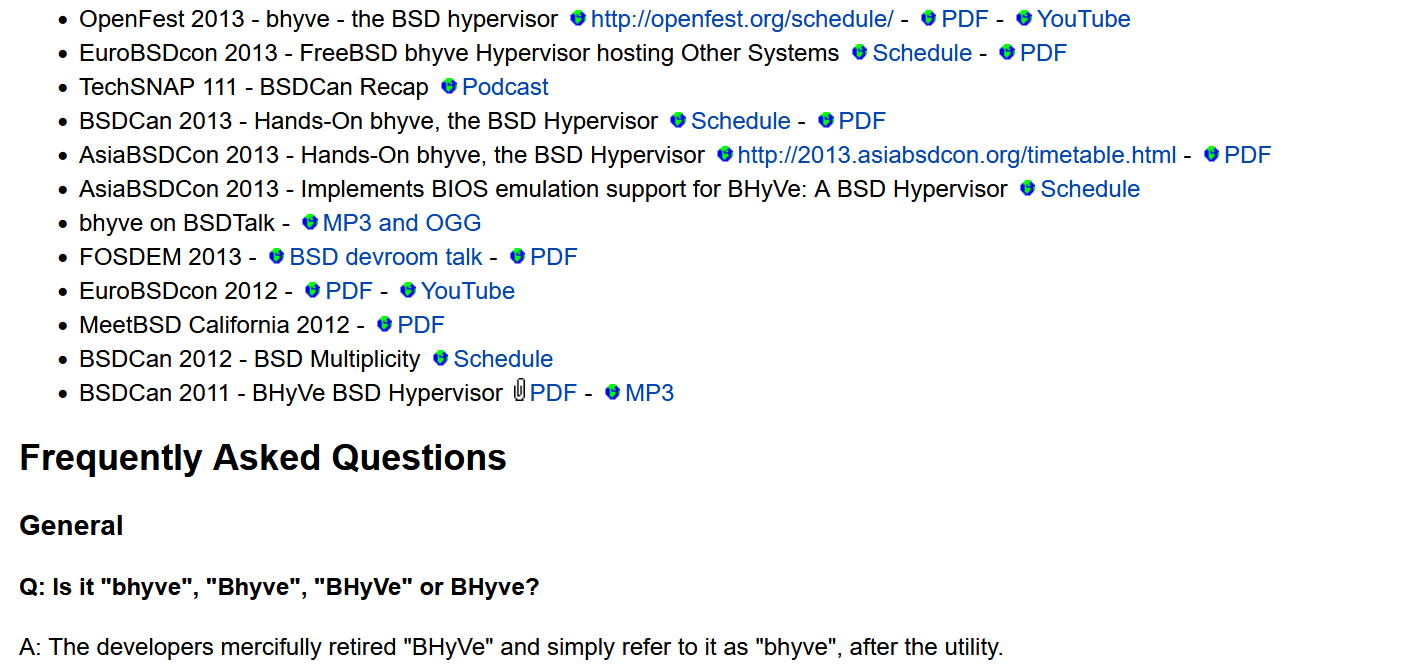
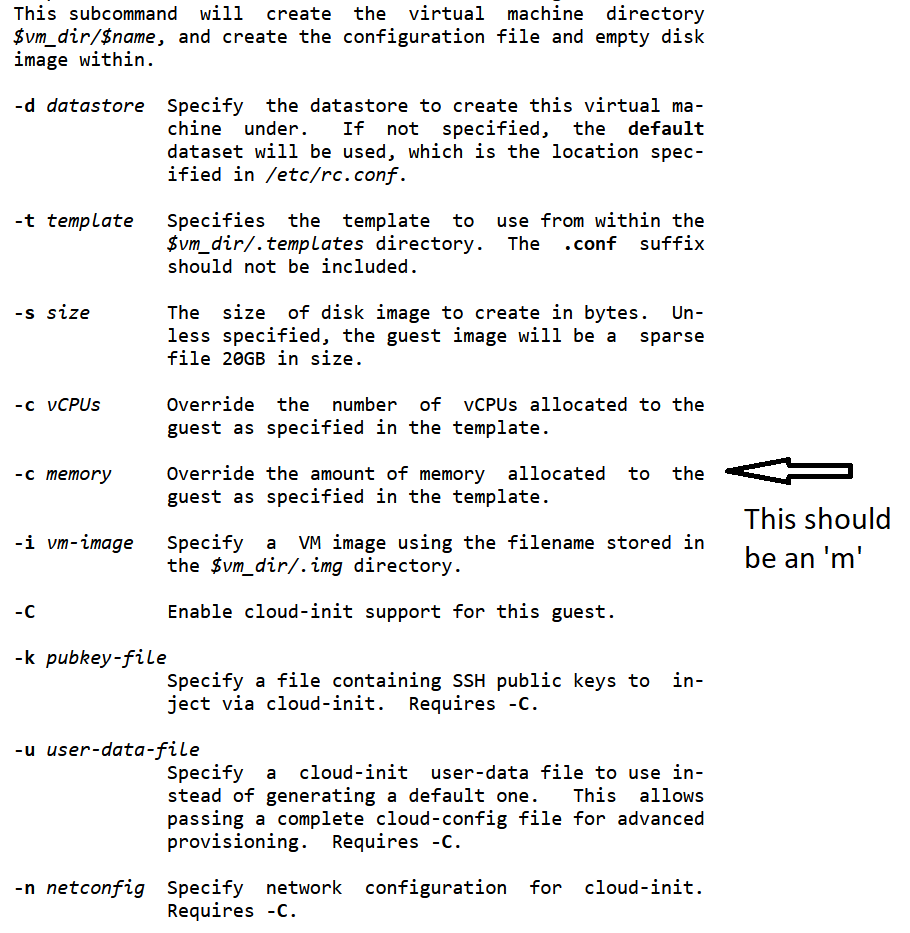
The documentation is terrible. For instance the main page for Bhyve has extremely useful information like 'How Bhyve is pronounced' and dates for meetings and conferences. Even the man pages have errors, I hadn't seen man pages with errors for something as critical as this in years.
Extremely useful info regarding BhyveThere's even errors in the man pages!
FreeBSD tends to be very non-verbose when it comes to handling errors, see my addendum for failed attempts for examples of errors while trying to passthrough devices.
I'm therefore taking this article a bit slower due to the lack of information and examples in this subject.
Prerequisites:
I'm gonna use LXQT in order to do this, you can do this in any desktop environment but I recommend LXQT because the GUI manager I'm using uses QT for graphics and therefore keeps the system with less bloat. If you don't know how to install a desktop environment check out my article on FreeBSD desktop pointers where I go over how to install LXQT.
I have sudo installed, I did this whole article as root as I was testing things out but aside from that bhyvemgr does require sudo in order to do some operations.
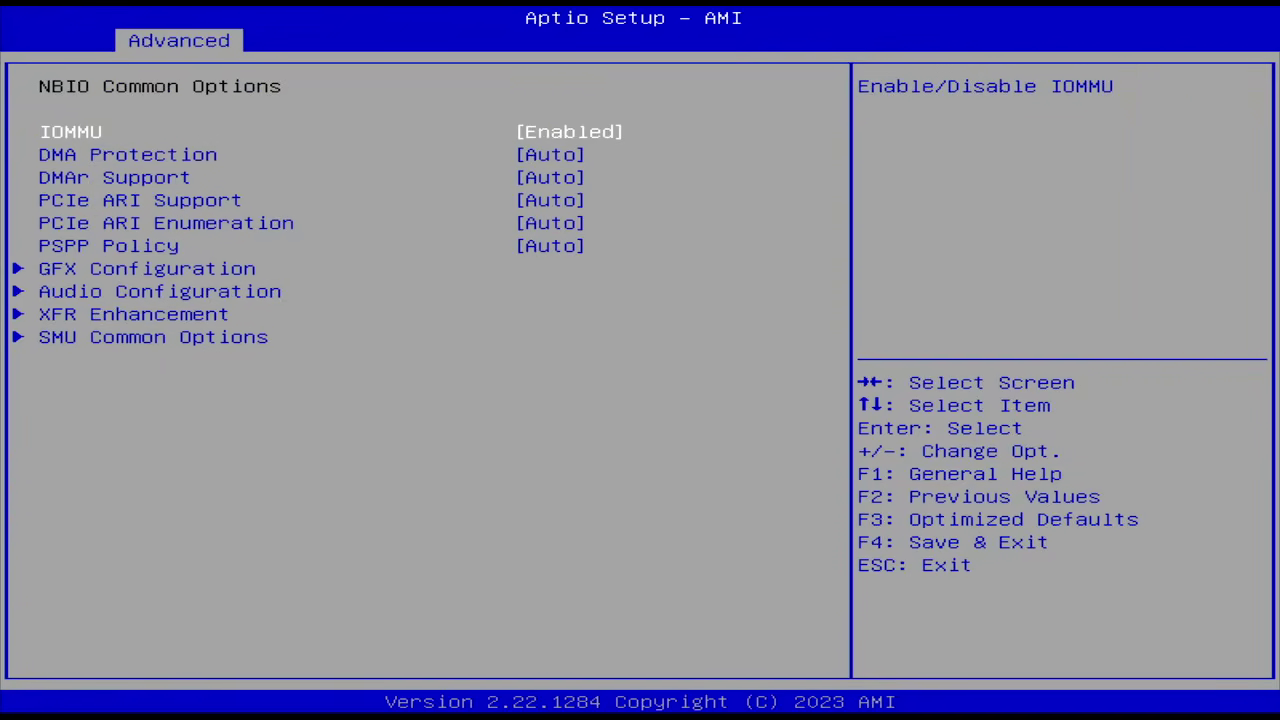
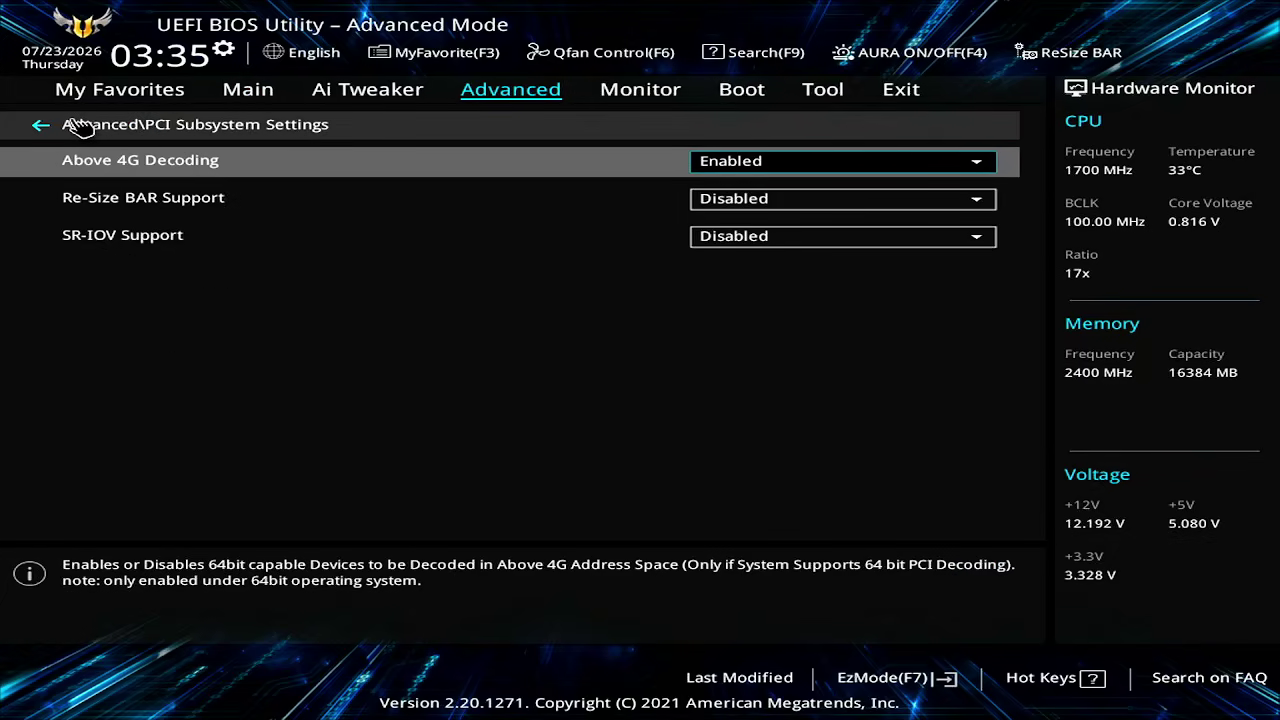
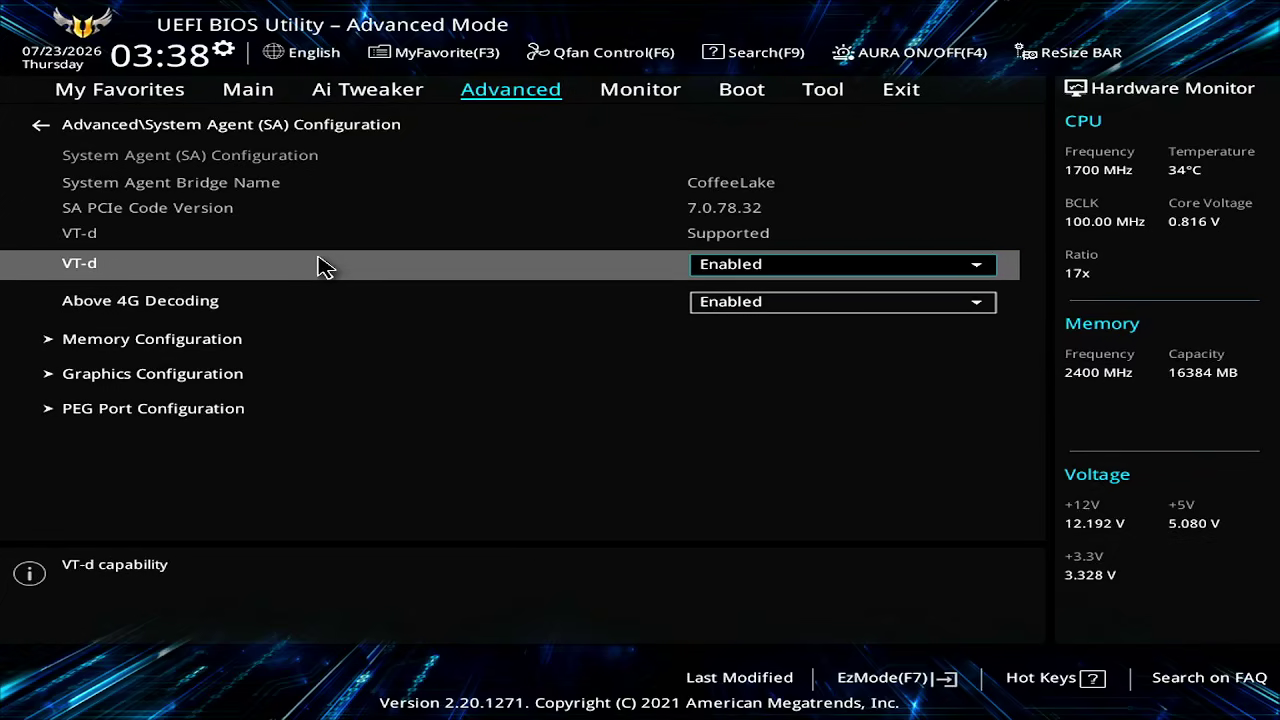
You have to enable IOMMU, SVM or Vtd (Depending on the CPU you have, SVM is for AMD, vtd is for intel) and disable resalable BAR. Depending on what you want to pass-through I also recommend disabling above 4GB memory, if it's a GPU with a lot of memory that requires this option enabled there's a chance you won't be able to pass it through (See addendum 1).
Example of enabling IOMMU on AMDDisabling resizable BAREnabling Vt-D for IOMMU on intel
Step 1: Enabling virtualization in the kernel and installing bhyve
THis is relatively straight-forward. Aside from an X11 environment and sudo Bhyvemgr only has three undeclared requirements: enabling the kernel module for virtualization, installing bhyve and installing dnsmasq
In order enable the virtualization module, it's as easy as just entering the following on a root terminal:
kldload vmm
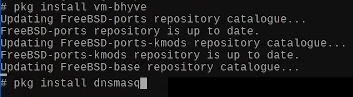
Afterwards, bhyve and dnsmasq are just packages.
pkg install vm-bhyve pkg install dnsmasq
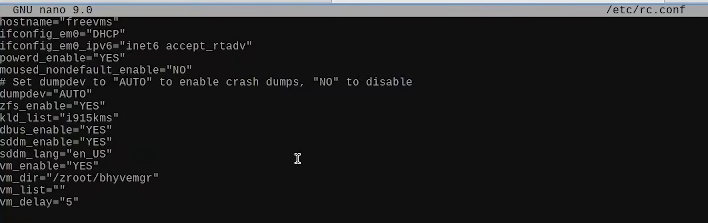
Before moving forward, you need to make a couple of changes in /etc/rc.conf and /boot/loader.conf in order to load the components and make them permanent.
The vm_list and vm_delay lines are optional but I recommend keeping them there as FreeBSD will launch any VM it has at boot otherwise without the 'vm_list' line (This line dictates which vms you want to launch at boot).
Step 2: Configuring a network bridge, installing bhyvemgr and making an Ubuntu Noble VM
Start downloading an iso of any distro or FreeBSD version you want, for this article I'm gonna use an iso of ubuntu noble.
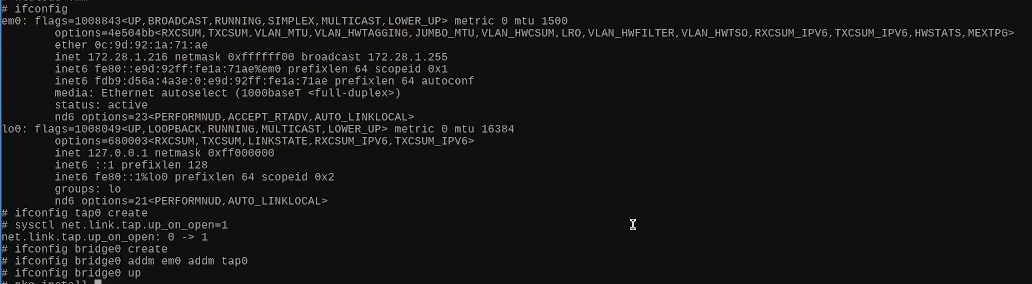
While that is downloading, open a new terminal in another tab and setup a network bridge using your active network interface as described by ifconfig (ignore the lo0 interface).
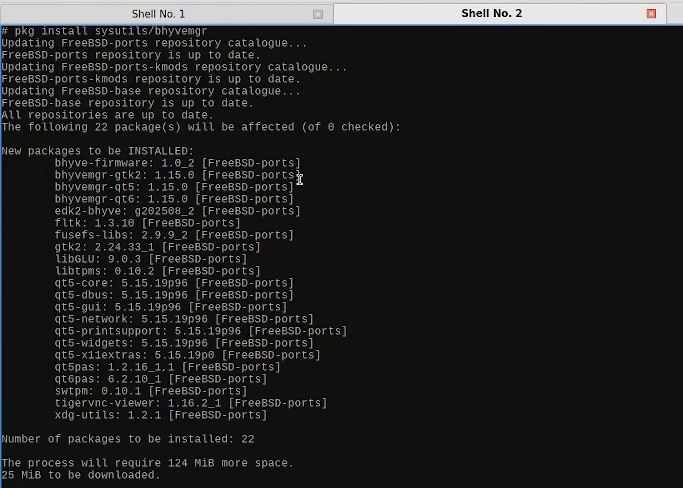
Now install bhyvemgr, unlike other packages you must specify where in the repo it is because it's not downloaded very often.
pkg install sysutils/bhyvemgr
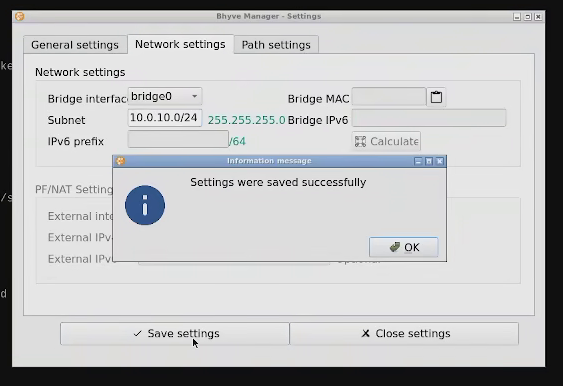
Execute bhyvemgr, you will be prompted to change the configuration, the only one of interest is the network tab, select the bridge connection you created and click apply.
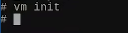
Before you go ham and make VM, close bhyvemgr and enter the next line:
vm init
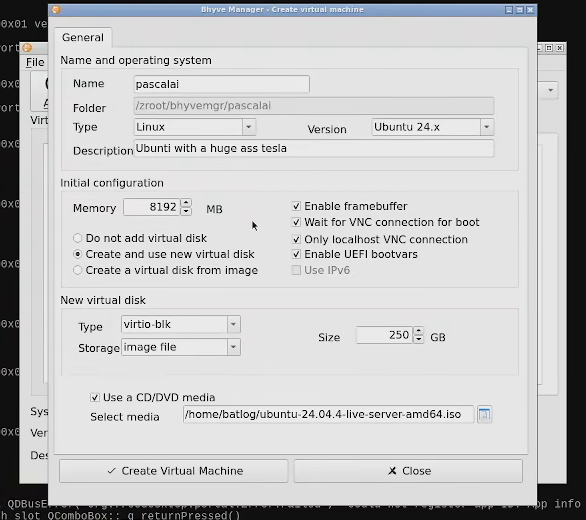
Now open bhyvemgr again, this time do try to make a VM, pick the +Add button on the upper left and configure it to your liking, remember to select the iso of the OS you downloaded (I recommend a virtio drive if you're using Linux).
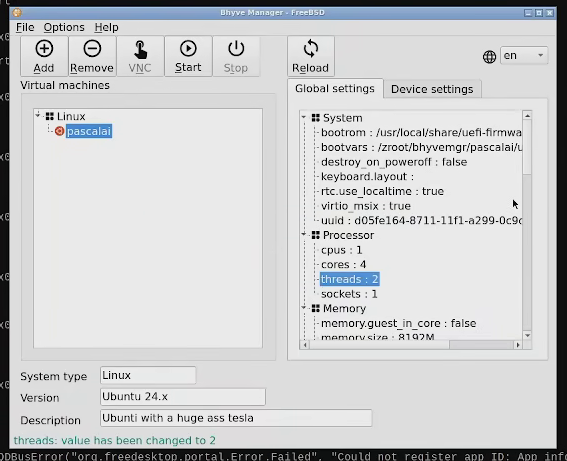
Before firing it up, you may have noticed that the daemon didn't give you the choice of picking how many CPU's you want and this is because the topology in bhyvemgr must be declared manually, if you're on a normal PC with a single CPU socket the only parts you have to modify are core and threads, in my case I'm giving the VM 8 CPU cores by giving it 4 cores and 2 threads per core.
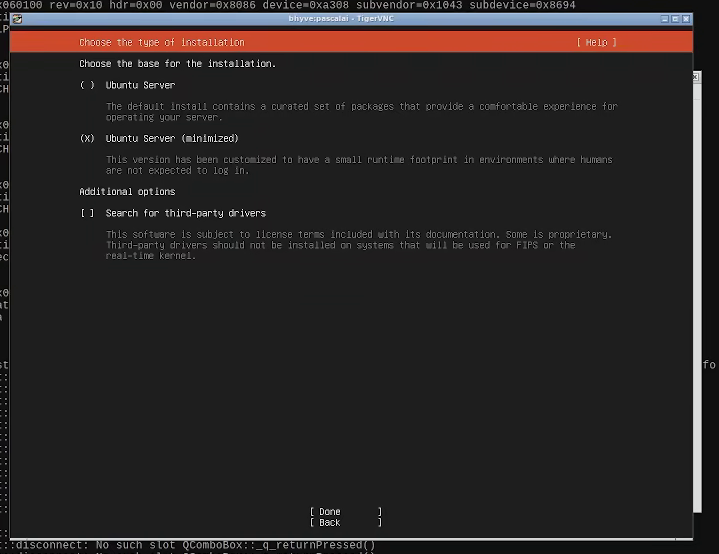
Now you can fire up the VM, you can open and see what the VM is doing with the 'VNC' button. Do the install of your OS as you normally would.
Step 3: Passing through a pcie device and verifying it's loading in the virtual machine
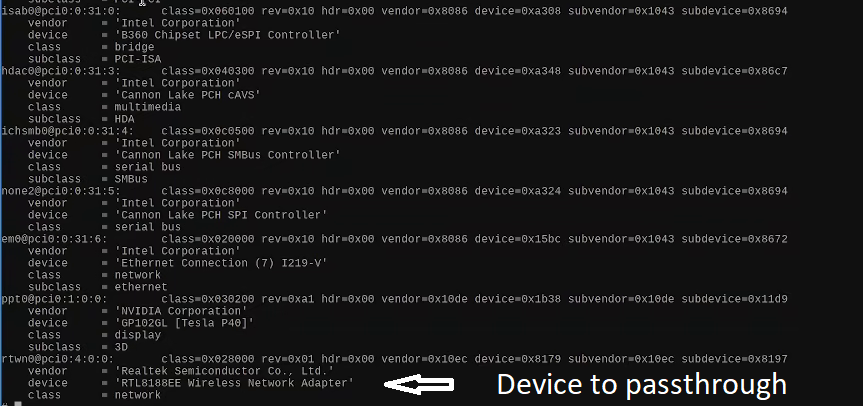
Passing through is actually easy, turn off your vm, close bhyvemgr and list your PCI devices. By chance the wireless card I was looking for was last on the list.
pciconf -lv
Open /boot/loader.conf and add the device you want to passthrough with pptdevs (Ignore the first 0). If you want to pass more than one device you can do so by just spacing them out (E.g. "1/0/0 1/2/0 4/2/0").
pptdevs="<device_number>"
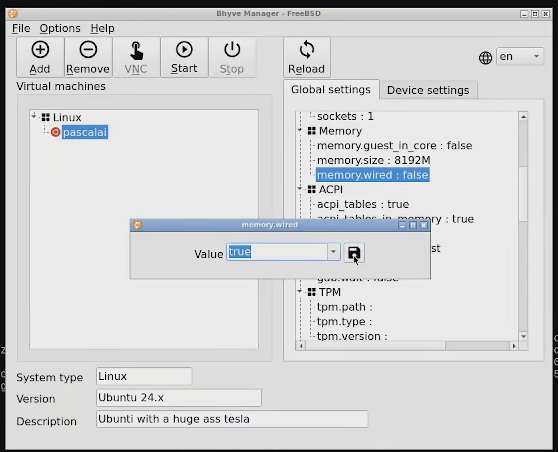
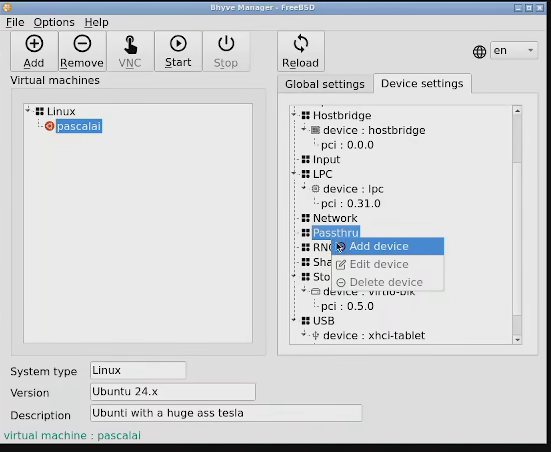
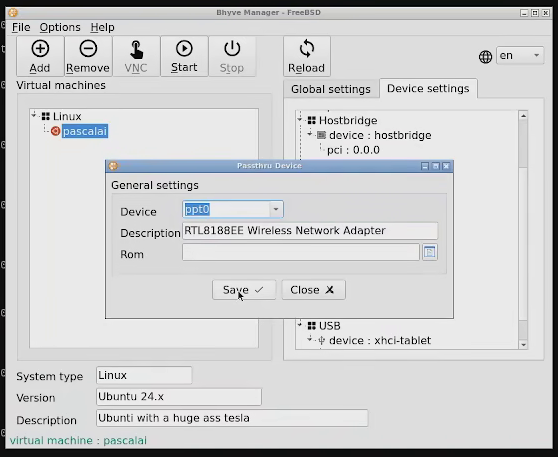
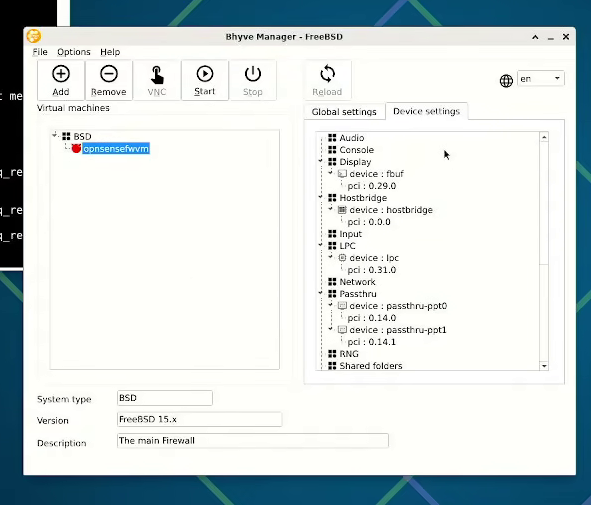
Reboot your system. Once you're back on open Bhyvemgr and under general settings find the option that says 'Memory Wired', set it to true. Act following go to Device settings and under 'Passthru' add your new device from the drop-down list.
Setting memory wired to trueAdding a deviceSelecting the PCI device
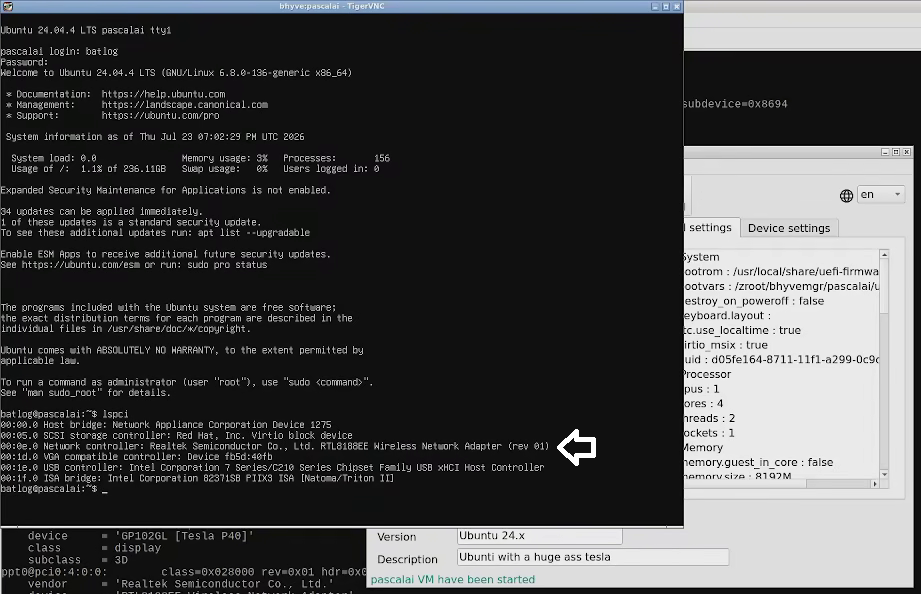
Fire up your machine, if you did everything correctly you should see the device listed on your host. If you don't... well see the failed attempts and it may give you a clue.
Addendum 1: Failed attempt 1 - Passing through a Tesla P40
I'm adding my failed attempts in hopes they shine a light on someone that may be attempting this. Needless to say the original intent with the computer used to document this article was to passthrough this Tesla but things didn't go as planned.
The scenario: The VM hangs on a black screen when turning on the VM while the P40 is attached, it turns on normally when it's not.
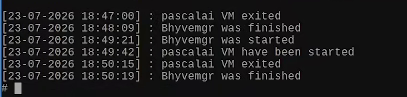
What FreeBSD reports: Absolutely nothing lol, the reports are inside ~/.config/bhyvemgr/bhyvemgr.log and they don't claim anything is wrong, it just says the VM 'exited' when I turn it off.
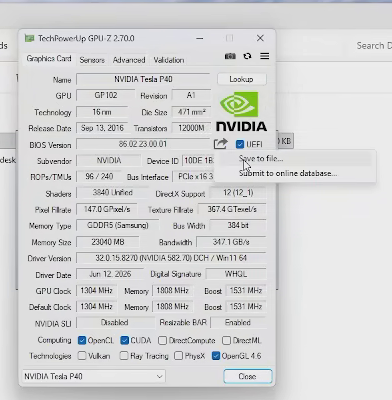
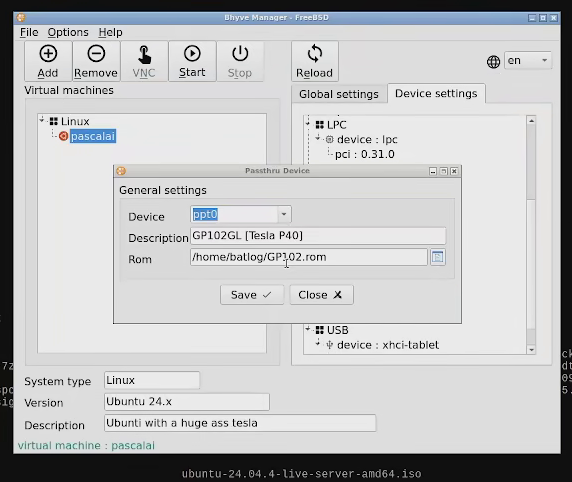
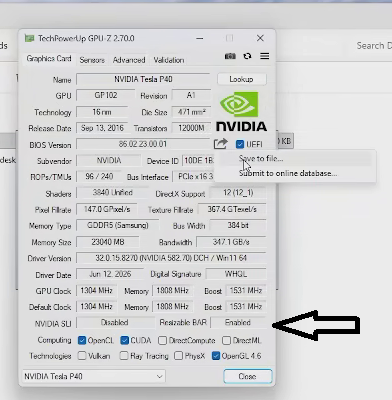
What I tried to do to correct it: I thought maybe bhyve didn't know what I was trying to passthrough, so I decided maybe I needed the rom/bios file of the GPU, so for this end I... sigh, installed windows and extracted the BIOS with GPUZ.
Extracting the BIOS on WindowsLoading the BIOS on FreeBSD
So, after loading it, did it make a difference? Of course not lol, otherwise this wouldn't be a failed attempt.
What the (not-reported) problem is: Some people that may know about Bhyve in advance may have noticed this in the Windows install:
Bhyve doesn't accept passthrough of graphics cards that make use of Resizable BAR. I'm pretty sure if I had tried to do this using a GPU with 8GB of VRAM or lower. Something important to note is that Resizable BAR was disabled on the BIOS but above 4G decoding was not, and without 4G decoding the computer refuses to boot due to the absurd amount of VRAM the card has, therefore Bhyve really isn't an option for this..
Actual solution: Use a Jail (Probably). A guy that goes by NapoleonWils0n on GitHub figured how to get CUDA working inside a jail for Davinci Resolve with the latest CUDA version. I tried it but I ran into two issues: I followed his instructions and accidentally ended up installing a few programs that use the latest version of CUDA, thus bricking my FreeBSD install (Using the 580 Drivers) and I wanted to use Bastille in order to automate it a bit but Bastille doesn't allow non-debian based distros to be installed. I may look into doing something to ease the use of the base FreeBSD jail system (Likely via scripts) because to be honest it's a pain to configure and maintain.
Addendum 2: Failed attempt 2 - Passing through a couple of ethernet NICs in order to make a virtualized firewall
This was my original intent, I wanted to make a virtual firewall to replace an old Ubuntu install after the recent KVM vulnerability was found and it was my first shot at this, it absolutely drove me crazy because I couldn't find what was wrong.
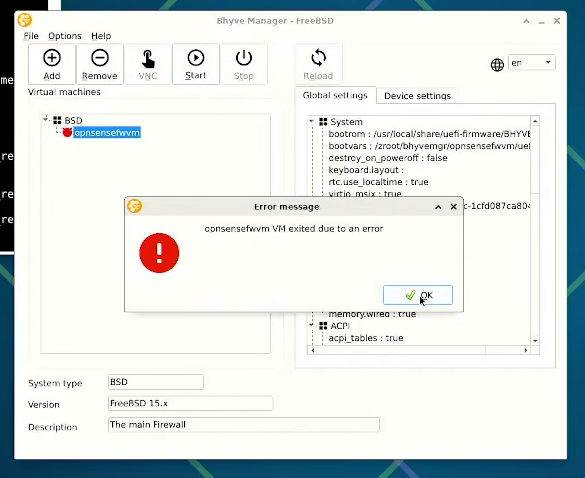
The scenario: The VM refuses to turn on due to undisclosed errors altogether when trying to attach the ethernet NICs, the VM works absolutely fine without the NICs.
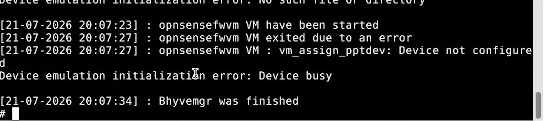
What FreeBSD reports: Inside ~/.config/bhyvemgr/bhyvemgr.log claims 'The device isn't ready'. I looked up this error and it happens whenever you try to passthrough devices that don't have ppt drivers attached. The issue here is, the devices did have the drivers supposedly loaded as evidenced by the fact that I could attach them without issues on bhyvemgr.
Device busy error on logsDevices attached fine in Bhyvemgr
What I tried to do to correct it: Everything lol, I redid all the steps and once that failed I re-formatted and tried again but nothing worked.
What the (not-reported) problem is: My Aliexpress-bought chinese-manufactured passively-cooled mini-PC is crap. Really, that's the root of the problem. The issue was that while BSD reported that the interfaces had the ppt drivers loaded in pciconf and my computer had both IOMMU and SVM configured correctly, the motherboard just refused to let go of them and therefore still had the Realtek drivers loaded.
This is one of the issues that I have with FreeBSD, it has no option to show you clearly the loaded kernel drivers and which device they belong to, even if you instal lspci it tells you their devices and their IDS but the kernel option is completely disabled. it wasn't until I gave up and made a Linux install that I noticed the drivers were still loaded even when the virtio drivers were installed correctly that I finally understood where the problem was.
Actual solution: Just give up and install Linux, I ended up resolving the issue by using qemu hooks (I'm posting an article on what I did next month and linking it here). FreeBSD also has hooks but they do the same as if you were to do this using the /boot/loader.conf config in this article.