OpnSense and the Virt Manager logo are registered trademarks owned by their respective copyright holders and is only used in this article for informative purposes
Making a virtual firewall using qemu hooks for PCI passthrough
OPNSenseOriginally I wanted to do this with FreeBSD but passing the devices kept failing over and over and I eventually resorted to Linux
I have a passively cooled mini-pc with a ryzen 5800u that I had been using to virtualize a firewall for a while now, it was running Ubuntu Jammy and pfsense on top of it. Recently there was an exploit discovered in kvm that allowed full privilege escalation on the host and as such I thought it was time to upgrade.
Originally, I was trying to do my usual tricks of passing-through by loading the virtio drivers at boot but my Chinese PC just refused to cooperate with this approach, therefore I guess it's a good time as any to use qemu hooks in an actually practical scenario.
Hooks are scripts that you can setup at boot of a virtual machine, for this particular instance what I'll do is detach the PCI devices from the host, attach them to the VM and when the VM machine shuts down the PCI devices become available for the host again.
Unlike the guides for PCI passhtrough I've made in the past using GPUs, using hooks is actually useful here. When passing a GPU with a monitor attached chances are the host's display manager will crash (There's a work-around for this but I don't feel like documenting it). Meanwhile if you passthrough ethernet NICs all that will happen if things go wrong is... leaving you without internet on your host until you shut down the machine and restart the network service? It's honestly risk-free and therefore worth trying if loading virtio drivers at boot fails.
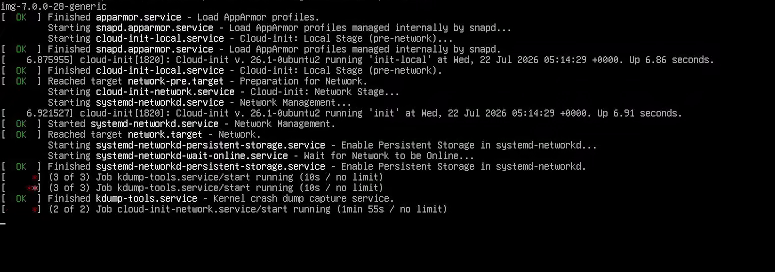
I'm gonna be using Devuan with OpenRC loaded for this one. I was going to use Ubuntu 26 but Lennart Poettering's SystemD shitware lit a firecracker on my ass by making me hang for two whole minutes every boot because it didn't like the network interfaces being offline, which, of course they are, they are passed-through. This is so stupid, why is this a thing? it's highly unlikely that a network connection will just materialise out of thin air after 10 seconds or that a sysadmin worth their salt would tolerate said connection being offline for longer than 10 seconds before moving to trouble-shooting.
Poettering shitware hard at work
I'm going by the guide made by Bryan Stirner on github again, I even forgot to edit some of his comments because I was in a hurry to get my firewall up and running again as I was without internet on several devices at home.
Installing the OPNsense virtual machine
Download and install an OPNSense virtual machine using the latest release as normal, there's very few deviations from normal here except for a few tweaks:
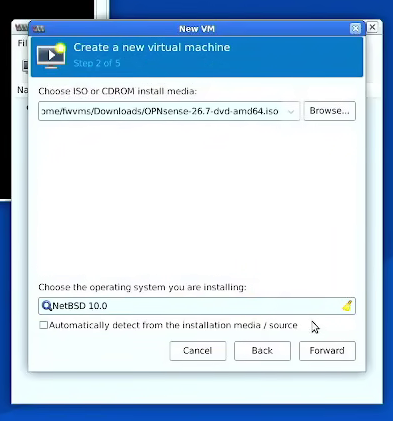
OPNSense is based on FreeBSD but FreeBSD isn't listed on the list of supported systems by virt-manager due to copyright reasons, therefore the option to pick is NETBSD (DragonFlyBSD works differently from other Unix systems at the kernel level so better avoid it).
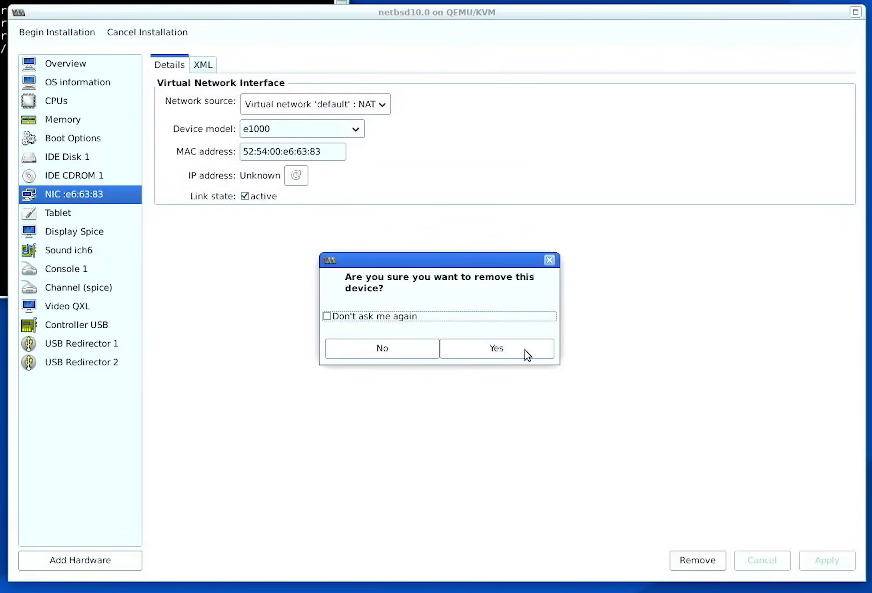
At the end of the install pick customise installation, delete the virtual network card.
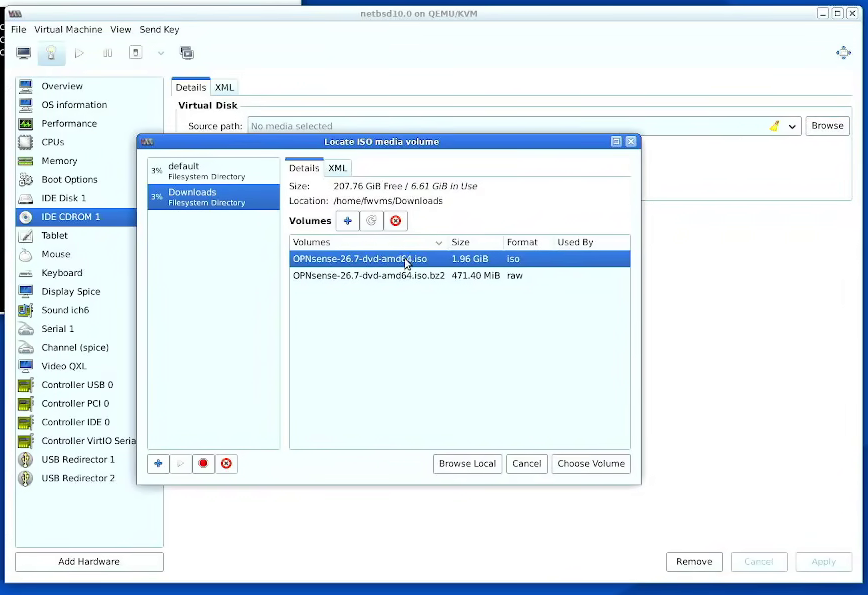
Loading the OPNSense iso and picking NetBSDDeleting the virtual NIC
The VM itself only has 2 cores and 8GB of RAM but it does have 90GB for logs as they do accumulate over-time.
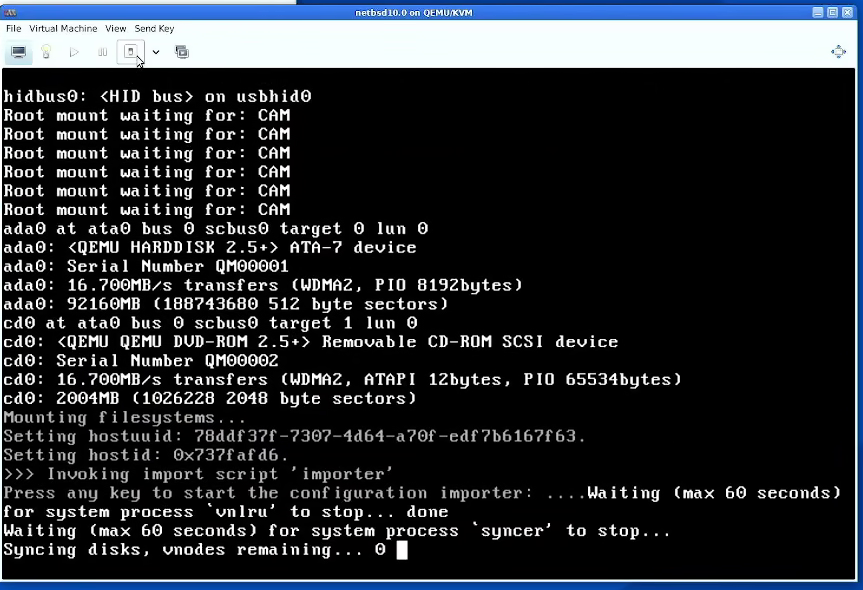
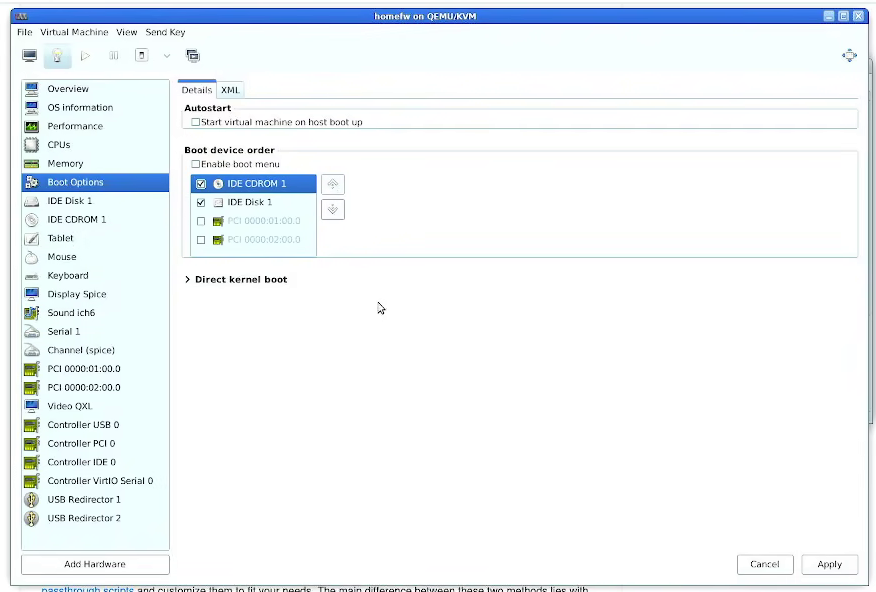
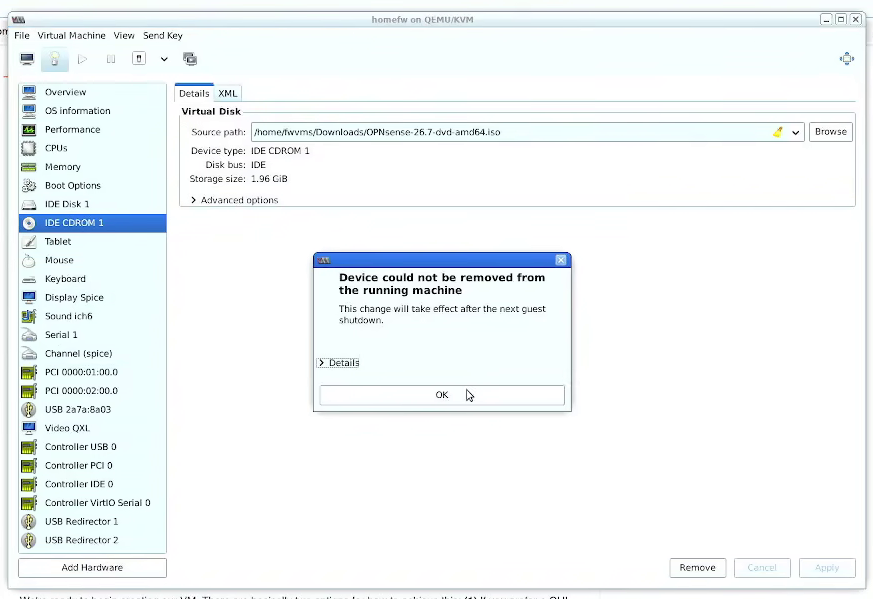
Upon startup immediately shut down the VM, add back the ISO that virt-manager removed for install and change the boot priority to make the ISO boot priority one.
Shutting down the OPNsense VM as soon as the system allows itAdding back the OPNsense ISO to the driveChanging the boot order to make the ISO the main boot device again
Configuring hooks
Unlike with loading the virtio drivers at boot, you don't really need to do a whole lot with hooks as far as the kernel is concerned.
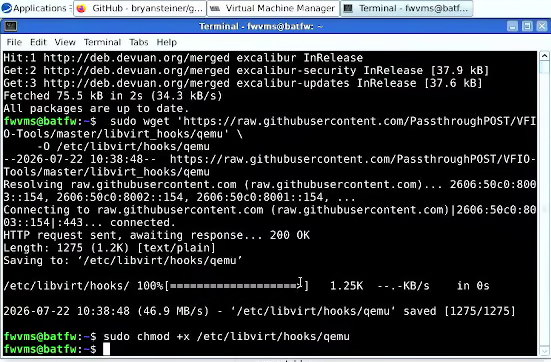
To start, you want to download the main file for hooks and make it executable with the following commands:
In case you don't trust downloads from random links on the internet (Which is understandable), the 'qemu' file itself is a rather short file, you can just copy and paste the following in a file called 'qemu' in the /etc/libvirt/hooks/ directory and make it executable with chmod +x.
# check if it's a non-empty executable file if [ -f "$HOOKPATH" ] && [ -s "$HOOKPATH" ] && [ -x "$HOOKPATH" ]; then eval \"$HOOKPATH\" "$@" <<< "$STDIN" # Call the hook with all our arguments and a copy of stdin. elif [ -d "$HOOKPATH" ]; then while read file; do # check for null string if [ ! -z "$file" ]; then eval \"$file\" "$@" <<< "$STDIN" # Call each hook with all our arguments and a copy of stdin. fi done <<< "$(find -L "$HOOKPATH" -maxdepth 1 -type f -executable -print;)" fi
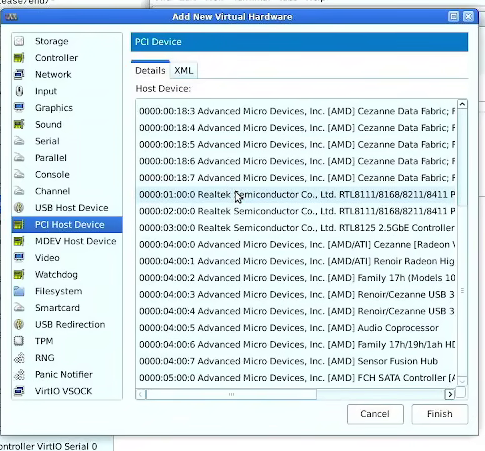
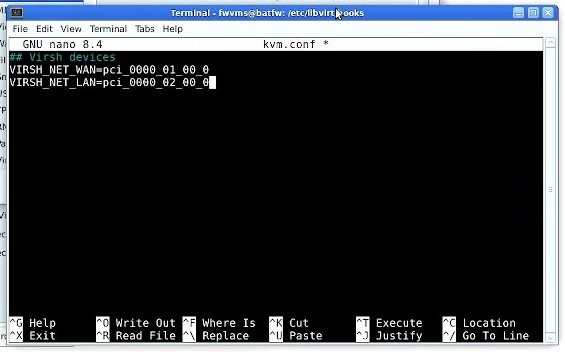
Now you'll need to create a kvm.conf file that contains the ID's of your devices on the same directory as the 'qemu' file. You can get the ID of your devices by opening virt-manager, going to add hardware and selecting Add Hardware -> PCI Host Device, name your PCI devices according to your needs. (The header on kvm.conf says '## Virsh Devices', this is optional and ignored by the scripts).
cd /etc/libvirt/hooks
Getting the PCI ID's from virt-managerkvm.conf contents
Once you have your qemu and kvm.conf files file in place, head over to /etc/libvirt/hooks and you need to create a few directories (For me the name of my virtual machine was homefw). mkdir -p qemu.d/<name of your VM>/prepare/begin mkdir -p qemu.d/<name of your VM>/release/end
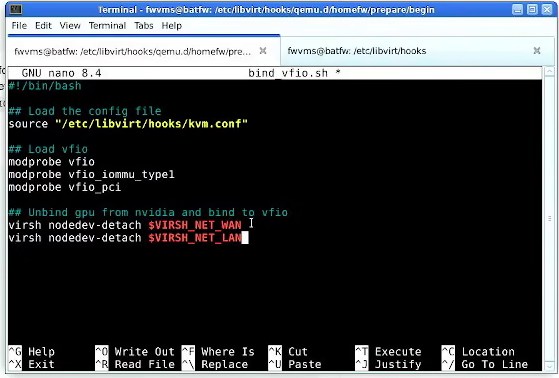
Under 'qemu.d/<name of your VM>/prepare/begin/' Create a file called bind_vfio.sh and populate it as shown:
nano qemu.d/<name of your VM>/prepare/begin/bind_vfio.sh
#!/bin/bash
## Load the config file source "/etc/libvirt/hooks/kvm.conf"
chmod +x qemu.d/<name of your VM>/prepare/begin/bind_vfio.sh
chmod +x  qemu.d/<name of your VM>/release/end/unbind_vfio.sh
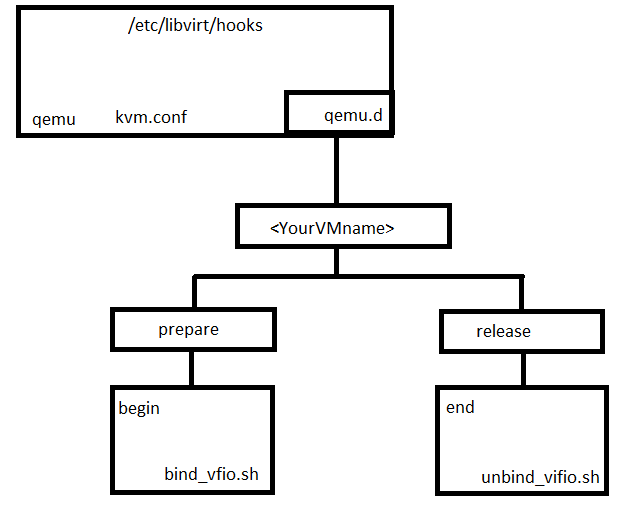
At the end, your files and directories should look something like this:
Hooks directory structure
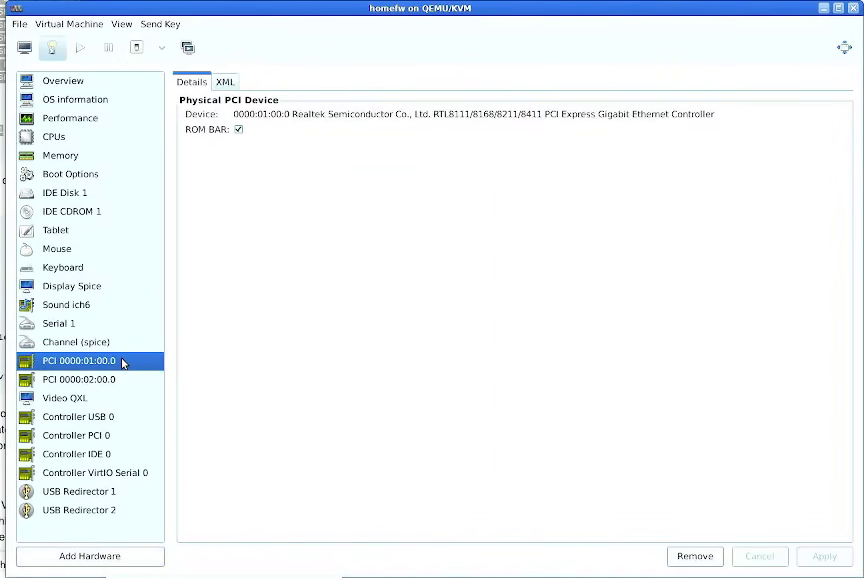
Now go to virt-manager, go back to Add Hardware -> PCI Host Device and attach the devices to your VM (THey don't need virtio drivers or anything).
Devices attached to the virtual machine
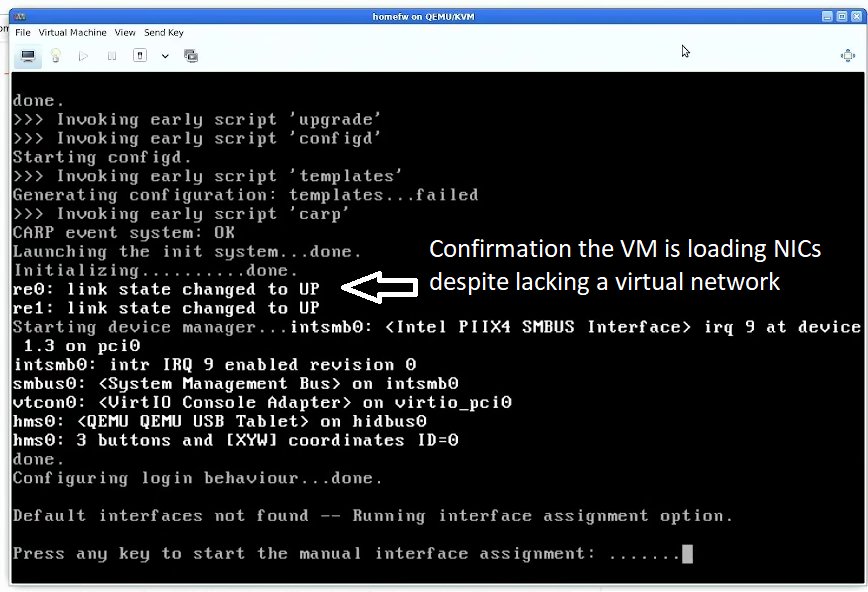
Once done, make the fire up your VM and check it's loading all the ethernet NICs you just passed through, if it does, then you can move up to installing
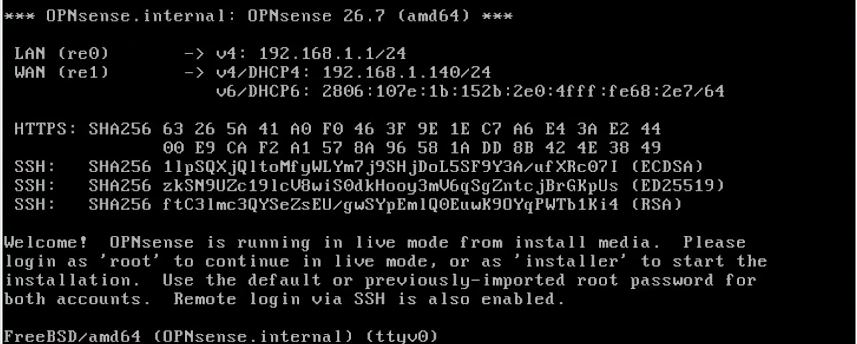
Network devices coming online inside the VMLocal IPs auto-generated for NICs (BEar in mind I moved the cables and rebooted as they were backwards)
Installing and making basic configurations for OPNSense in the CLI
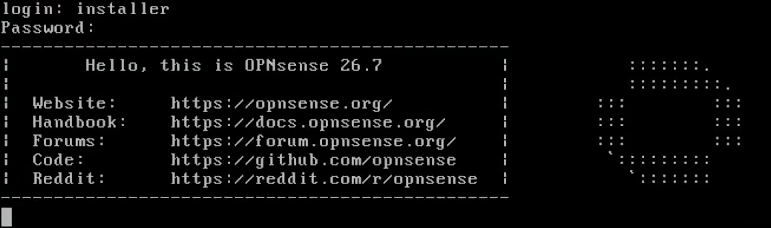
Start up the installer by logging in as the user 'installer' with the password 'opnsense',
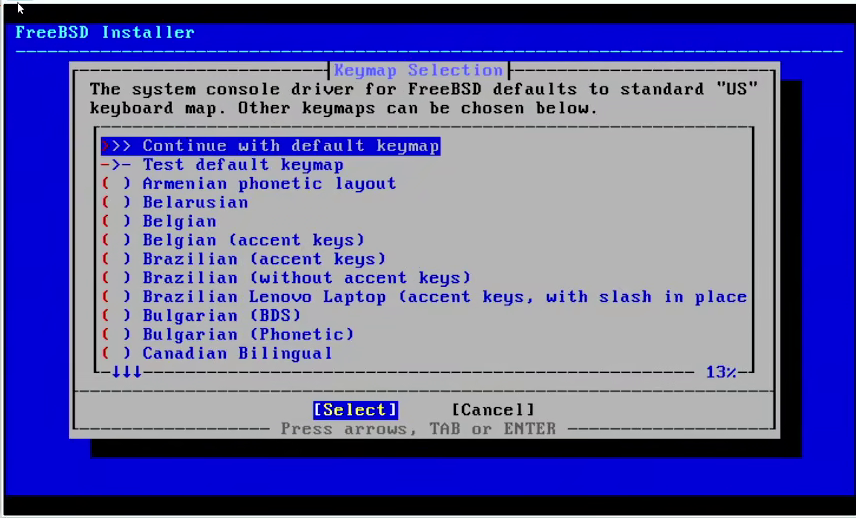
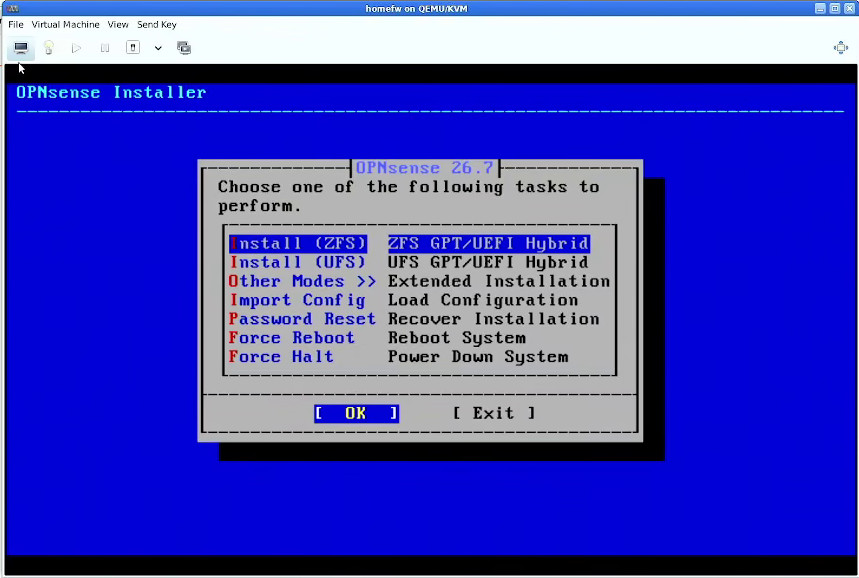
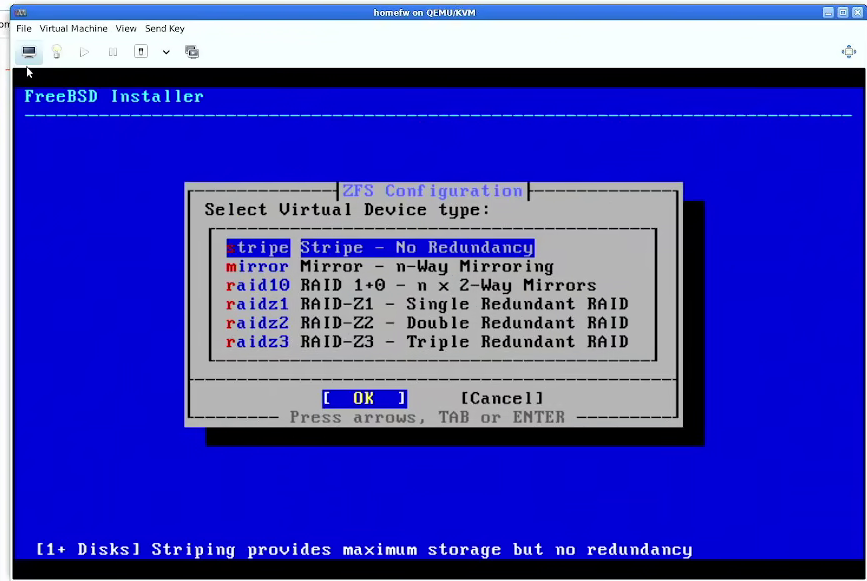
The installer is very straight-forward and very familiar if you have installed FreeBSD before (They even forgot to remove 'FreeBSD in some screens lol, don't tell the FreeBSD Foundation they tend to take that absurdly seriously).
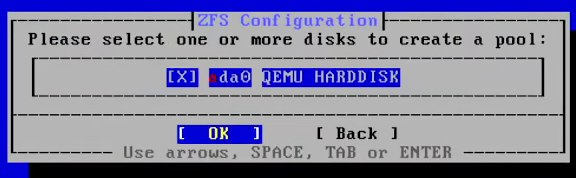
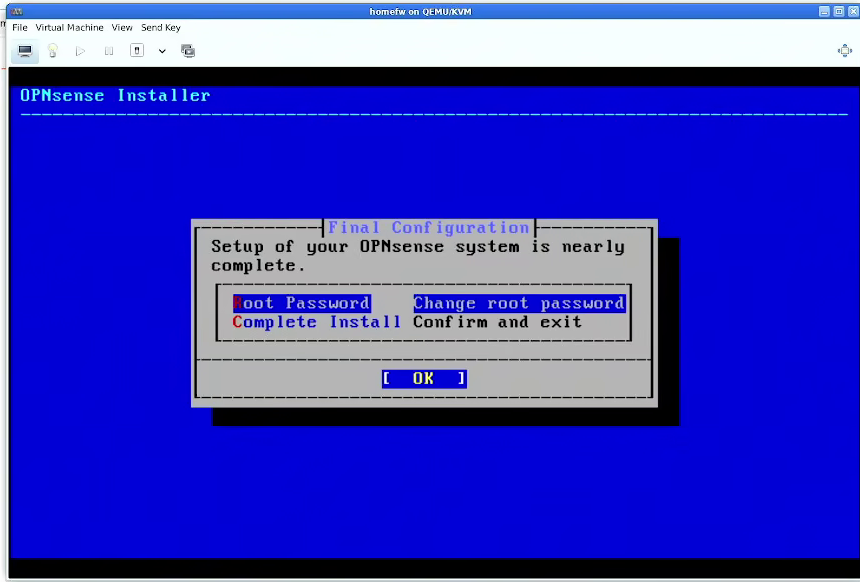
Setting up your Keyboard distroPicking the file management system and other install optionsSelecting the drives to installSelecting how you want your disks arrangedSetting up a root password or exiting
Once you're done installing, remove the installation iso.
Fire up the VM and enter as root. there are really two options on the menu that you want to take notice of, reassigning your interfaces and set the IP addresses.
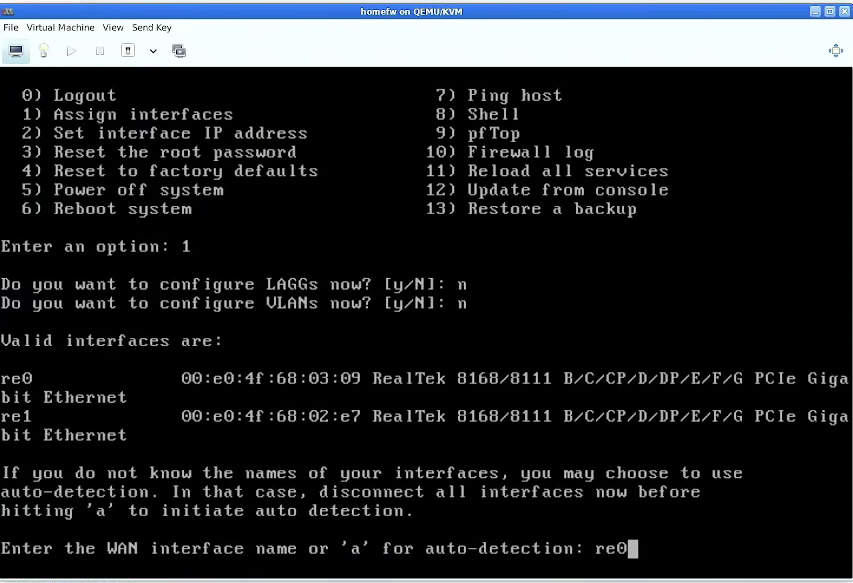
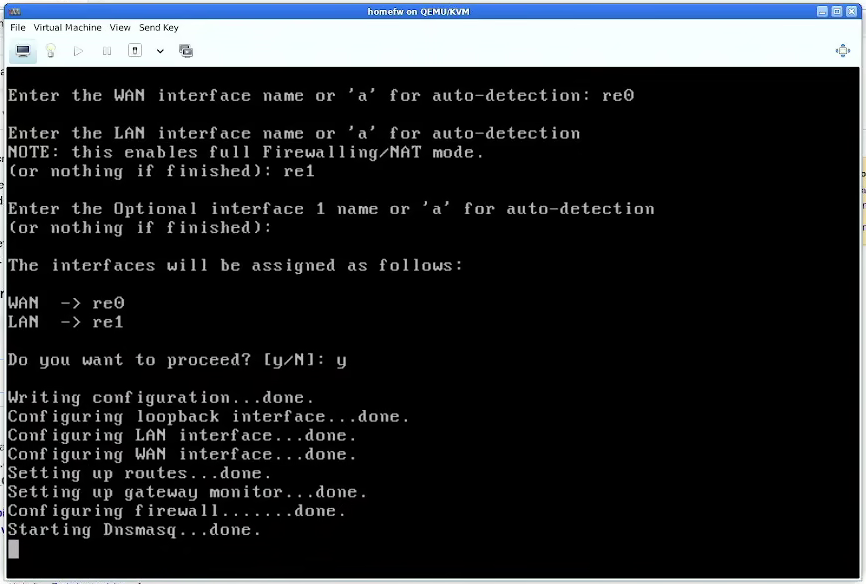
Reassigning is optional but I like to do it so everything is consistent across the board between the host and the VM. Just press 1 at the menu, the setup is pretty straight forward and it just asks you which interfaces you want for WAN and LAN. Once done, turn off the virtual machine, switch your cables if necessary and turn it on again.
Selecting to change the interfacesInterfaces swapped so interface 0 is WAN and interface 1 is LAN
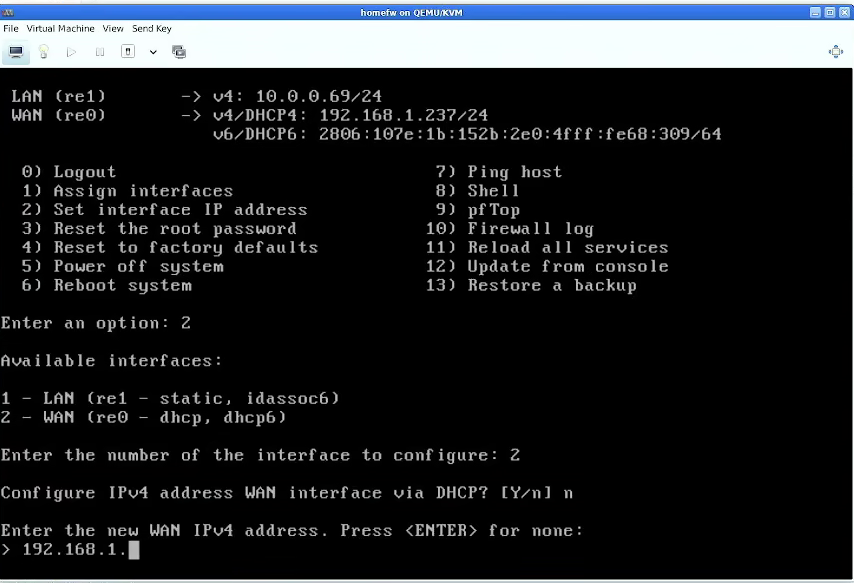
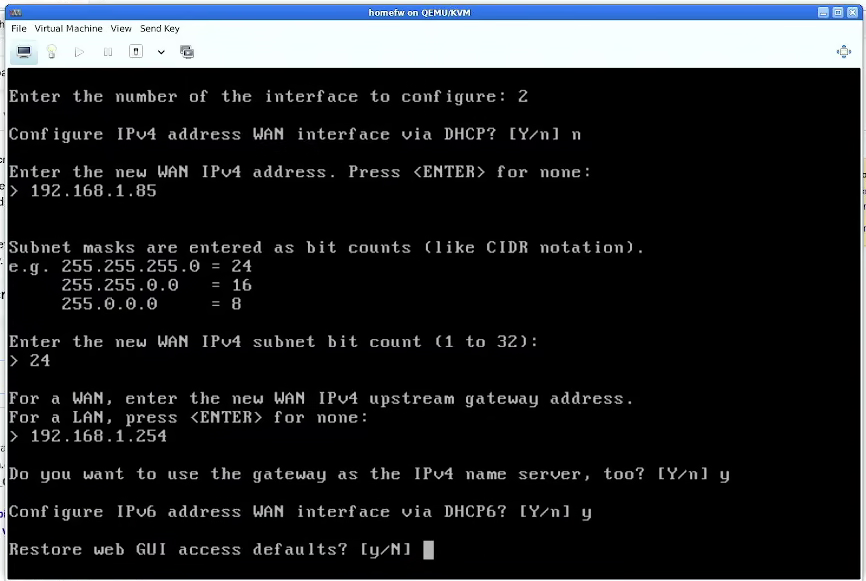
Now all that's left is assigning IP's. For WAN all you really need to do is setup a static IP like you would in any computer, give it an IP pick your gateway and your network submask
Selecting modifications to the WAN interfaceConfiguring the WAN interface
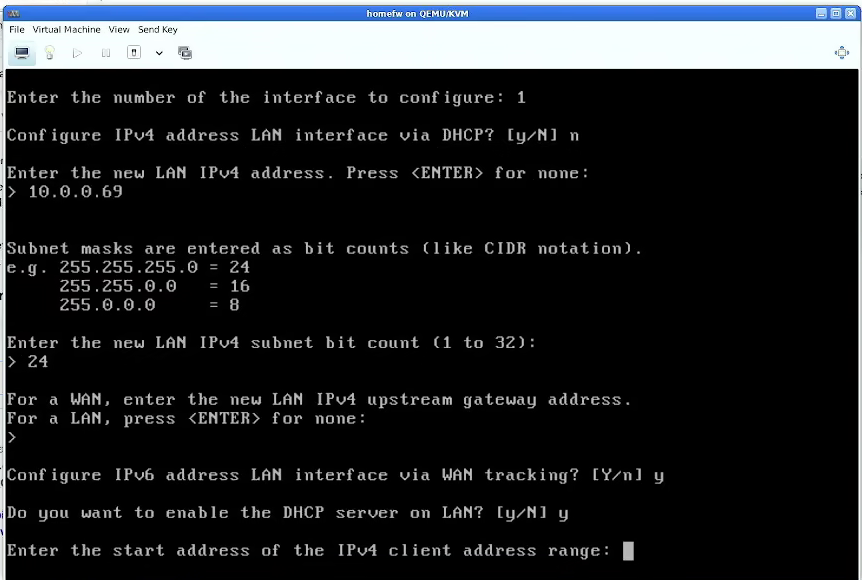
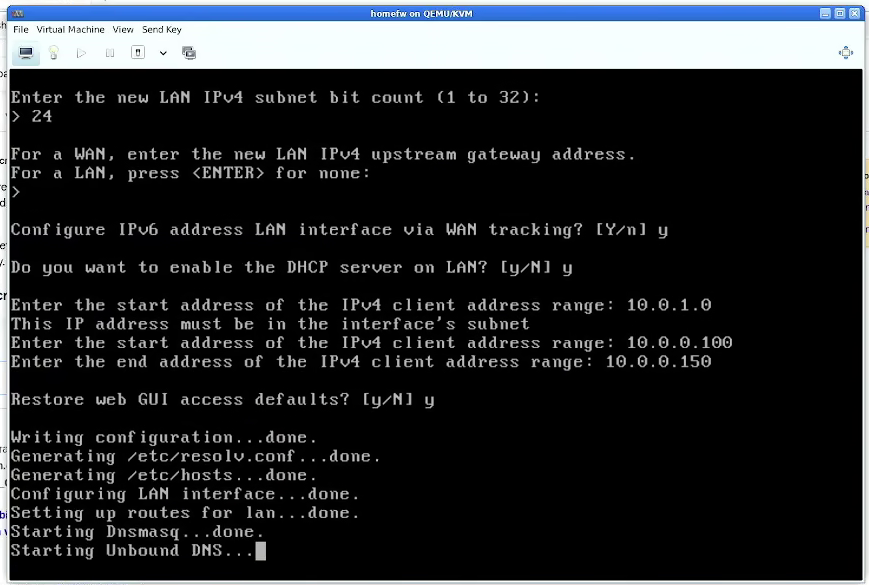
LAN is similar but instead of having to setup a gateway you may need to setup a LAN DCHP server.
Setting up the LAN interfaceConfiguring the LAN DCHP
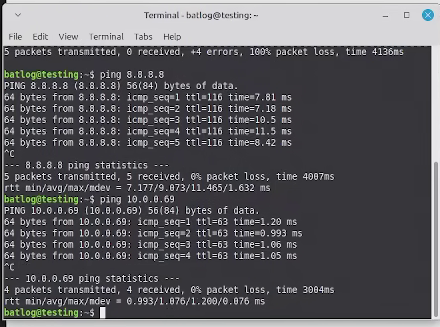
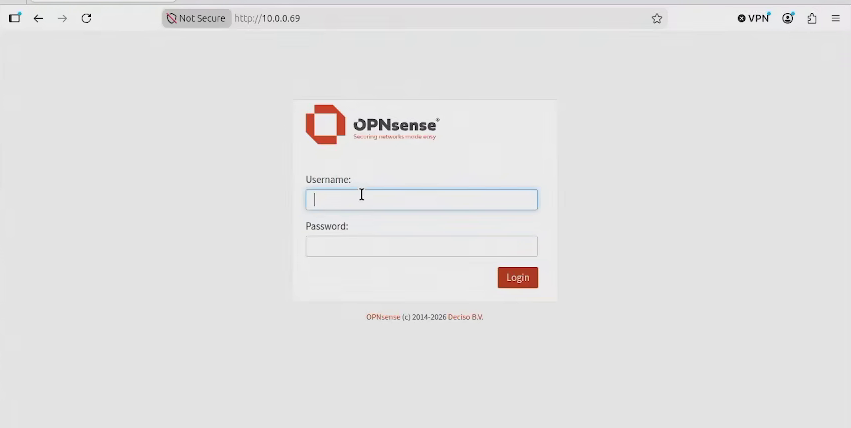
Go to a computer behind the firewall and enter the LAN IP, if you get the OPNSense interface and you can ping google or another website, you can move to doing some actual configurations.
pnging successful to google and the firewallFirewall interface resolving correctly on Firefox
(Optional): Installing the community repository
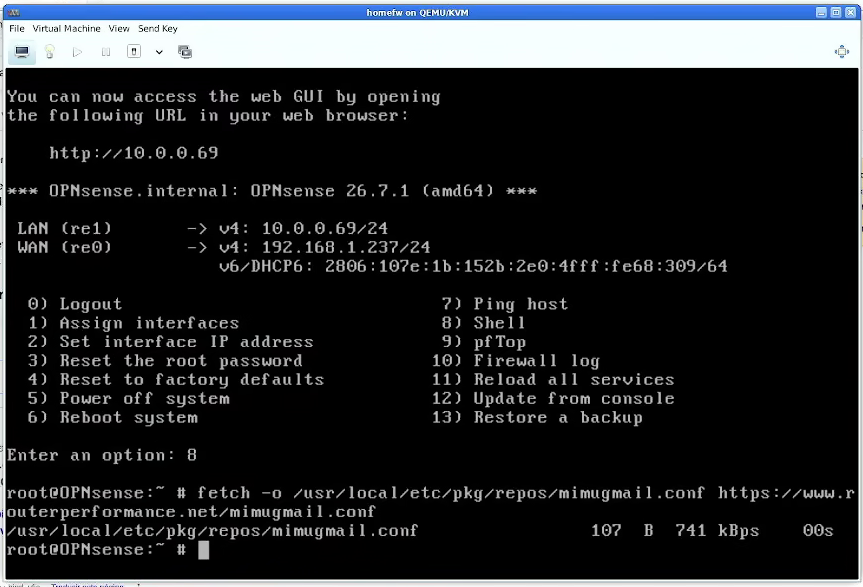
Before closing the CLI you may want to install the community repository. This is completely optional but if you're gonna use the firewall for your home or small office I recommend it solely because it contains AdGuard. Pick option 8 and enter the following line of code, it takes no time at all and it's installed automatically
Your millage may vary on this one, if you are managing a server, are in a office tower or your IP is directly exposed to the internet you may want to implement some heavy firewall rules and common blacklists for this one.
Since I'm doing this for a home firewall though, I really didn't do a whole lot and focused on just installing some packages. Here are the packages I recommend you look for:
An IPS (Sadly I couldn't find one in the base packages nor the community repo)
An IDS
An anti-virus
An ad-blocker
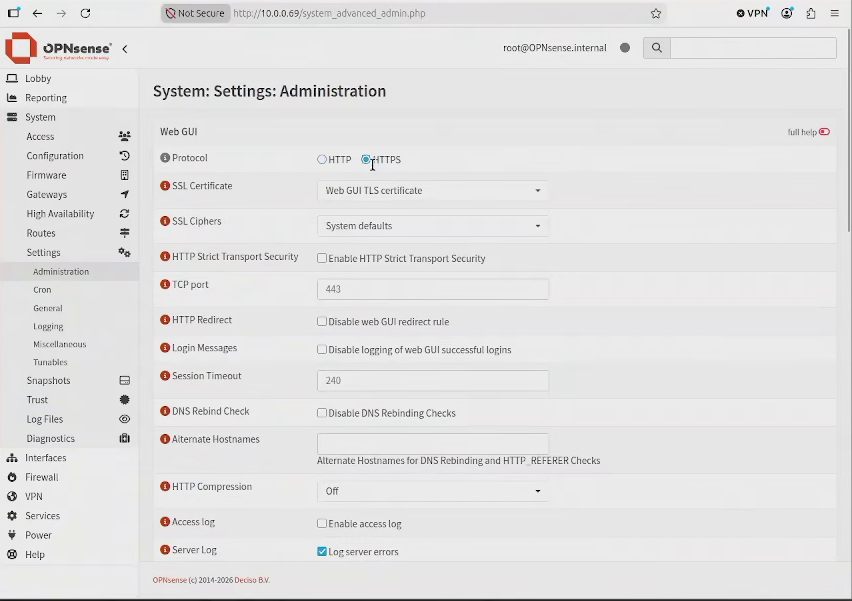
After logging in as root, the first thing you want to do is disable http if it's not disabled already. Go to Settings -> Administration, check https and set save. Yoour tab will likely crash and you'll have to switch after doing this.
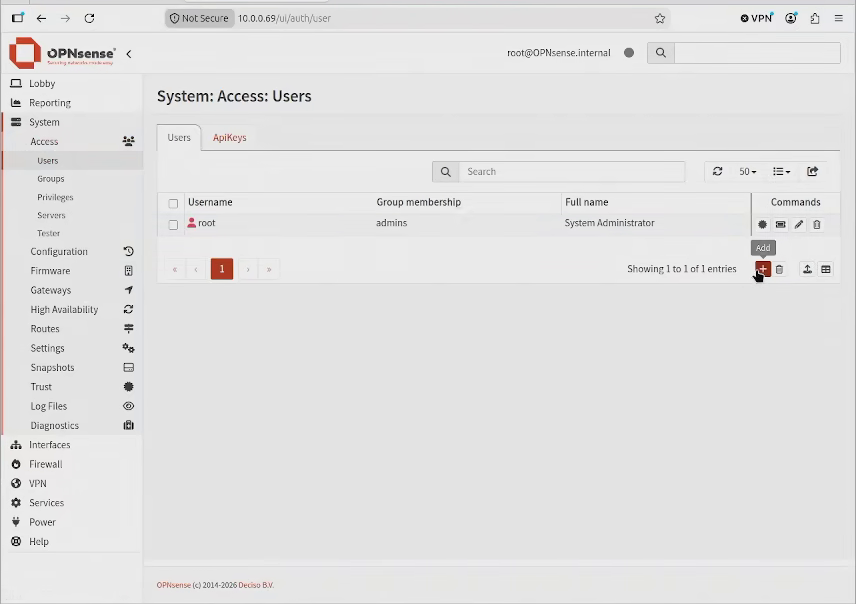
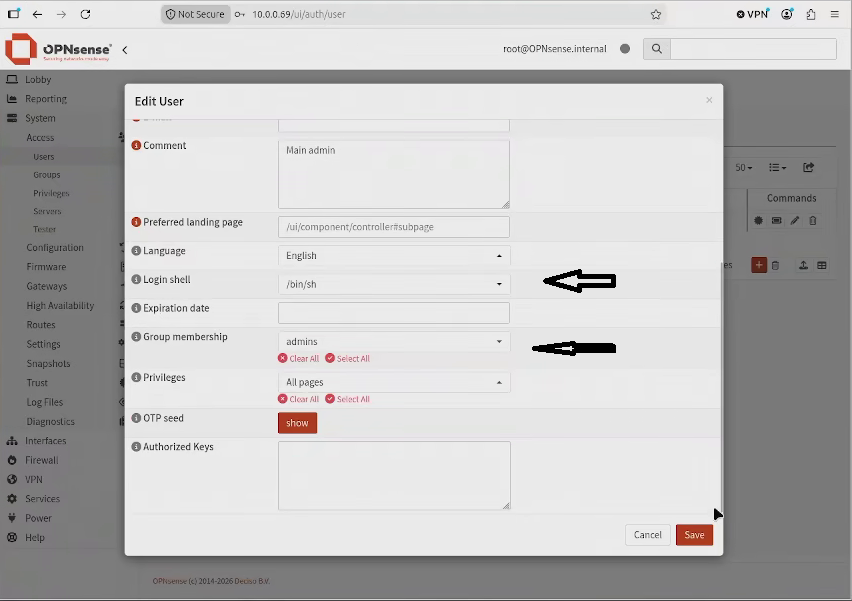
After logging in as root (Again) the next thing you want to do is disable root because this is the most common attack vector anyone will take.Go to System -> Access -> Users and add a new user. Add the user to the admins group and give it the /bin/sh shell.
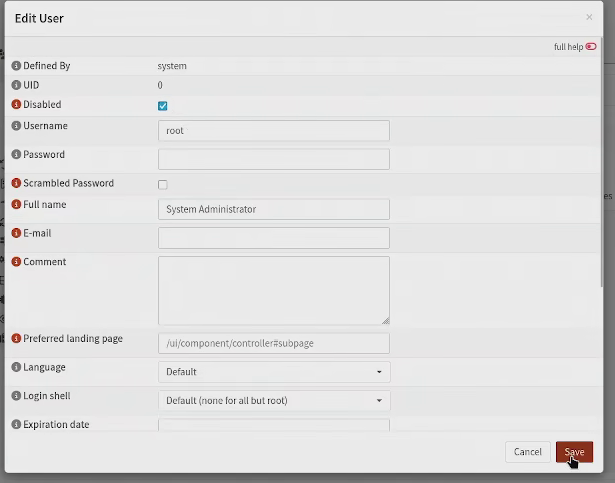
Afterwards logout as root, login as your new user and disable the root account by clicking 'edit' and checking the little box.
Adding a new userAdding the new user to admins and giving it a shellDisabling root
Now you may want to install some packages.
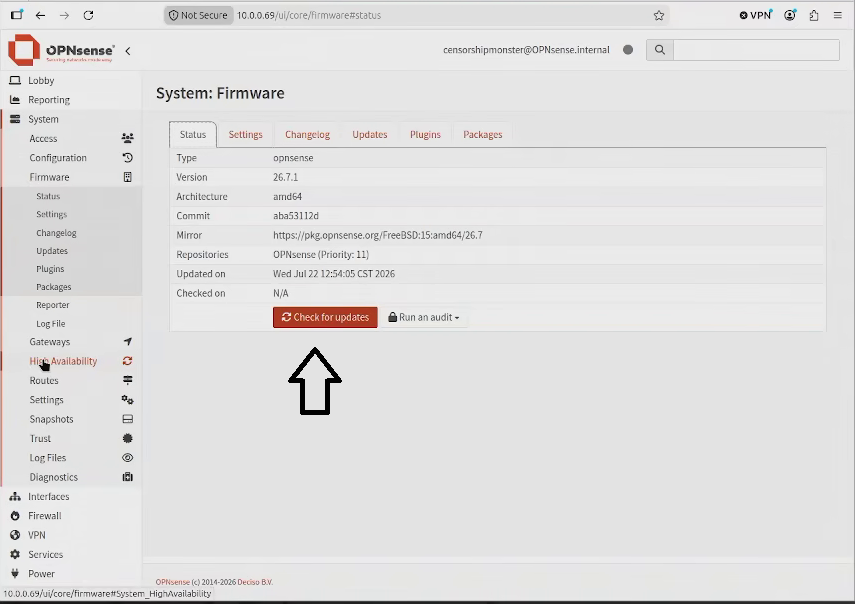
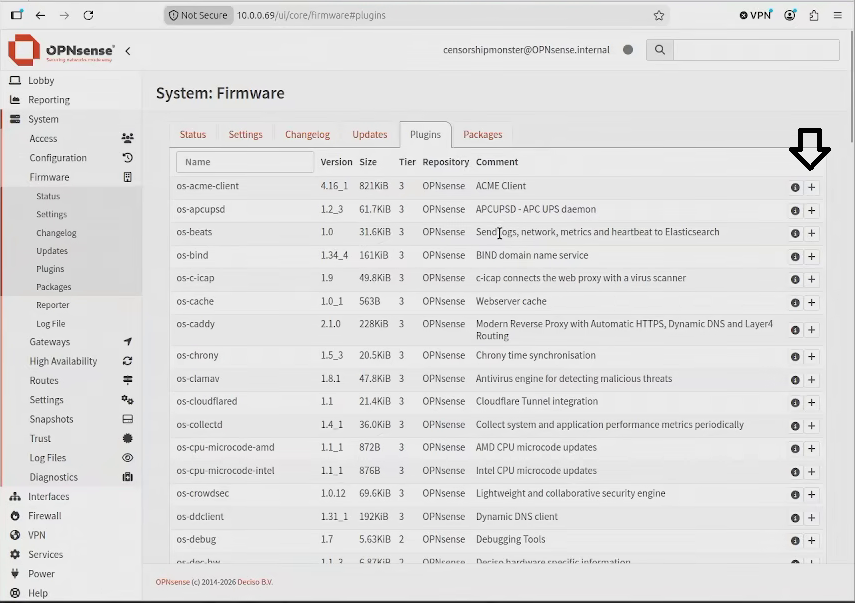
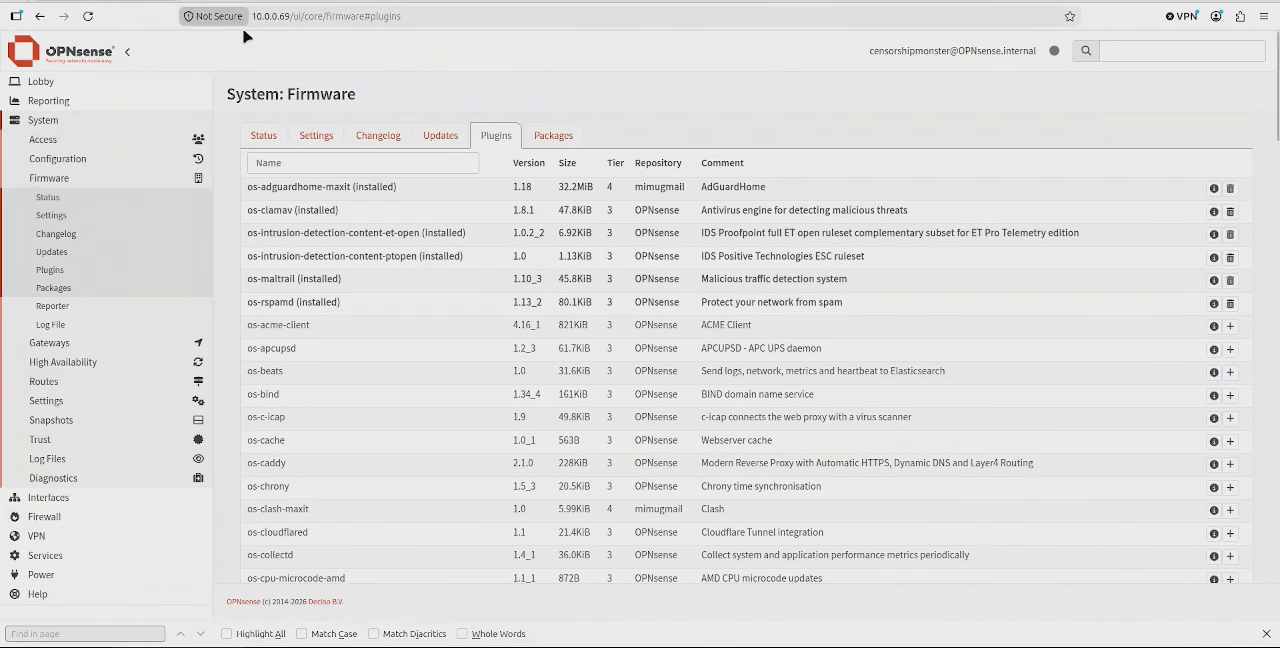
Go to System-> Firmware -> Status and check for updates, after it's done updating go to the 'plugins' tab. A clear description of what each package does is shown, pick the ones that you feel are the most fitting for your case scenario, for me I only picked about 6.
Updating the packagesInstalling packagesPackages I ended up installing
All that's left now that you (may) want to do is having your firewall auto-start instead of having to start up the VM manually.
Automating startup
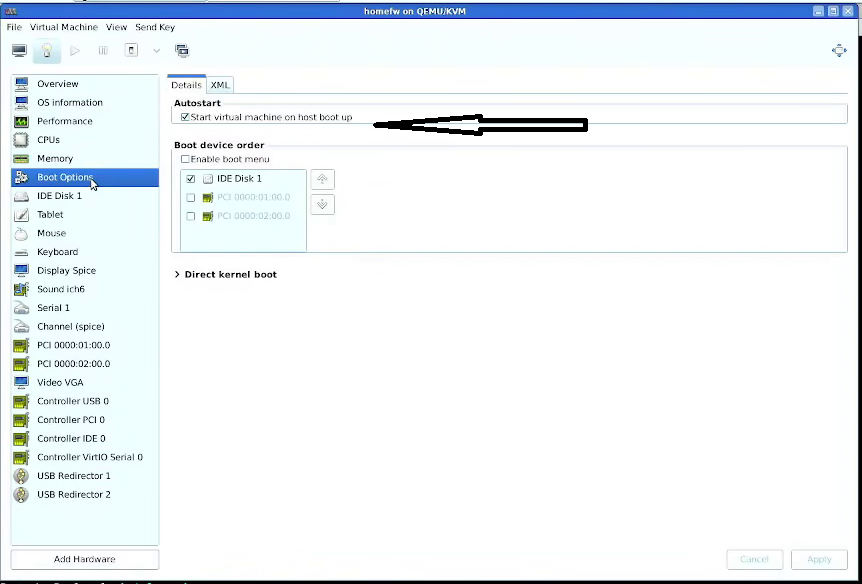
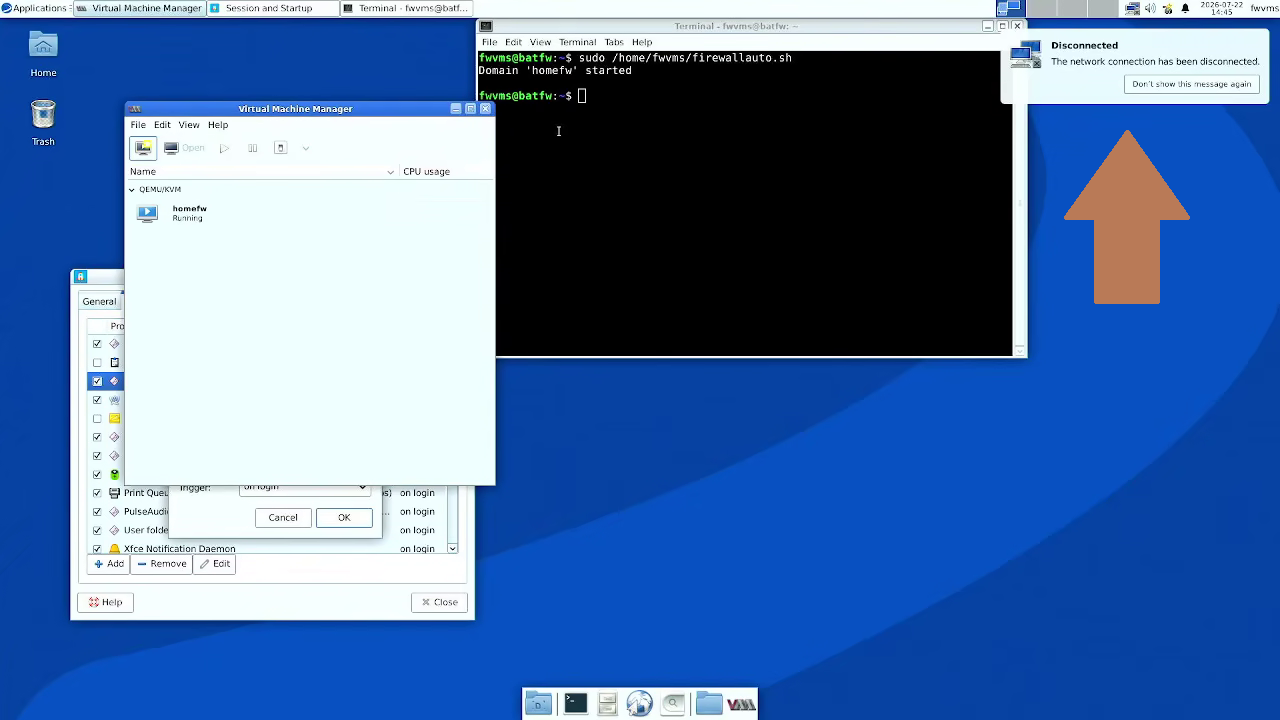
There's a chance that you can automate it easy by just going to your host, opening virt manager, going to -> Boot options and checking the small box that says startup at boot but in my experience with hooks... that barely if ever works, I've only got it to work once.
The thing that barely if ever works with hooks
Having the VM auto start is multi-part process and depending on your distro it may vary. As I stated in the beginning I'm using Devuan and as such I'm using Slim for my display manager and XFCE for my desktop environment.
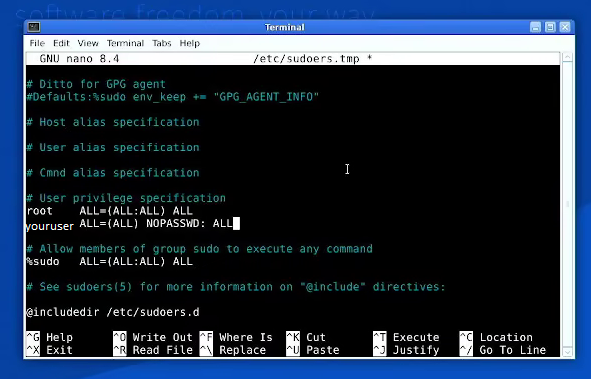
First, you want to give your user running libvirt sudo privilages without prompting for a password (Unlike other guides this is actually necessary for this to work).
EDITOR=nano visudo

<your user> ALL=(ALL) NOPASSWD: ALL
Giving an user sudo privileges without a password
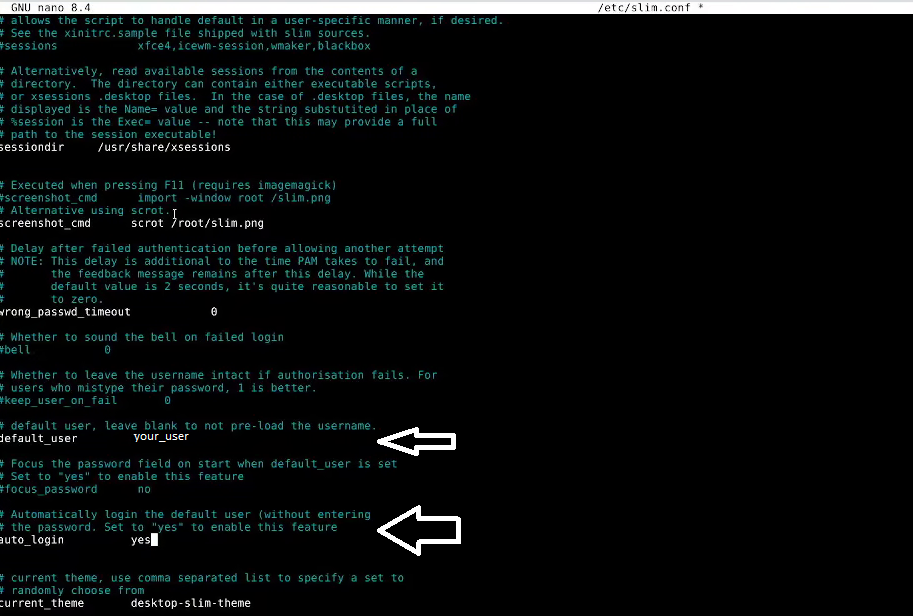
Afterwards, alter the config file of your display server (Slim in my case) to have your user auto-login. For slim open /etc/slim.conf and uncomment the lines for default user and auto login
Reboot to check if your configuration is correct and you jump straight into the desktop as the user you picked.
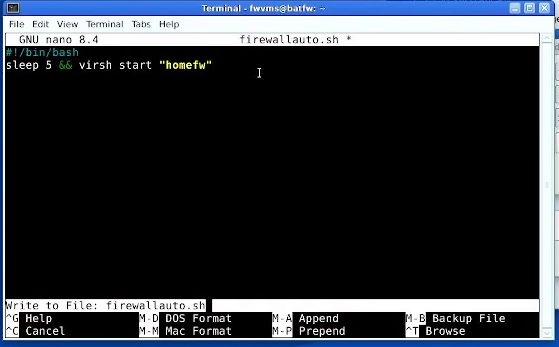
Afterwards you need a script to make the VM startup, don't make it startup immediately as it may get your services stuck and you may need to restart them.
nano startfirewall.sh
#!/bin/bash sleep 5 && virsh start "<yourVMname>"
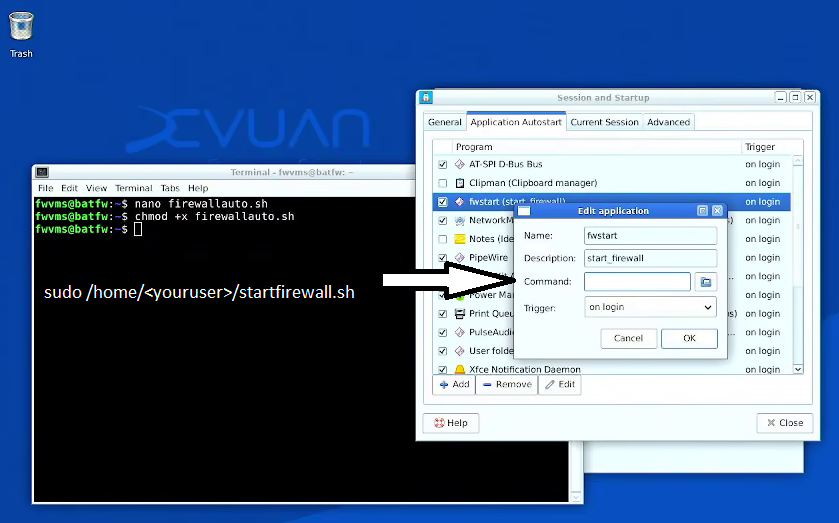
Afterwards, make it executable, go to Settings -> Session and statup in the xfce menu, go to the 'application autostart' tab and add a new program with the path to your script.
chmod +x startfirewall.sh
(In the command box):
sudo /home/<youruser>/startfirewall.sh
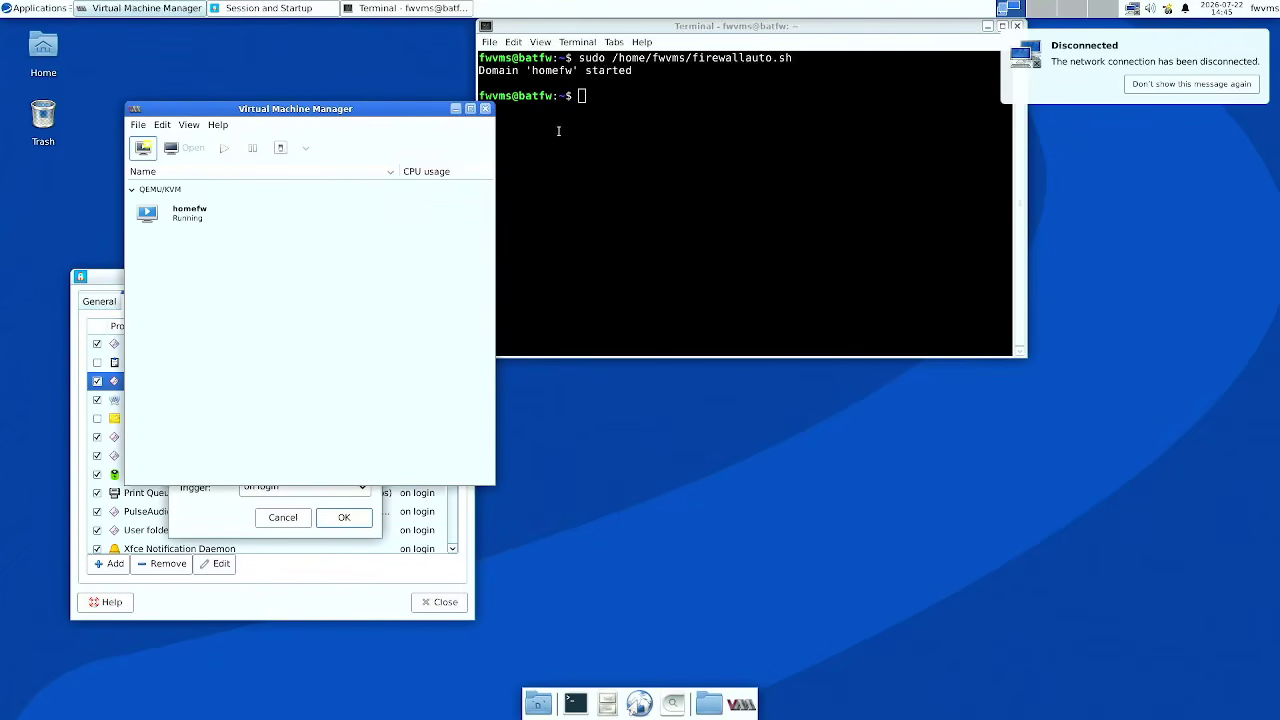
Finally, test your script to check it's executable and there are no problems with it, if it doesn't show any issues then reboot your system. You're done.
Why go through all the trouble and do this instead of just running a bare-metal device with the same OS loaded?
This is why:
Unless an attacker has physical access or there's an exploit that allows an attacker to make connections from the guest to the host like the one that prompted me to reinstall my firewall, it's really hard for an attacker to do anything.
Routing equipment is the number 1 target for any attacker in home and office networks because people don't tend to update them, they have bugs or are honestly just easy to hack into (The largest botnet in the planet is not made of windows machines but rather just hijacked low-power routing equipment). By doing this if an attacker were to somehow gain control over your firewall, you can just nuke it, reload a snapshot, do a thousand different things and effectively lock them out.
Some people prefer bare-metal firewalls because I'll admit the virtual ones can be slower and even unreliable under certain circumstances (For me it's outages) but generally I think it's worth doing so for the extra security and peace of mind.