This is a process that's not overly complicated and yet, for whatever reason, most videos that talk about it are 1+ hour long (Guess you gotta milk that ad revenue somehow). I'm gonna go over the basis, which includes taking and merging snapshots which is what I believe to be the reason why people go through the trouble of making LVMs to start with, additionally as of May 2026 the prices of SSDs and any flash-based memory devices are up across the board with no end in sight so this guide may end up serving a purpose to people that cannot afford a large-volume SSD.
1. Formatting your drives (Optional)
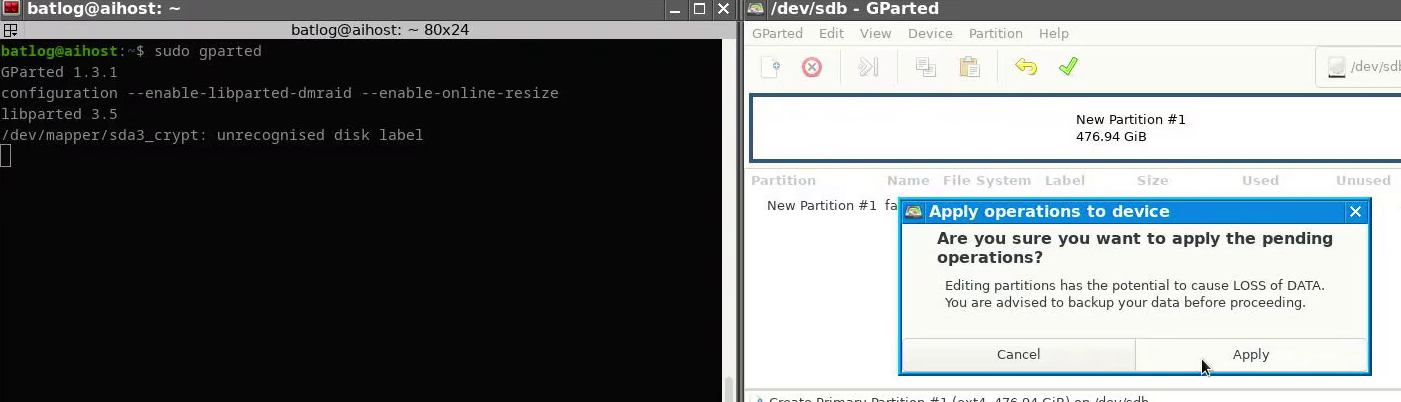
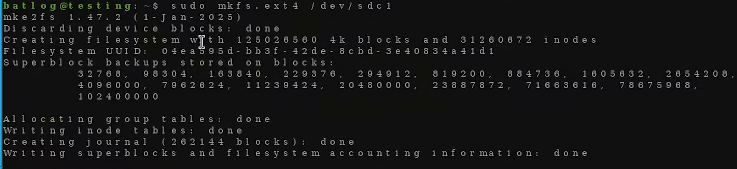
This is entirely optional but first you should format your drives to any format (I usually format them to ext4) this isn't necessary and I've found you can just select the whole disk but I do it because sometimes creating physical volumes with unallocated disks fails and sometimes it works just fine for reasons that elude me. As such I always format my drives when working with LVM's as that has a 100% chance of working for me.
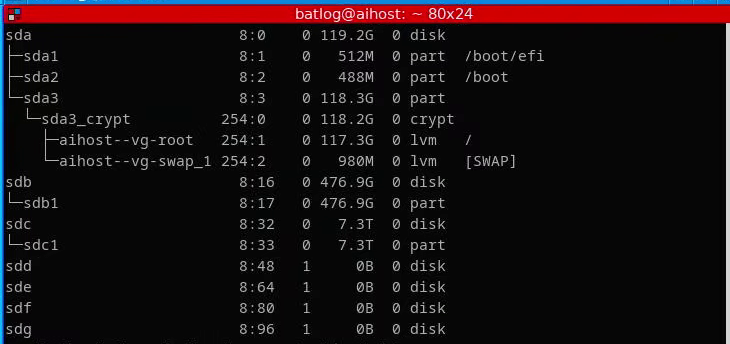
Format your disks, I use Gparted for convenience but it can be done with the CLI using mkfs.ext4Check if your partitions are correct.
2. Turning your drives into physical volumes and creating a volume group
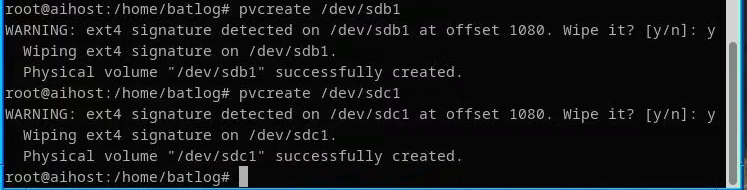
Once you've formatted your disks you must turn both to physical volumes with pvcreate and act following you must add both to the same Volume Group.
Turn your partitions into physical volumesAdd both physical volumes to the same volume group
3. Creating an LVM with SSD for cache
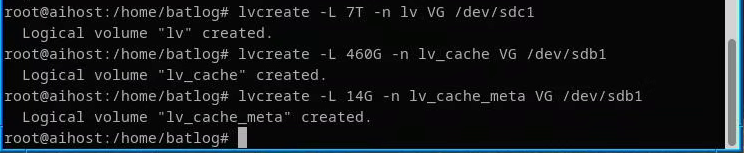
This takes several steps, first you must create 3 logical volumes, one that will be your main (Slow drive), one that serves as your cache drive and one that serves as cache with metadata. My general rule for this is 1/20 (Cache as 1/20th of the slow drive and meta cache 1/20th of the cache drive) for everything but I've read for better results you have to make the cache 1/4th of the slow drive and the metadata 1/20 of the cache drive. In the example below I did roughly 1/20th for everything as I was using the whole drive space.
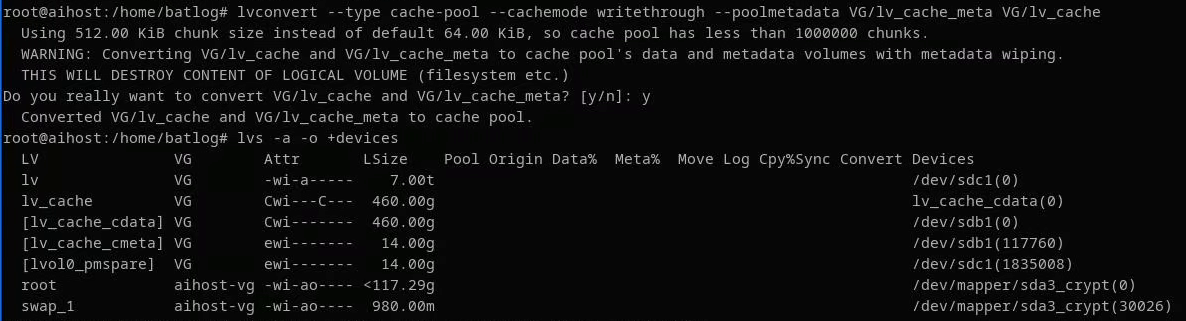
Now that you have your LV's, you must combine the cache LV's into a single LV (This can take a while).
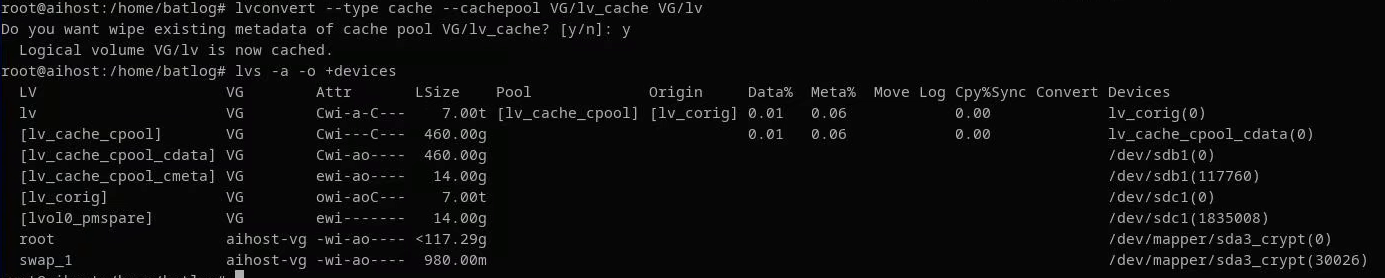
Then once that's done you must combine the new cache lv with the main lv (Your slow disk). Make sure to get them in the right order, otherwise you'll add your slow disk as cache for your SSD and you'll have to start over again.
Finally, you must activate your volume group and logical volume
Activate the volume groupActivate the logical volume
4. Formatting and mounting the logical volume
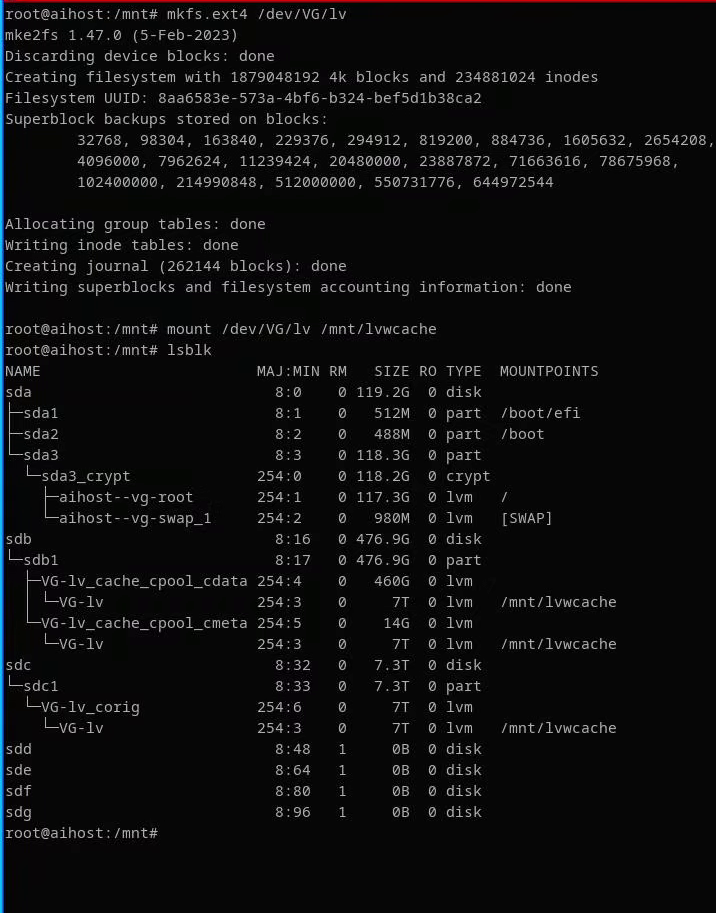
If all goes smoothly then you should be able to format it without any further issues, please note it must be done via cli, graphical solutions such as gparted will not work. Try mounting it, if you get no errors that means everything is done you can in theory start using the drive.
5. Having the partition mount automatically with fstab (Optional)
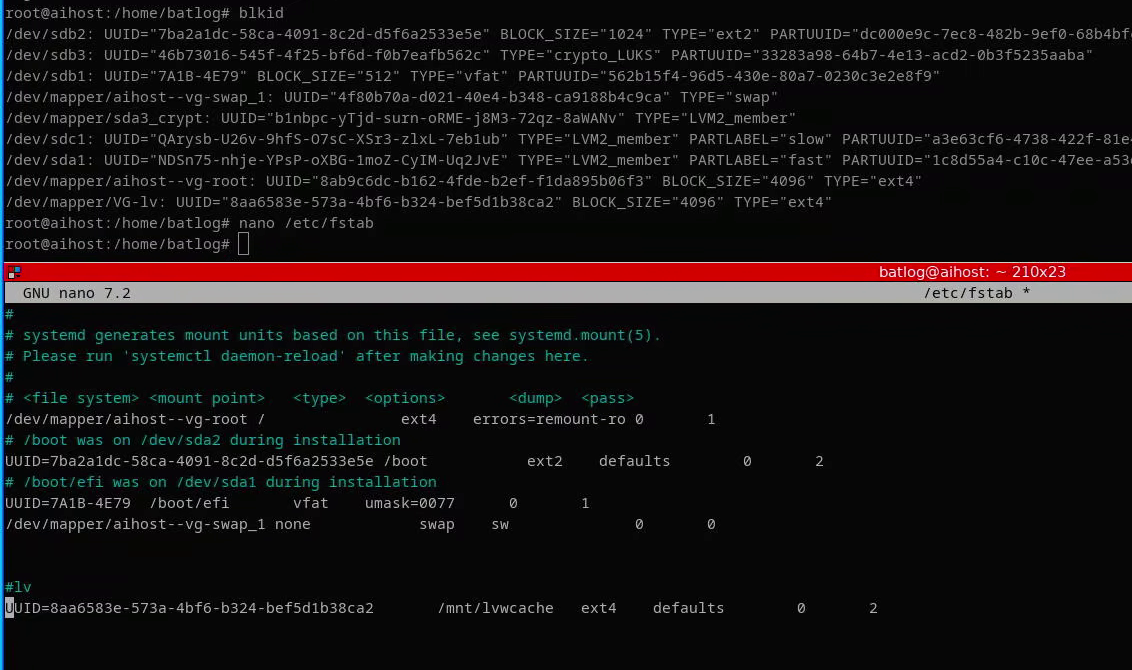
This is purely optional but I like having the drive mount automatically when booting with fstab, all you have to do is list your disks and grab the blkid to fstab, then fill the information as needed.
6. Creating snapshots and restoring them
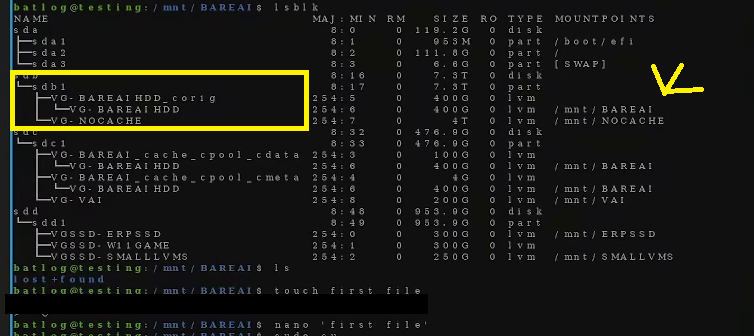
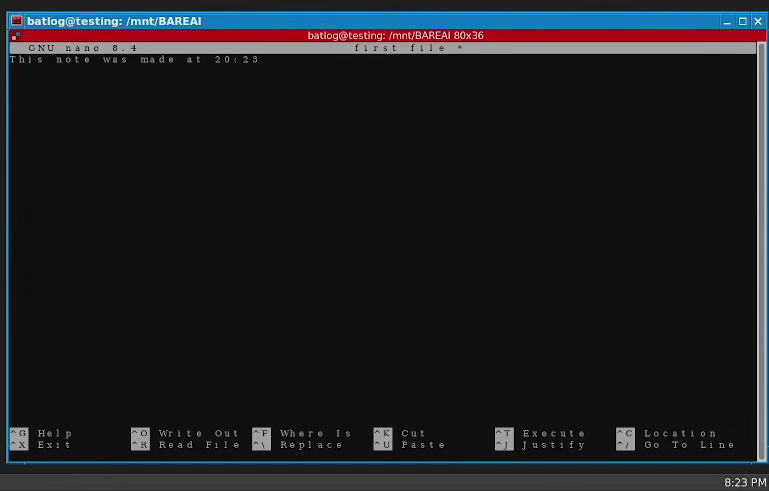
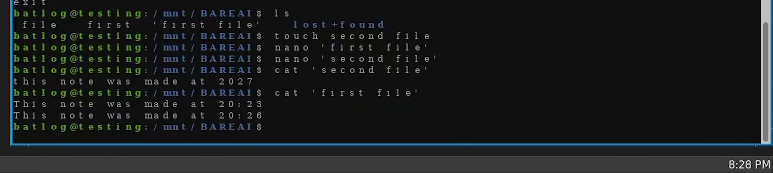
For this I'll first create 3 files, two blank files and a third file with content in it. on a volume group.
Adding content to an LVMAdding content to an LVM
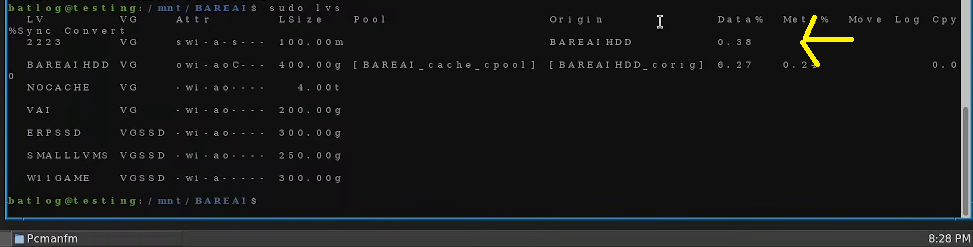
Then I'll create a small 100MB snapshot targeting the logical volume where I just wrote the files, then I'll the disk with more content and edit the original file with more text. If done correctly, it should display that a part of the disk has been used.
IMPORTANT: If the data usage reaches 100% you're toast and it cannot be merged without incurring data loss, you need to check the snap usage routinely as well as create new snaps, this is not as straight-forward as KVM VM's
Creating a snapshotAdding More content to diskVerifying data is being written to disk
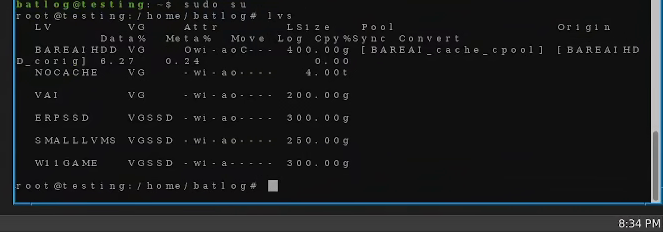
After this, you can run a command to restore the snap, however be careful and UNMOUNT THE LVM FIRST. Otherwise this will happen:
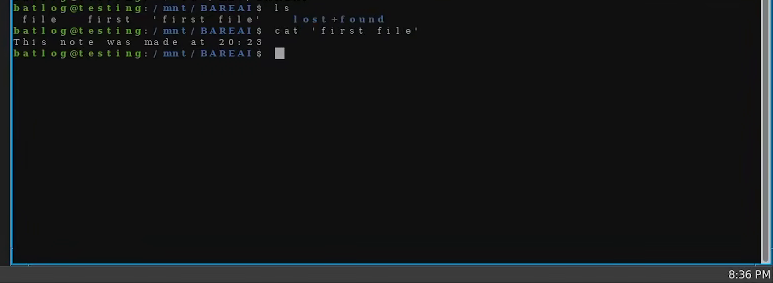
If you see the snap is no longer there then it's not that big of a deal, just reboot the computer and it should delete anything you made after you made the snap.
Verifying the snap disappearedRebboting, after reboot all changes posterior to the snapshot are gone
7. Deleting LVM's and removing disks from VG's
In the off-case you discover this doesn't cover what you need or you suffer a critical disk failure or something, you can remove any of the two drives, however, MAKE SURE TO BACKUP EVERYTHING.
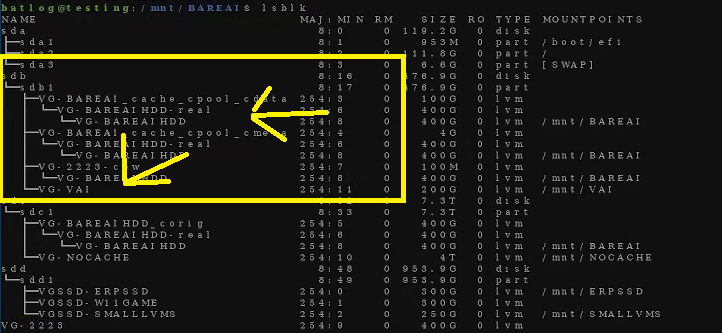
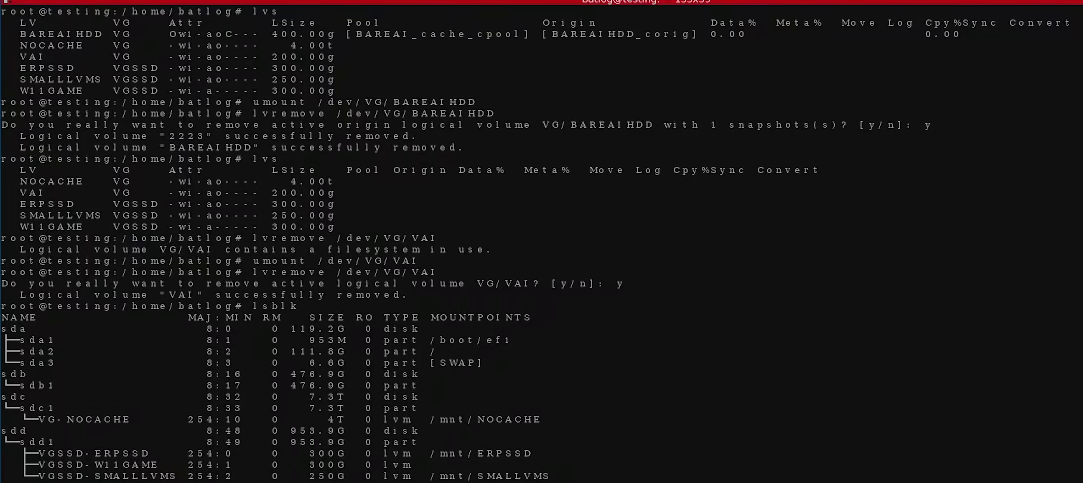
First identify and remove the LVM's associated with the disk you want to remove. You must unmount them and then remove them in that order. If mounting points are no longer associated with the disk then you can follow the next step.
Verify LVM's loaded on the driveUnmount LVM's, remove them and veridying they're gone
If everything looks alright then you have to run a couple of commands shown below. After that I recommend rebooting the system (Optionally fixing fstab if you had anything there) and then when the system is back online re-formatting the drive if you're planning on using it again on bare-metal or for other LVM's.
Removing disk from the volume groupWiping the disk previously in an LVM group to use elsewhere.
8. Seems kinda slow, why even do this?
It depends on the application, as of June 2026 SSD's are very expensive and it's not the first time they've gone historically gone up in price. This helps cheapen up the cost a bit for tasks that require small amounts of data being written over and over. For a while this was the meta for mining Chia but the applications can go beyond that, if you setup a service that uses localhost like a git you can have it mounted on an LVM and over time it should get faster as the main files require it to run the program are loaded to the cache.
SSHD's would be a better solution for this but they're so rare some people in the industry I've talked to don't even know they existed, I may make a benchmark of how an SSHD compares to this some day but generally I've found them to be faster than using LVM caches, it's a shame they never caught on really.