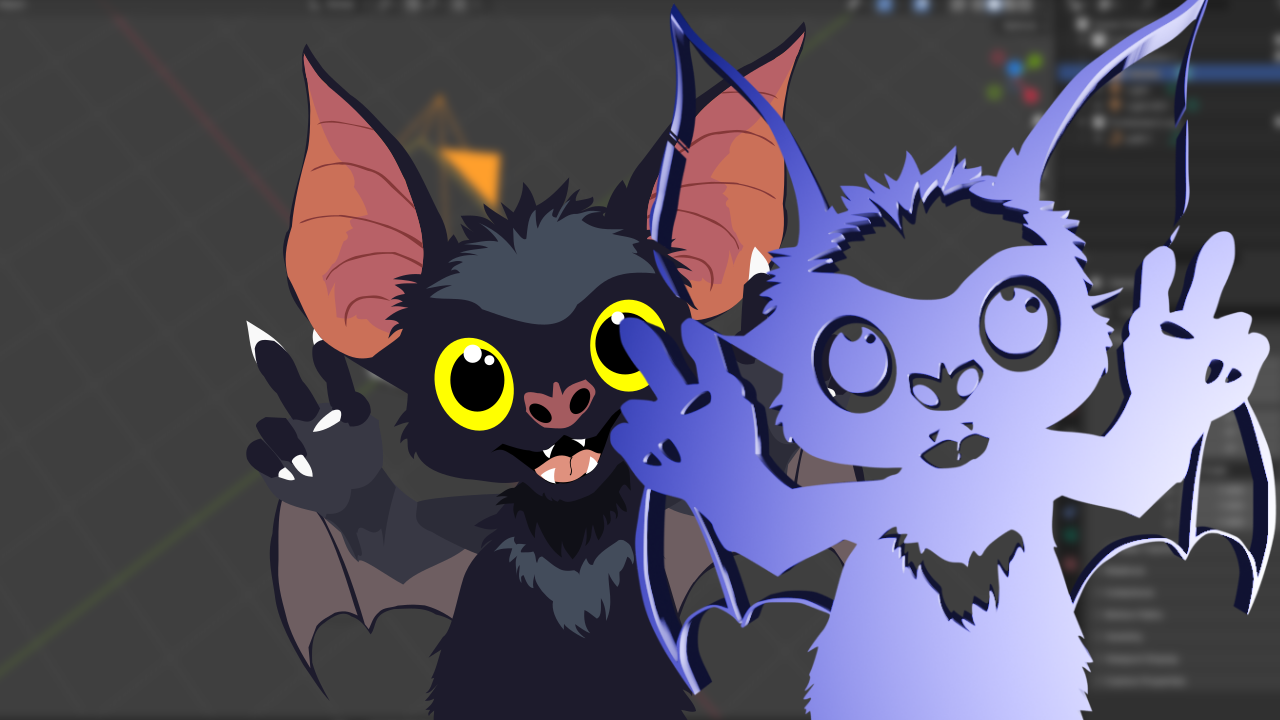
After successfully deploying my website (The original version can be found in the Wayback Machine) I felt like working for a bit on the image and iconography of it, starting with a logo for both the website and my projects.
After messing around with inkscape for a few hours, this is what I came up with:
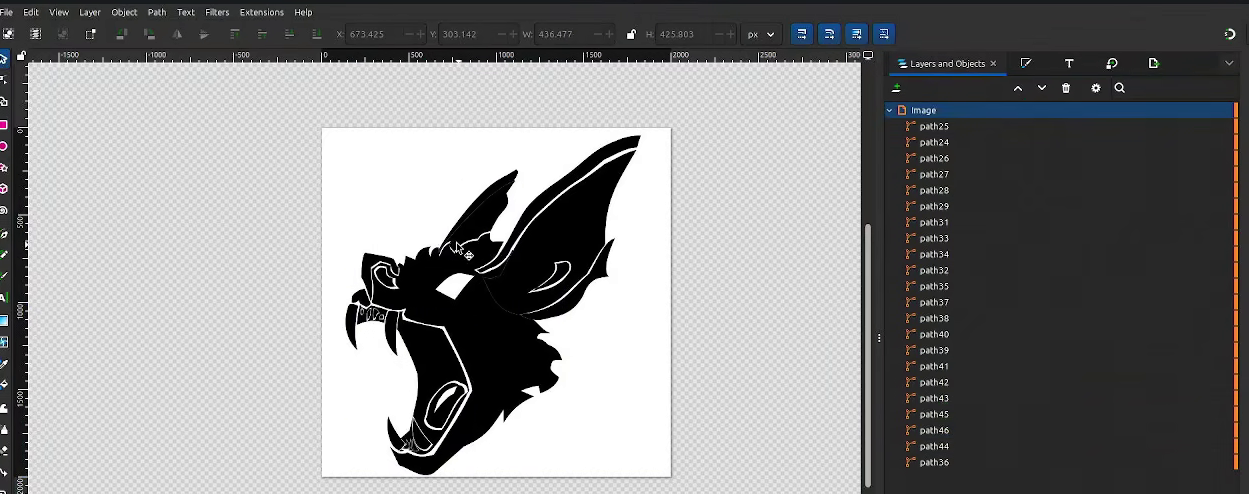
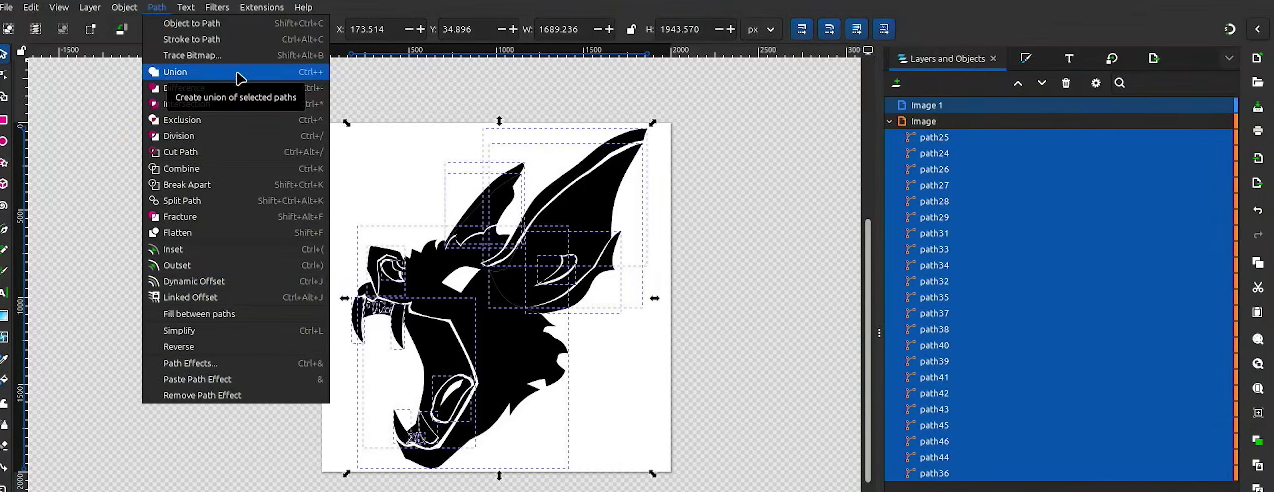
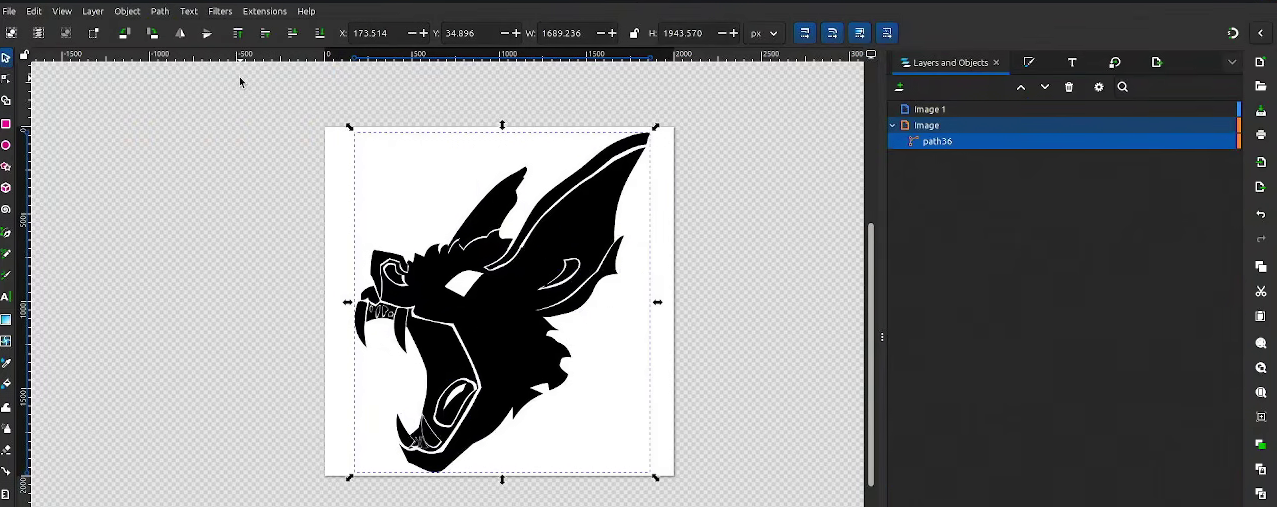
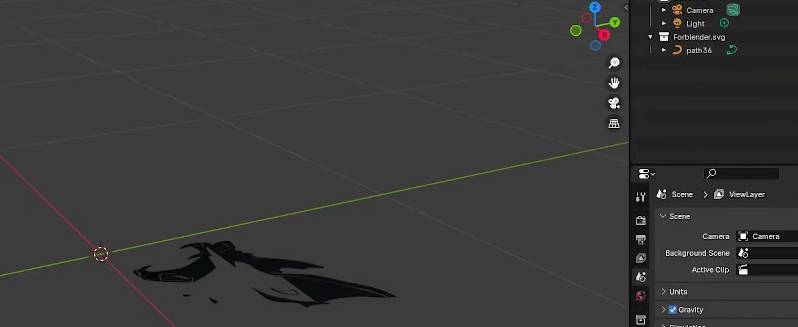
Before importing it into blender though, I merged all layers into a single layer. This is because Blender will have every path imported as an individual layer and that means I'd have to work with about 20 layers individually. However Blender didn't like me doing this and just gave me a broken path for my trouble.
Merging all layersAll layers mergedImport fail
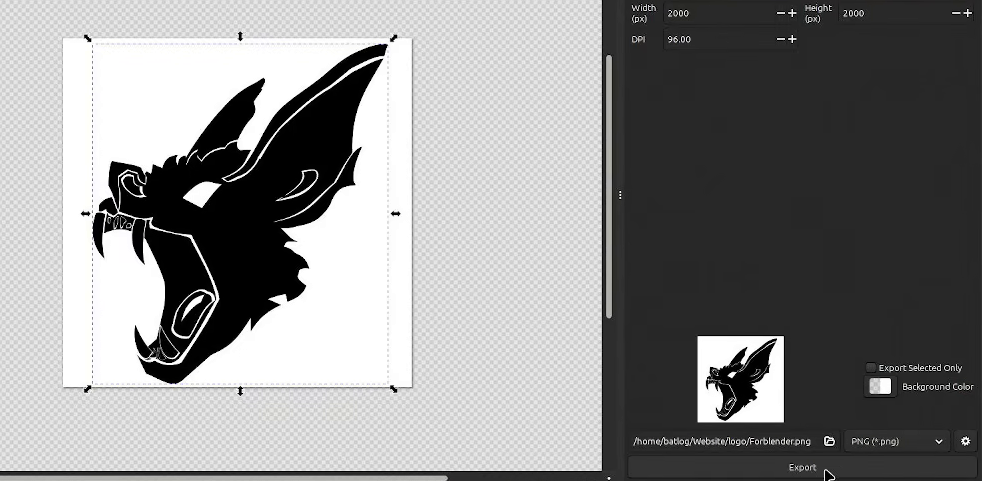
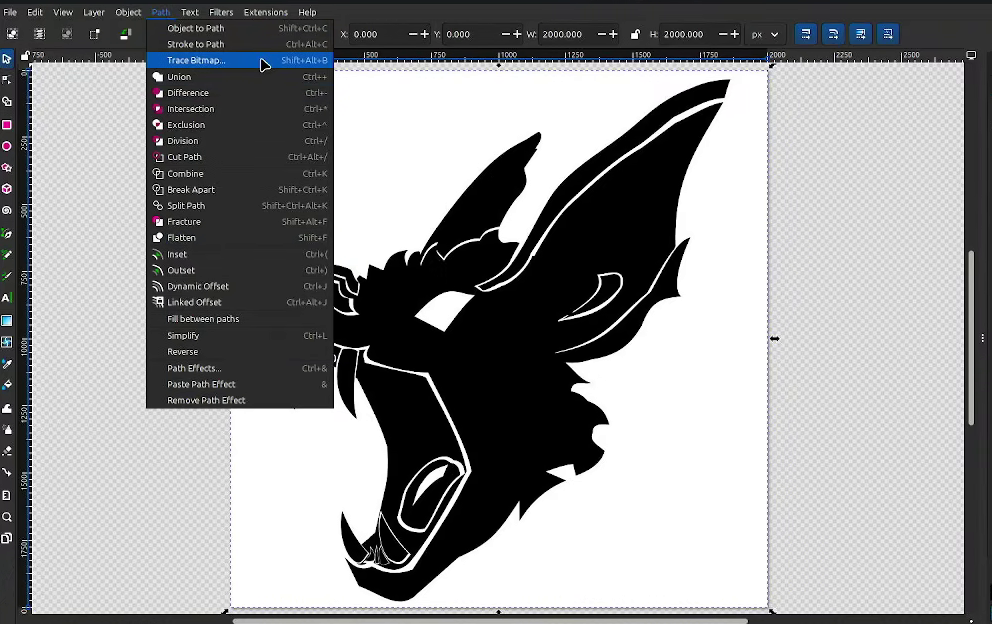
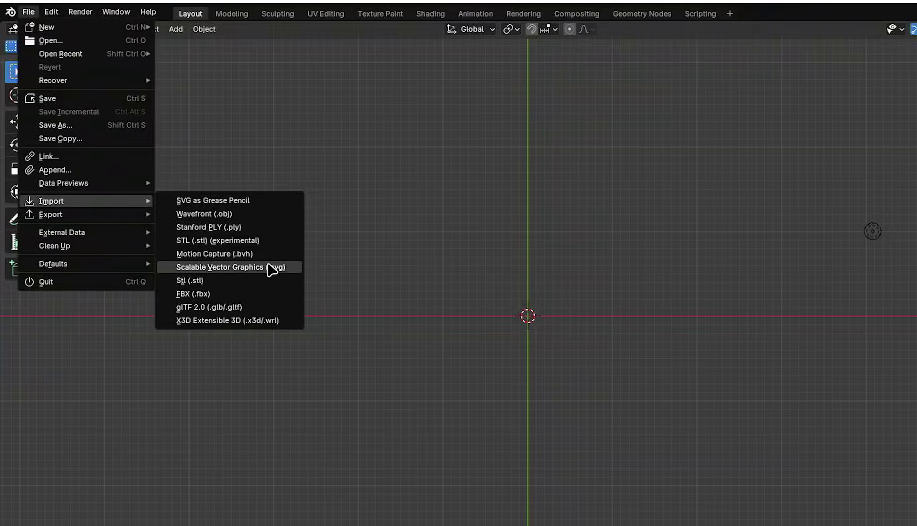
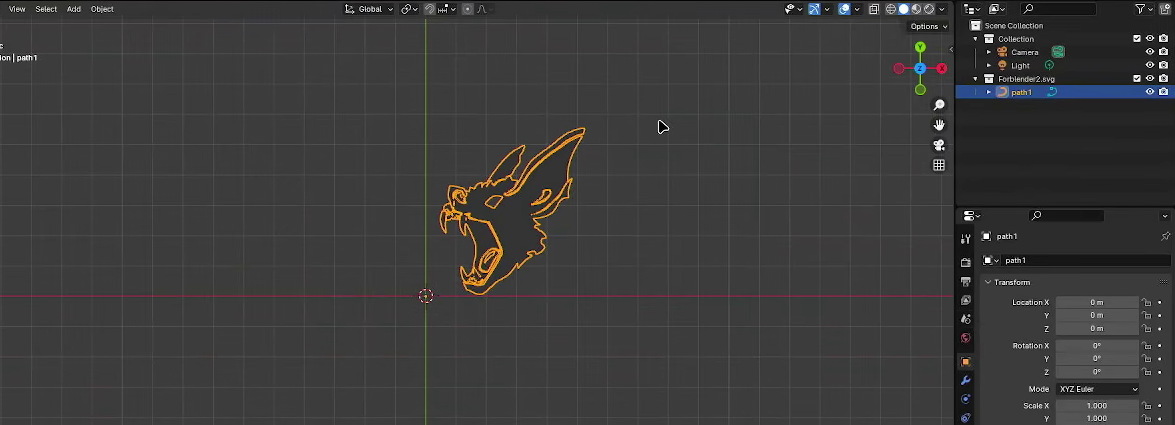
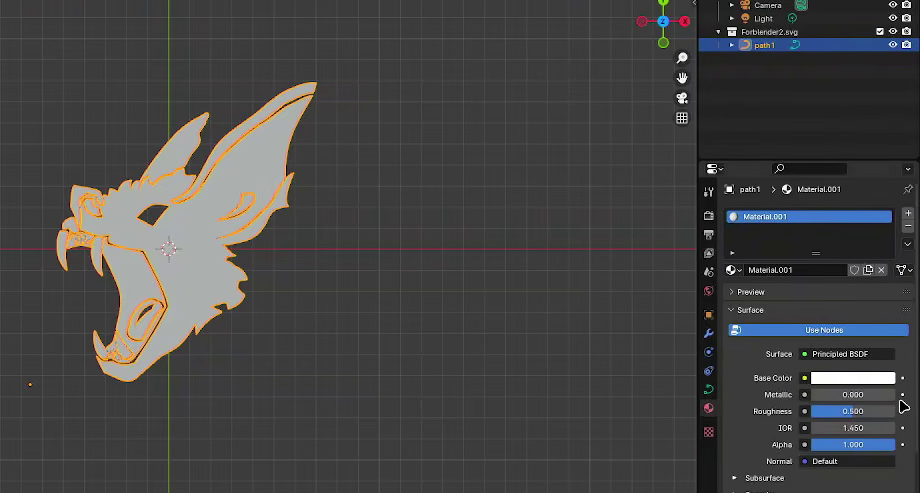
I poked around inkscape for a bit thinking how to fix it and what ended up doing it was exporting the image as a png, opening it in a new file and using the trace bitmap tool, then importing it into blender.
Exporting to pngUsing the trace bitmap over the PNGImporting SVGSVG Imported as path
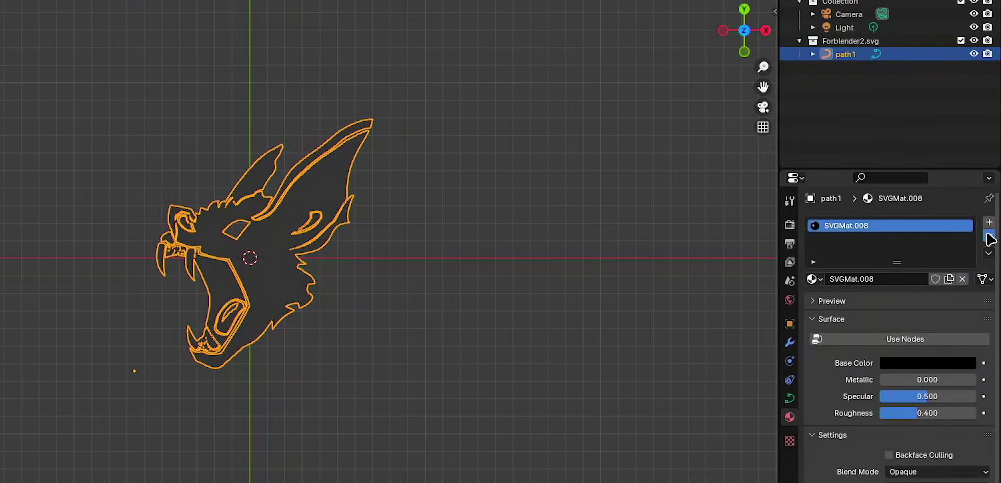
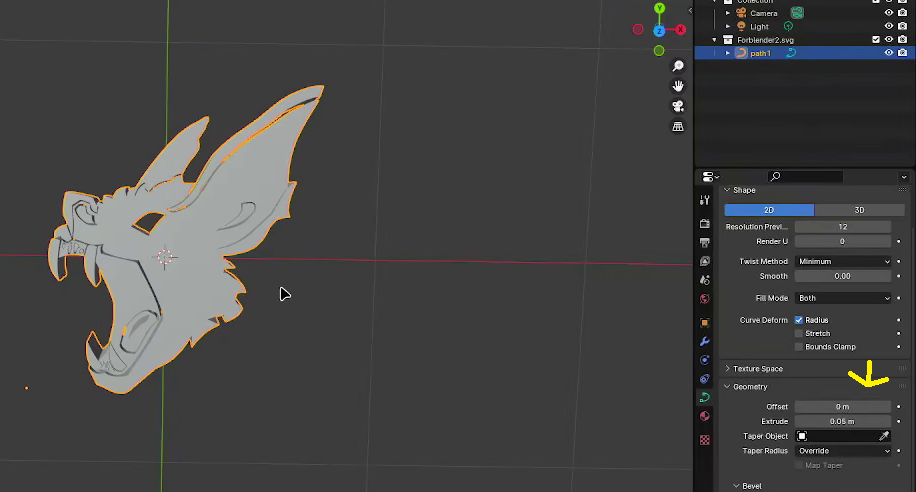
Next I removed the material that was imported and just extruded the path.
Removing imported materialExtruding
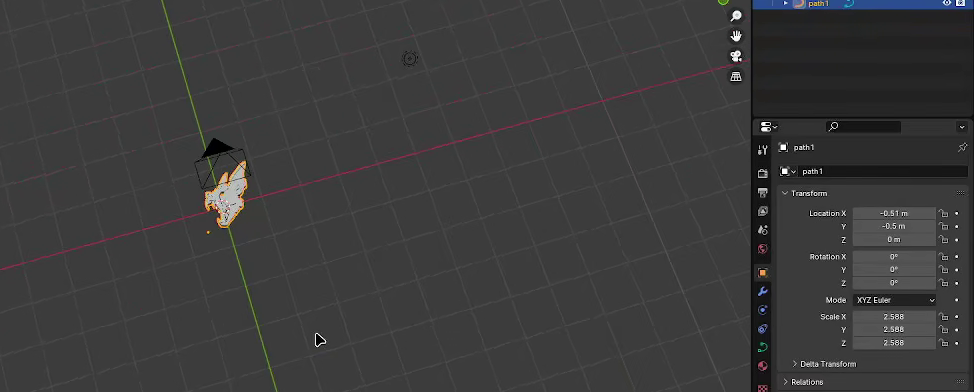
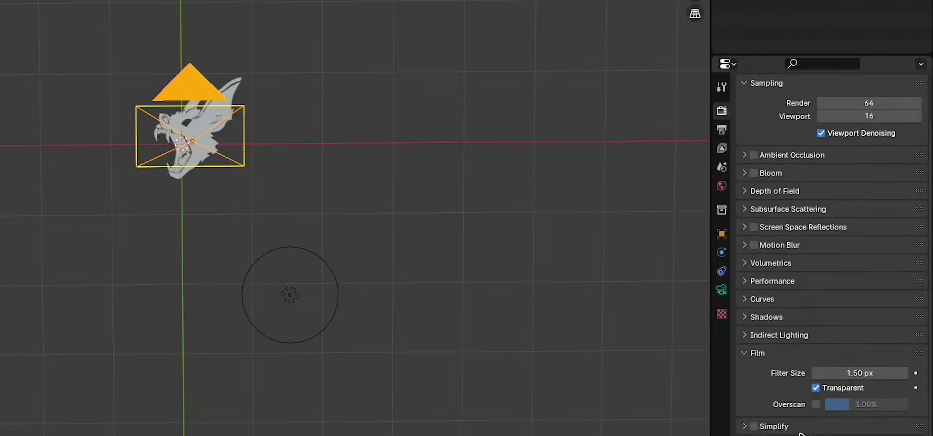
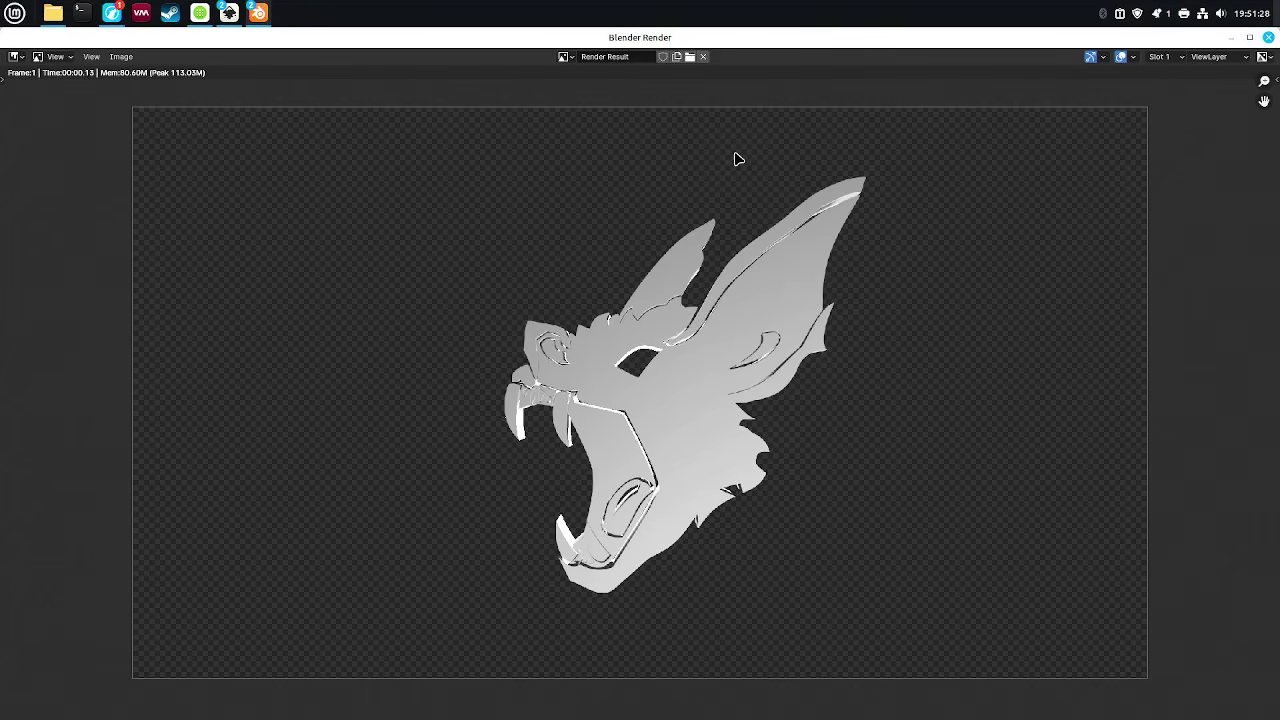
From here I brought the camera to origin, pointed it down, added a metallic material to the path, erased the background and from then on it was a matter of messing around with the composition until it looked the way I liked it.
Aligning the cameraCreating a metallic materialErasing the backgroundFinal Render
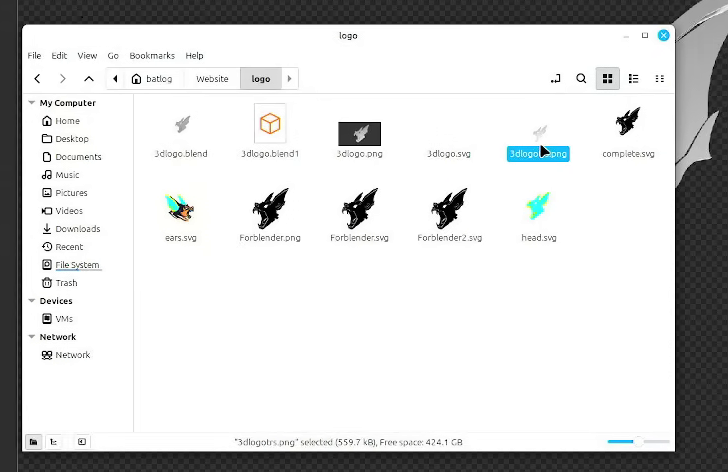
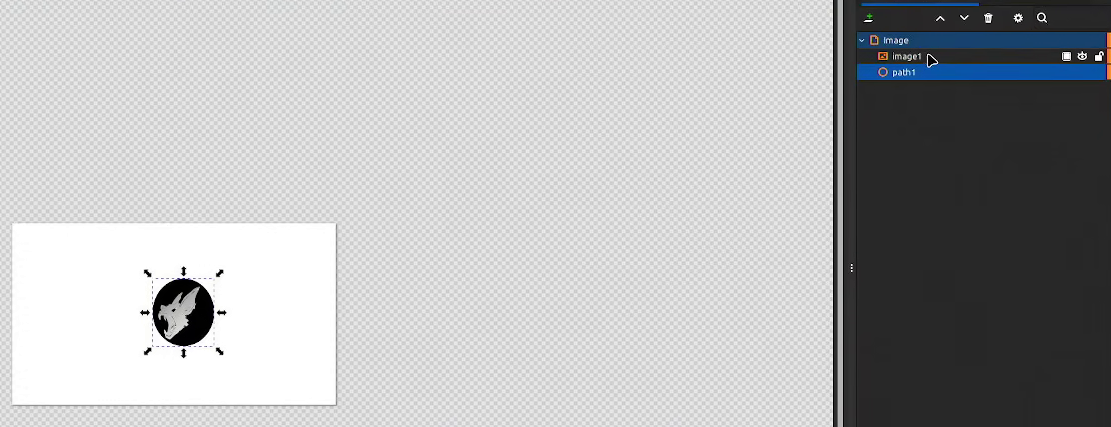
From here everything was very straight forward, I just opened the png I had just taken in inkscape and drew a circle under it
Resulting PNGDrawing a circle
This is the Finished result:
Honestly I'm rather satisfied with it, it scales very well and I can use the standard logo for the website and my projects, such as in this post's signature