How to configure a custom domain name for Protonmail
This process is rather straight forward but it does require a lot of time.
Reminder to myself: Warn clients this process can take between 2 and 8 hours (Maybe even a work day) and it's impossible to speed up as it requires going to the admin panel for the mail domain multiple times and update the records, and each record needs to propagate which can take a while. It is faster than it used to be 20 years ago though.
Step 1: Domain verification
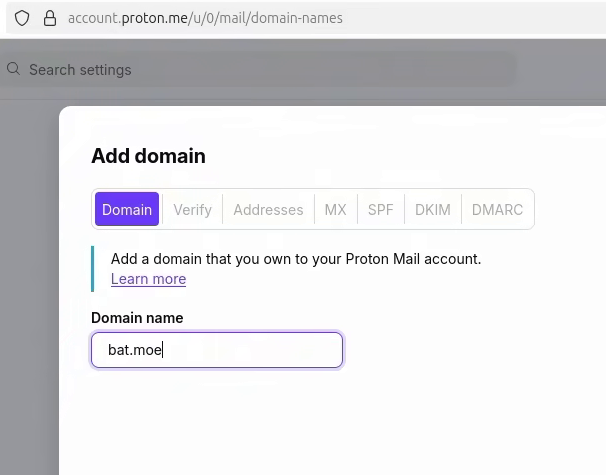
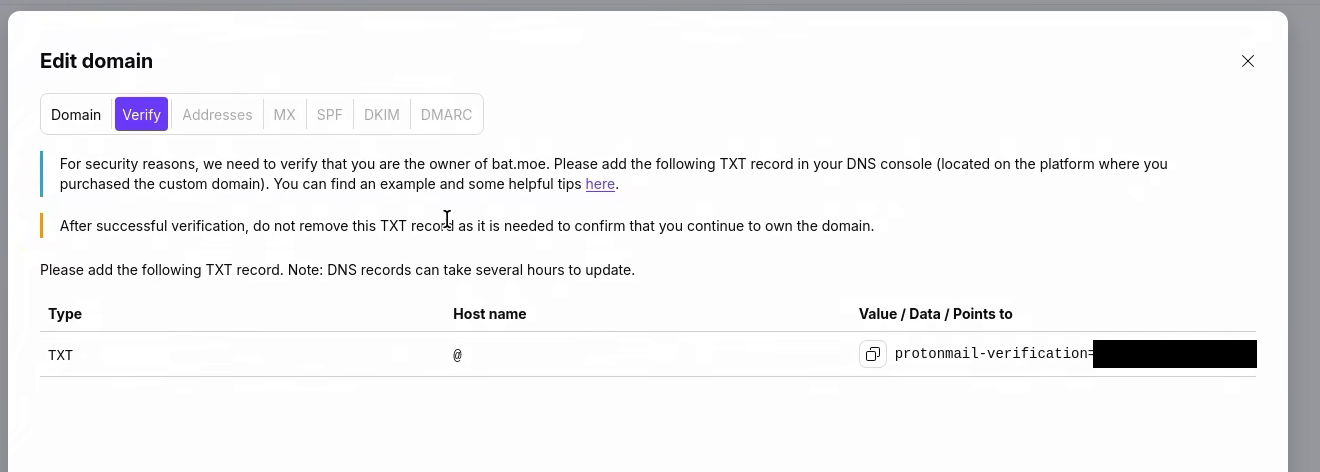
Click on add domain and just enter your domain without https or any other blurbs, protonmail will generate a record that must be added to the domain records with whatever registrar is being used.
In this case this took an hour, DO NOT spam the verify domain button. Otherwise protonmail will flag you and you'll be unable to do this until you speak to an agent, let the DNS propagate naturally.
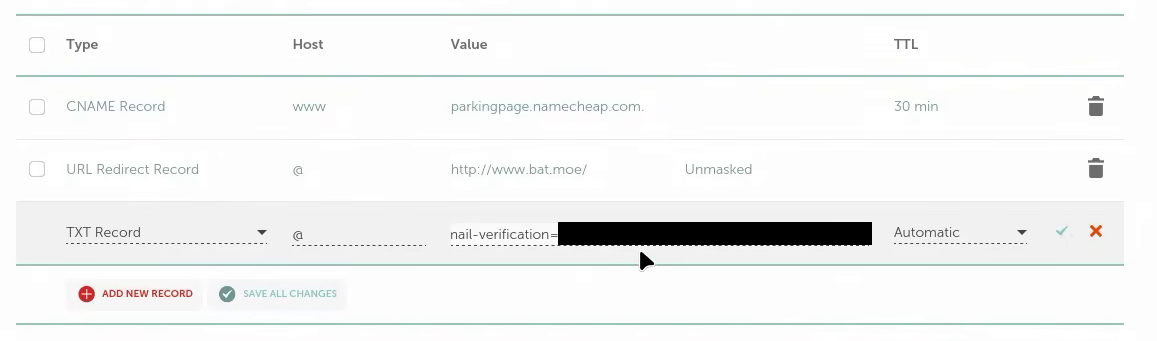
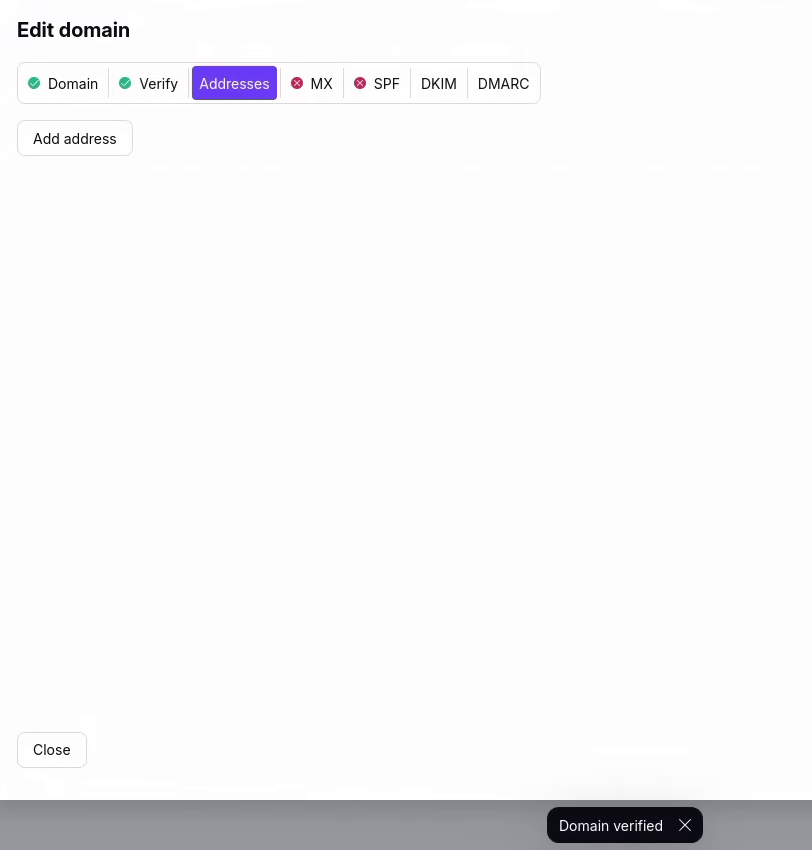
Add the domainProtonmail will give you a record to add to your domain control panelAdd the recordWait an hour and click verify domain
Important: Even after the domain is verified DO NOT remove the TXT verification record, otherwise protonmail will just simply make all incoming and outgoing mails bounce and you may have to start the whole process again as a new verification record is generated.
Step 2: Adding a mail address
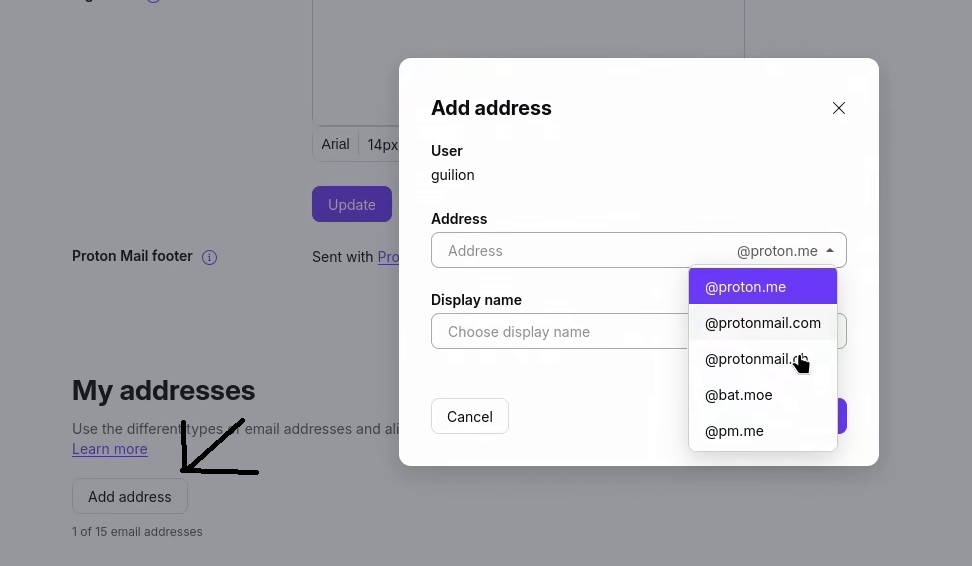
Pretty straight forward but a bit confusing. After the domain is verified, you must close the whole page for domain management and head down to manage addresses, there the new domain will pop up among the list of possible addresses.
Step 3: Verifying MX records
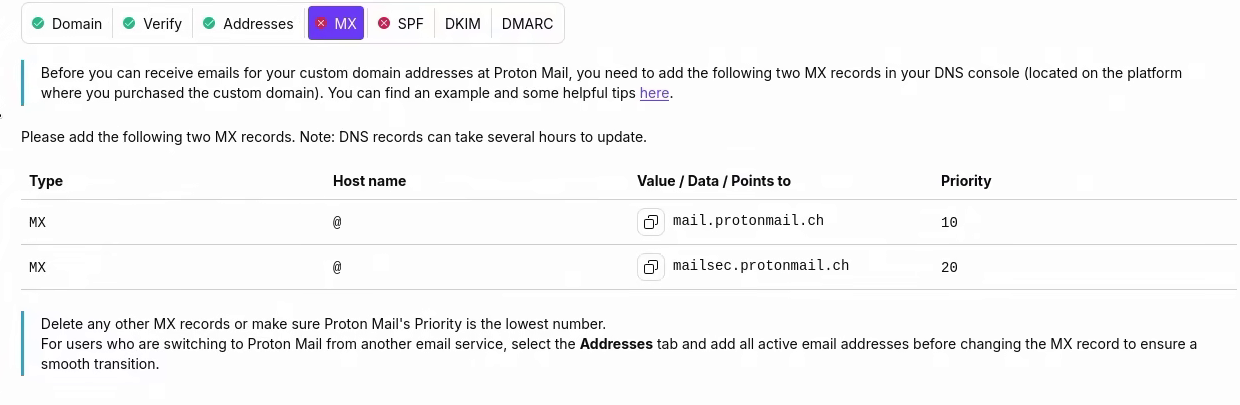
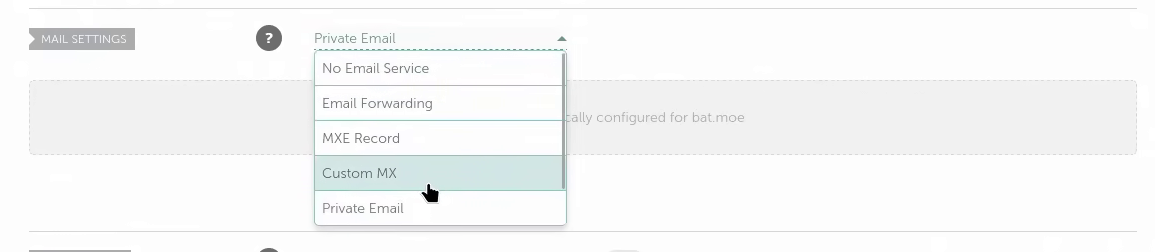
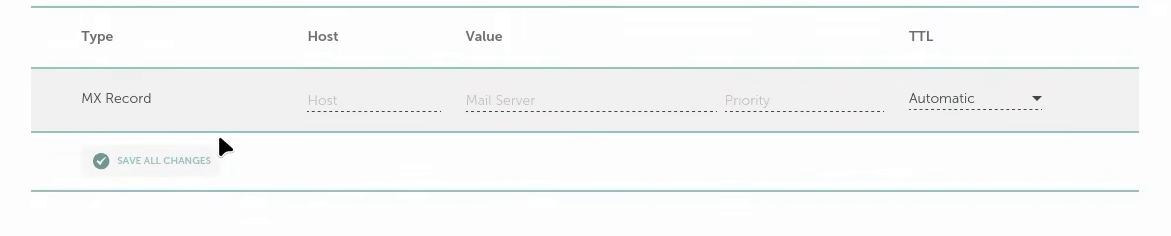
Just like in step 1 you must go to the domain console and add the MX records for protonmail. HEADS UP, this is in a completely different section usually labelled SMTP or mail settings, some registrars have this option hidden and must be enabled somewhere else in the console. This takes about an hour to configure.
Protonmail will give you an MX recordLook for the place in the registrar that allows to add MX recordsAdd the record.
Step 4: Adding the last records (SPF, DKIM, DMARC)
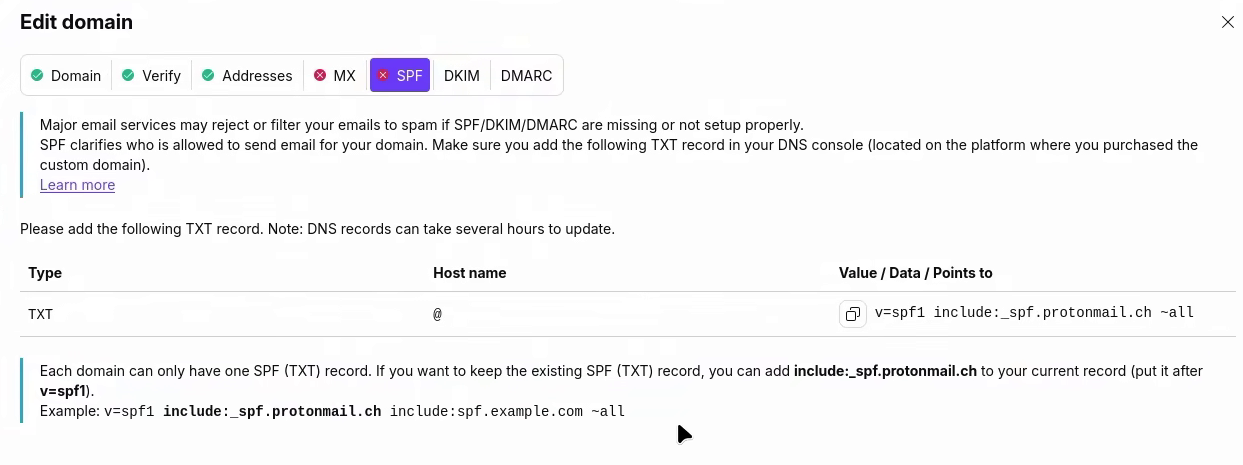
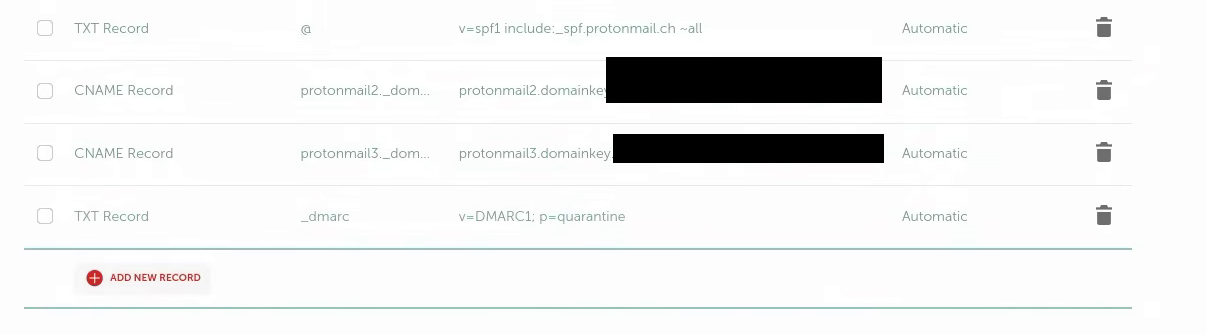
Pretty straight forward, just like in step one you must add the records to your domain. Once again this takes about an hour, DKIM and DMARC don't get enabled until SPF is configured and propagated, therefore this takes about two hours to configure.
Grab all the missing recordsAdd the missing records to your console by the end your console may be a mess due to all the records
The DMARC and DKIM records are rather important, some mails will bounce if they're configured and the destination is a company or individual running an self-hosted SMTP server but most popular mail services (Hotmail, gmail, even aol, yahoo and protonmail) will bounce any mail that doesn't have these records configured correctly.
Step 5: Configuring a Catch-all address
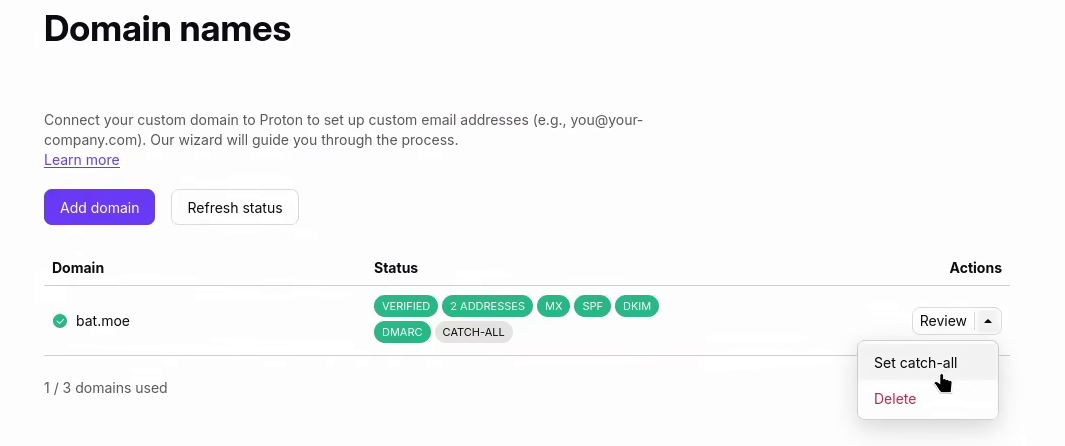
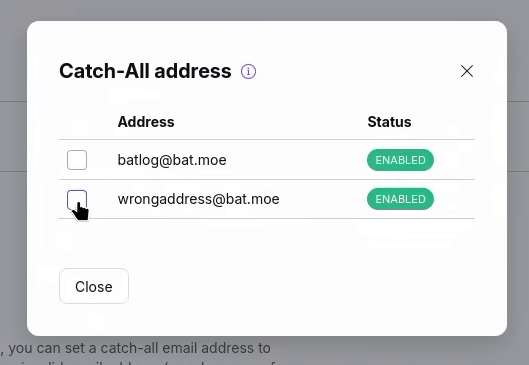
Finally, if everything is configured properly you're given the option to configure a catch-all mail, this mail will get any mail directed at the domain that doesn't have an address recorded.
This is optional and depending on the situation it may be a good or bad idea to leave it on, if it's for an individual it's a good idea to leave it on but if it's for a company it's not as senders that send a mail to the wrong address will not receive any notification that they have screwed up and if the web master or person in charge of this isn't paying attention that mail will be forever lost and occupy server space.
Select add catch-allAdd an address easy to notice where all missing mails will end up
And that's it really.
Important final consideration: I've noticed mails sent with the signature 'Sent with protonmail' are often marked as spam by Microsoft so make sure to disable all signatures.